

This tutorial guides you through creating a new schedule in the MuukTest application
Go to portal.muuktest.com:5000
1. Introduction
You will learn how to name, configure, and save your schedule effectively.
2. Access Scheduling Section
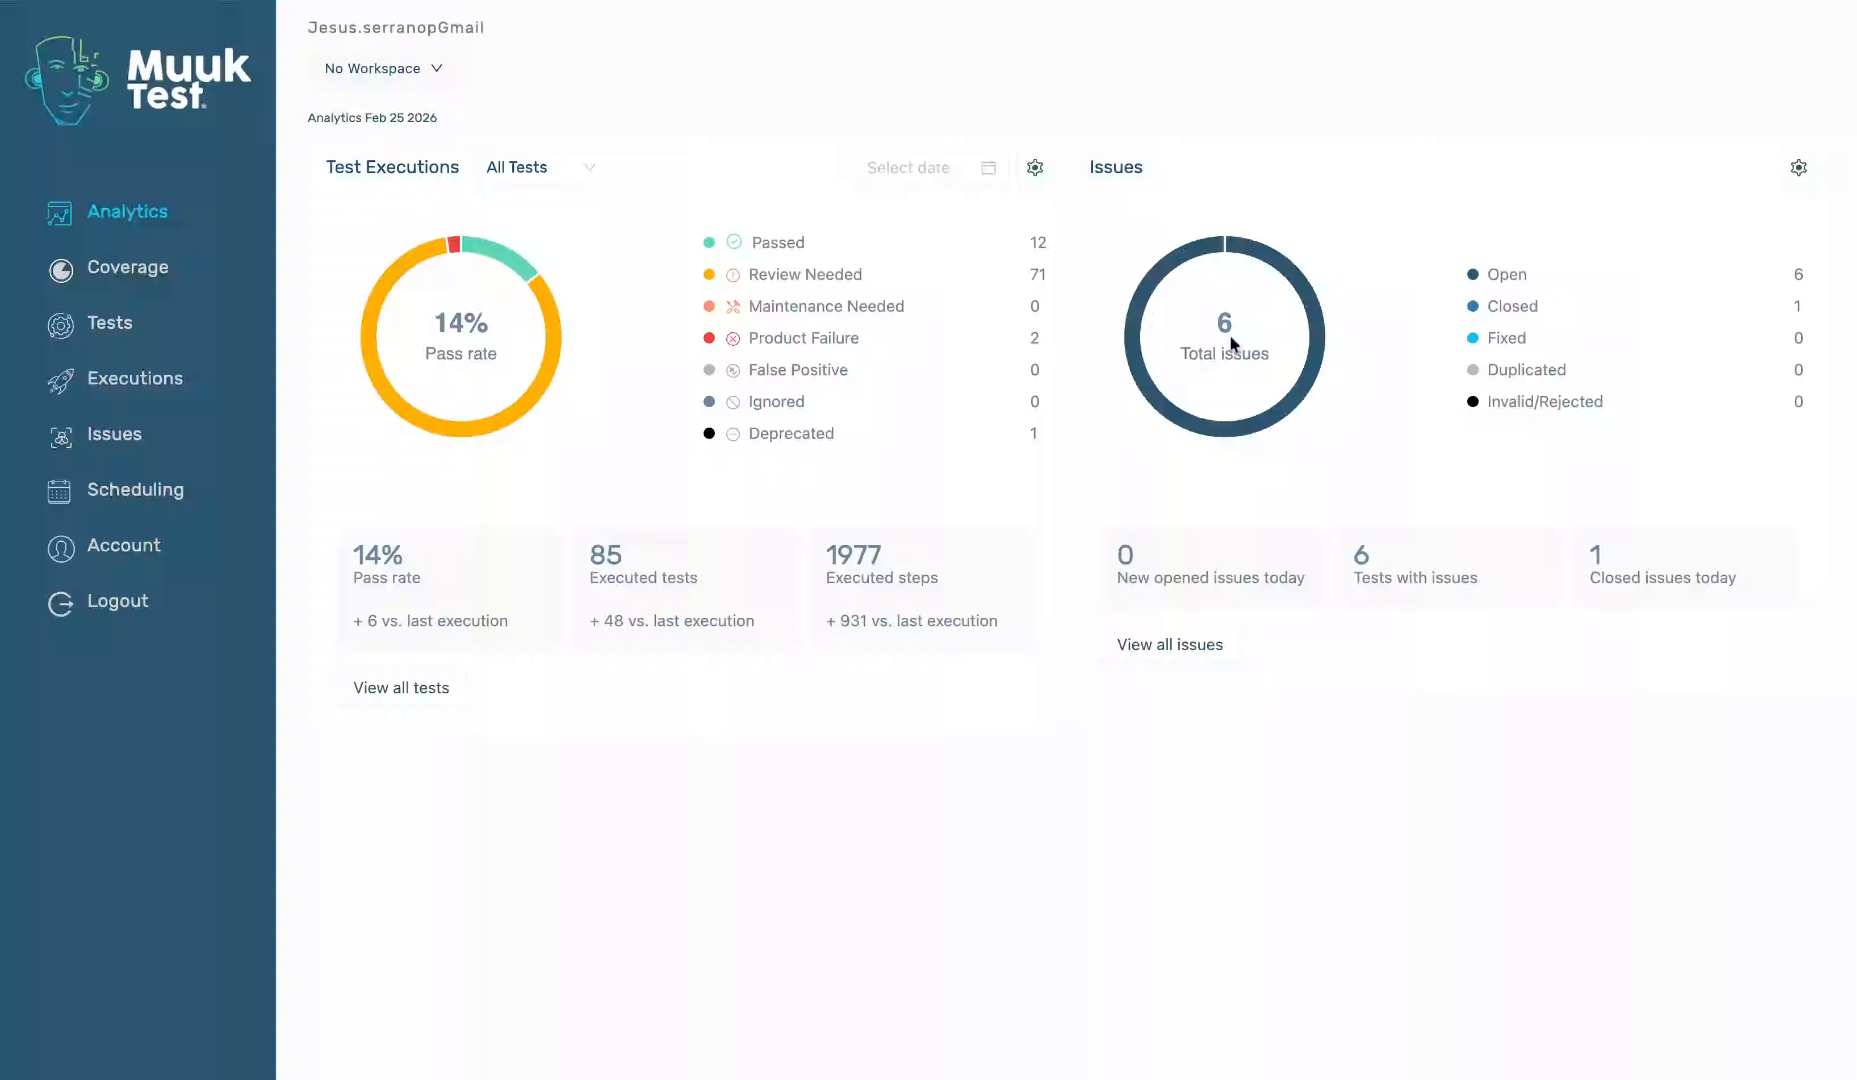
Click the "Scheduling" option to open the scheduling section within the MuukTest application.

3. Initiate New Schedule Creation
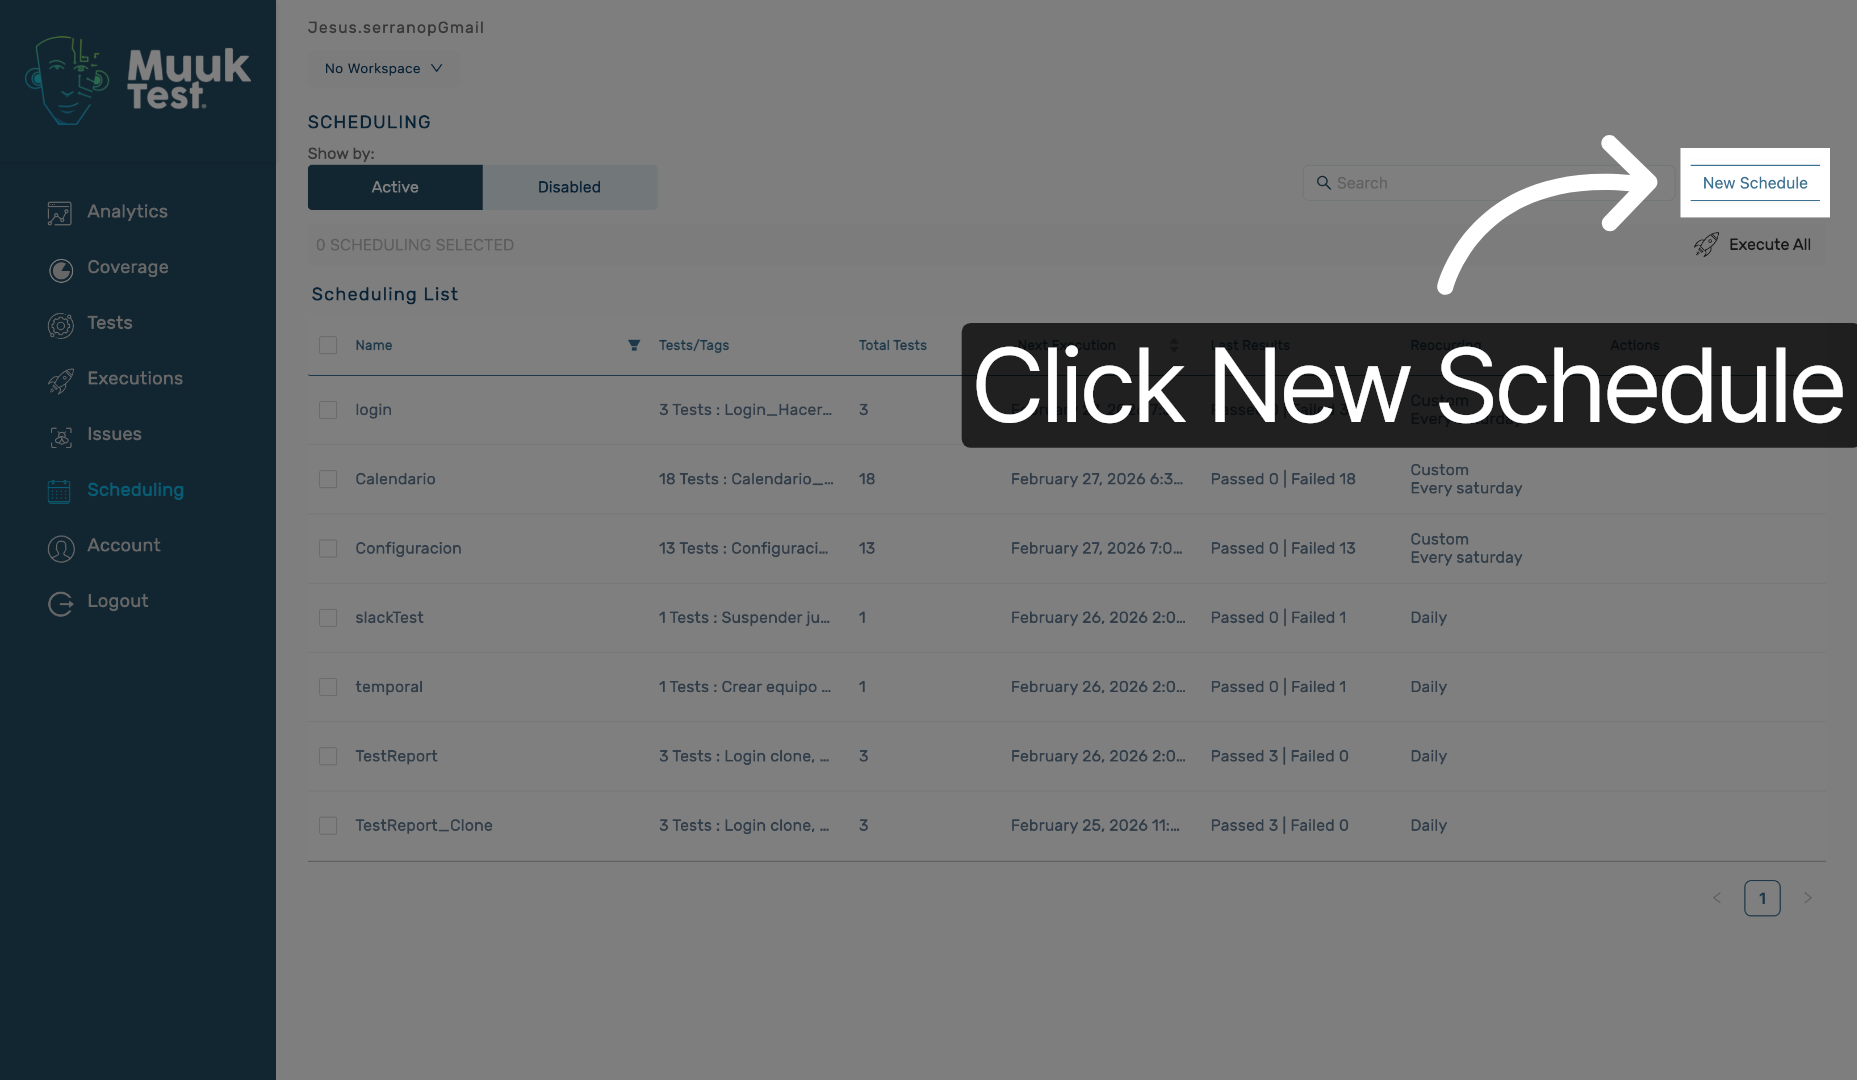
Click the "New Schedule" button to start creating a new schedule.
4. Select Schedule Name Field
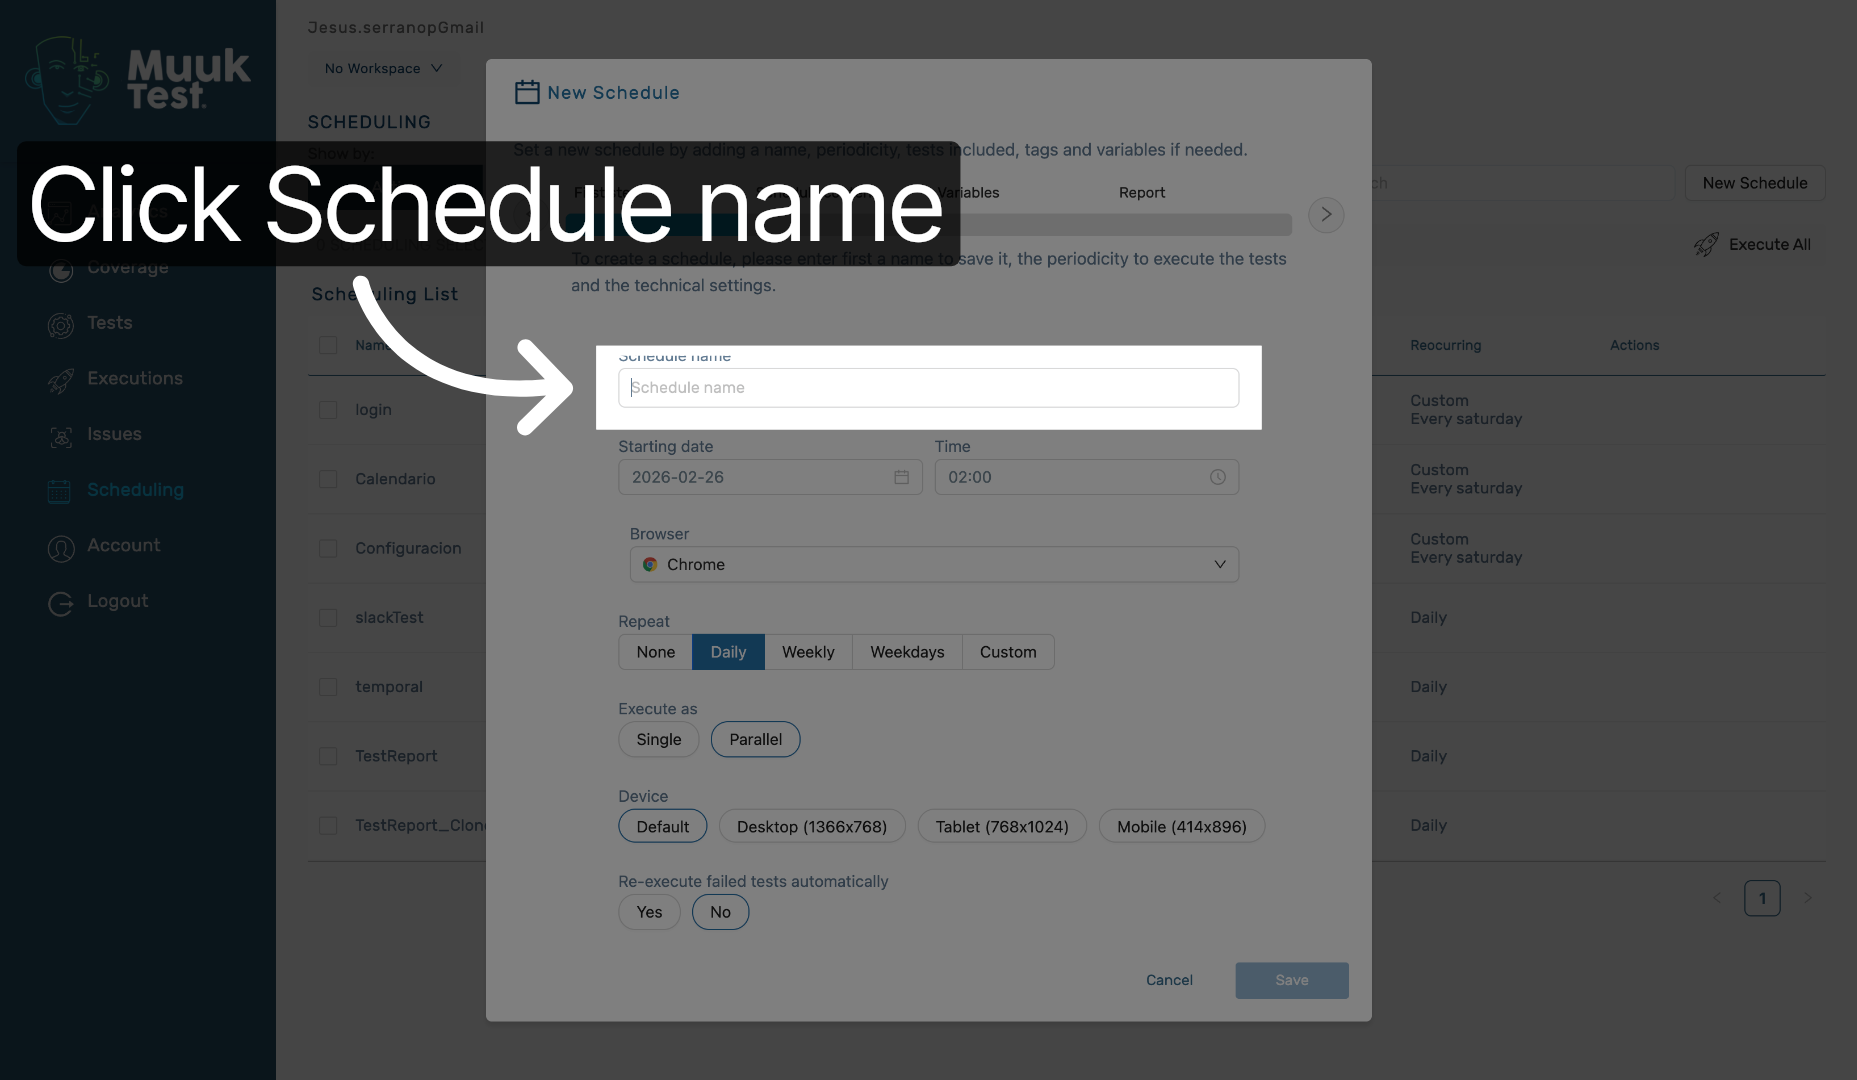
Click the "Schedule name" field to prepare for entering the schedule's name.
5. Enter Schedule Name
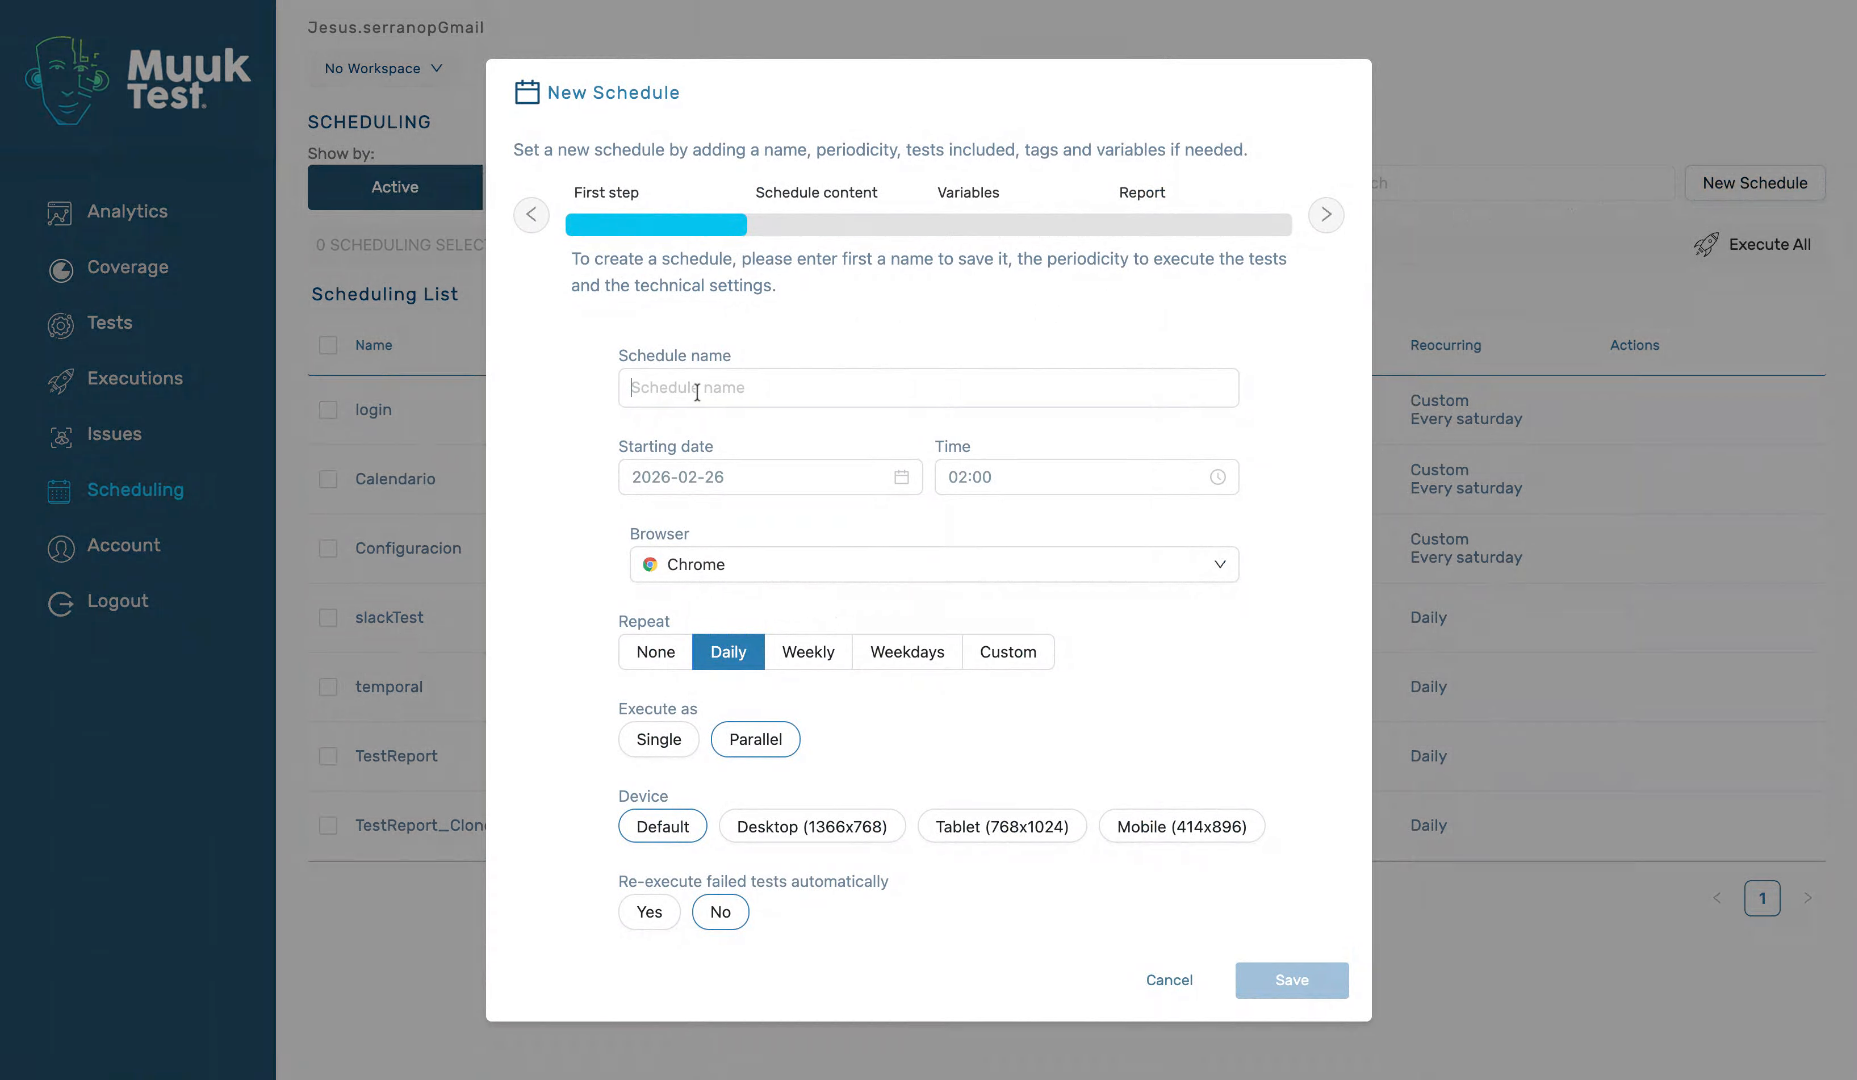
Fill in "Guidde Test" as the name of your new schedule.
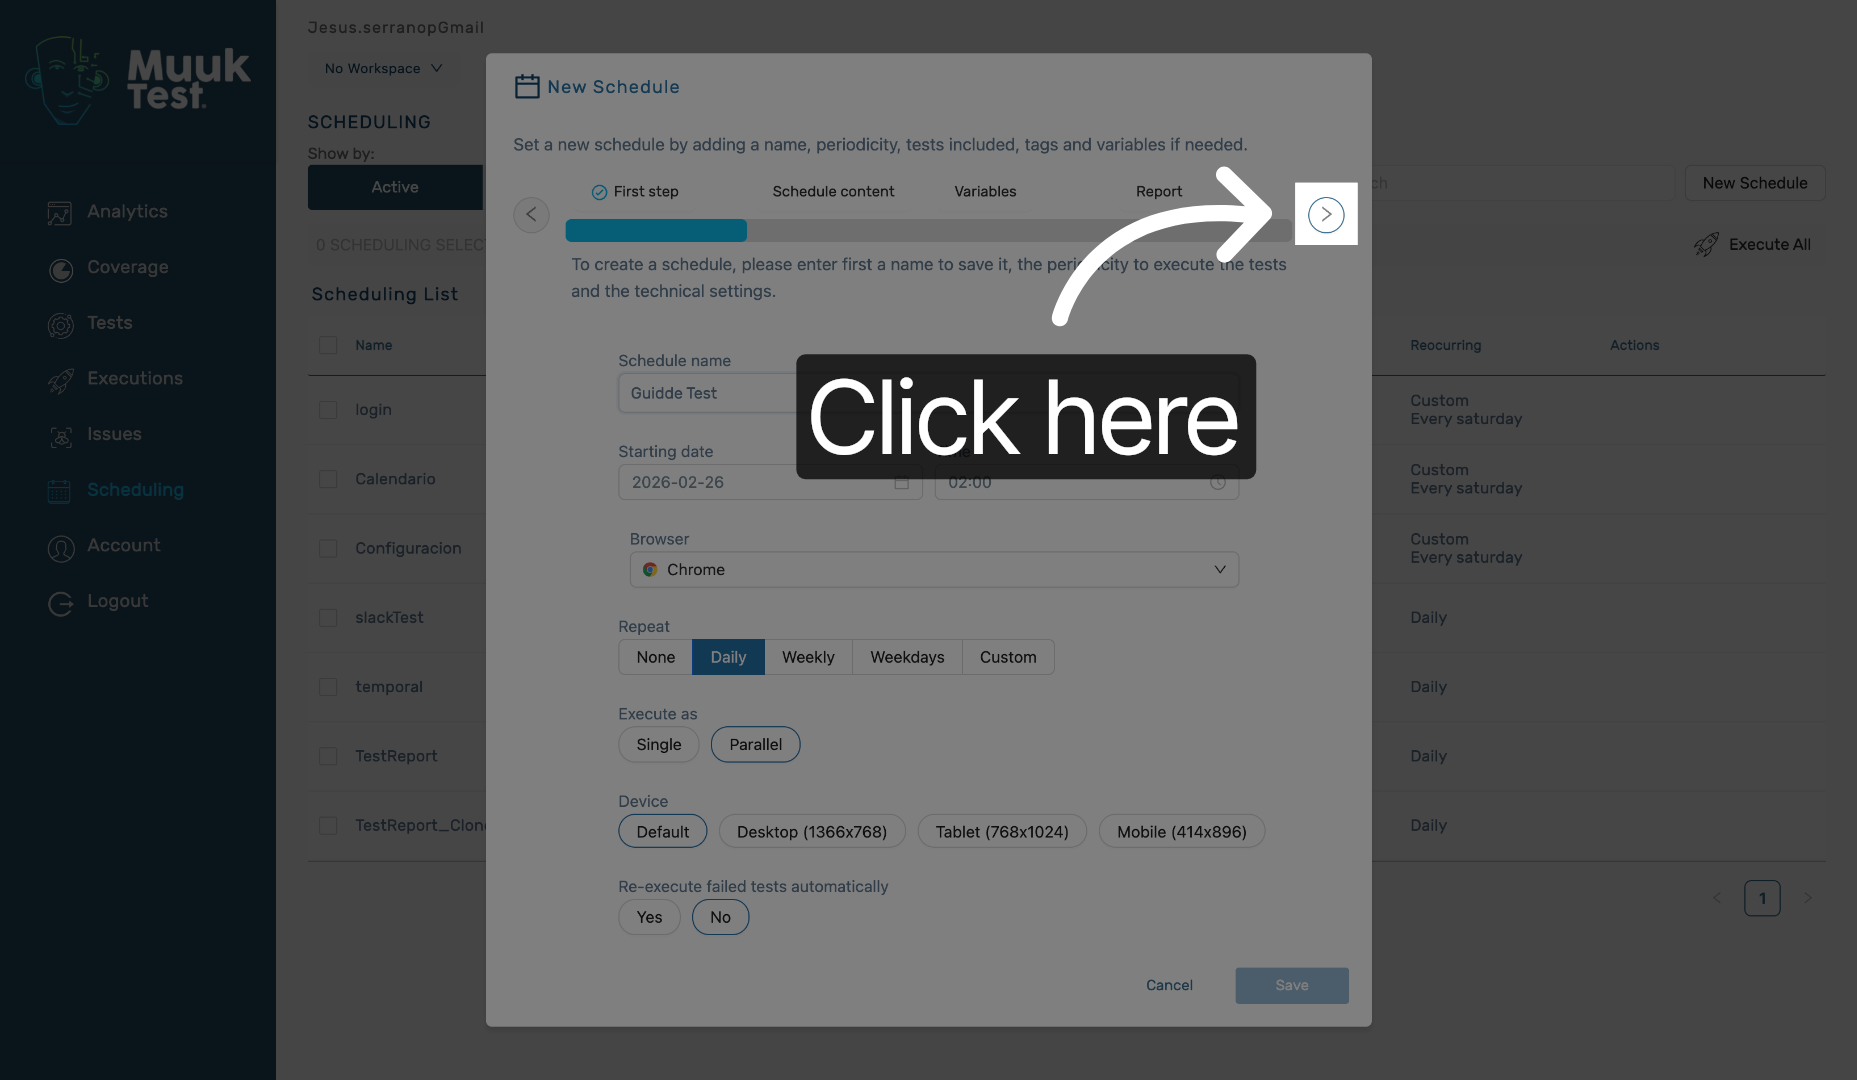
6. Open Configuration Options
Click here to access additional configuration options for your schedule.
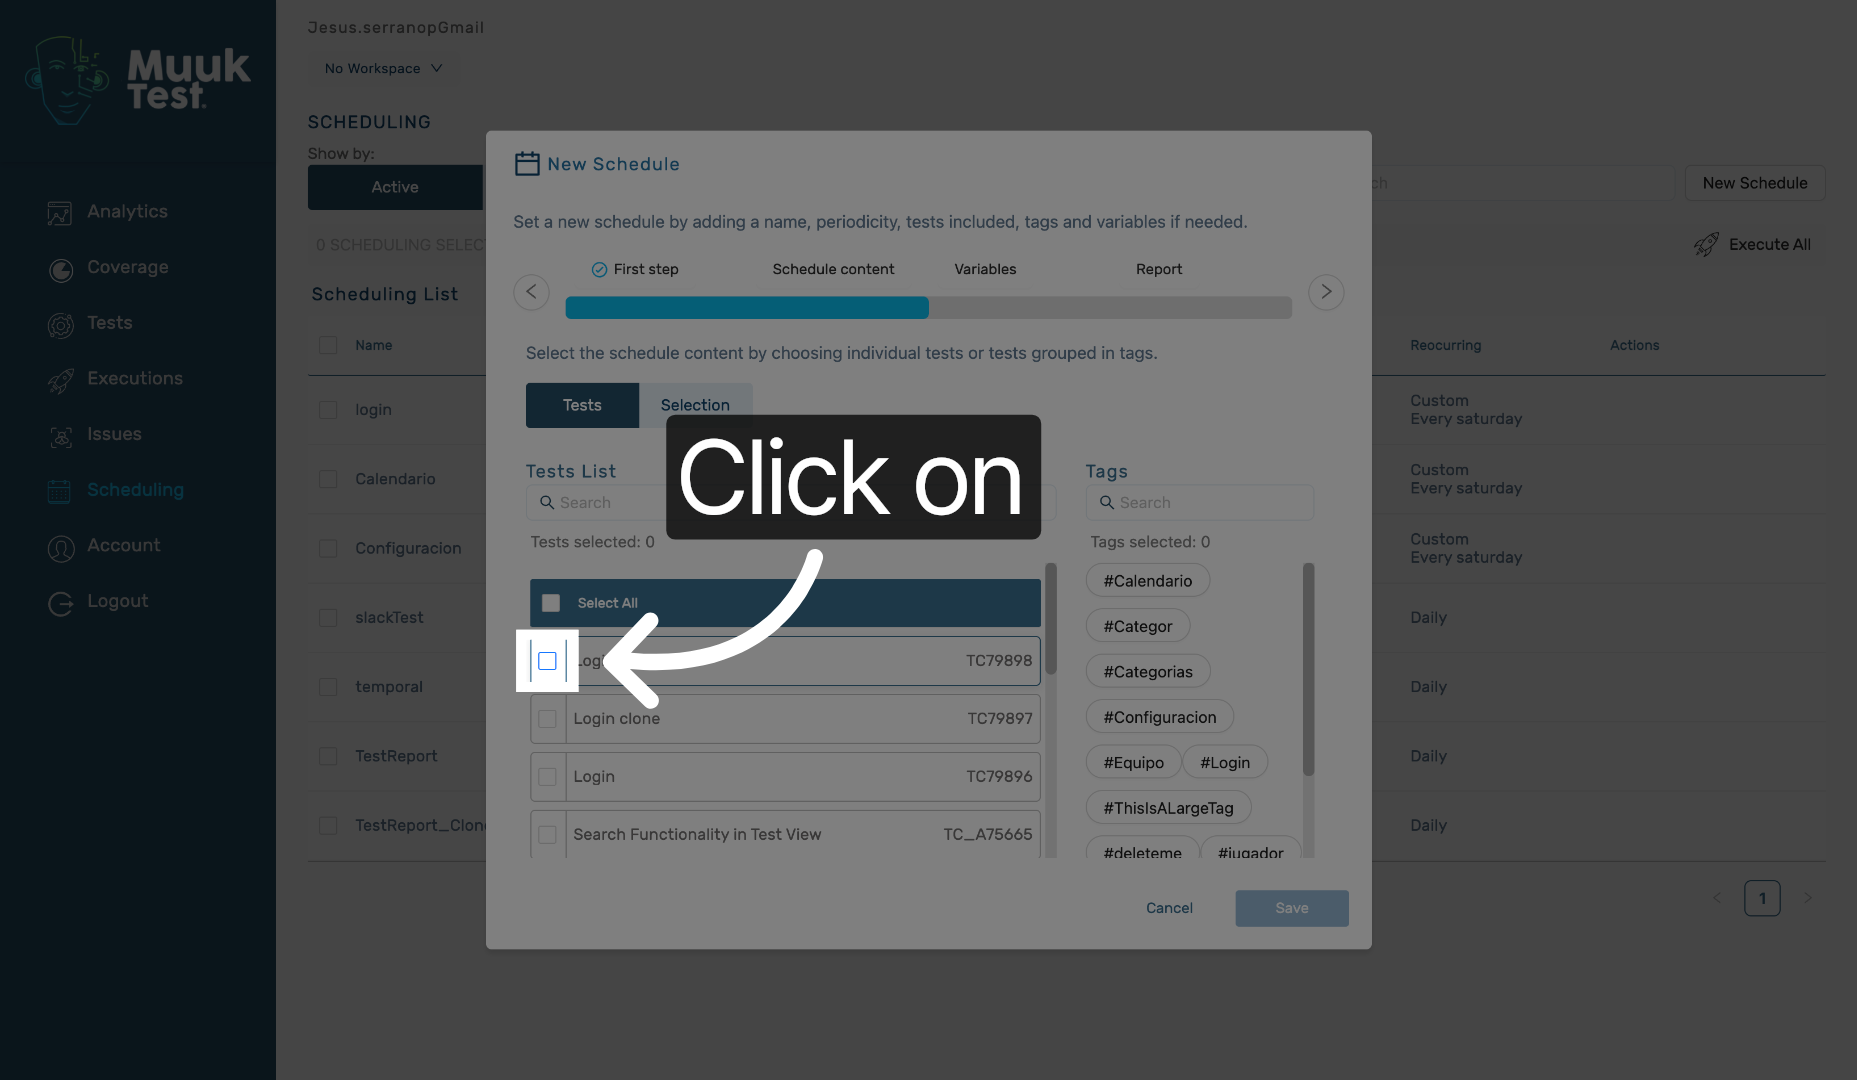
7. Enable Schedule Option
Click "on" to enable the desired schedule option.
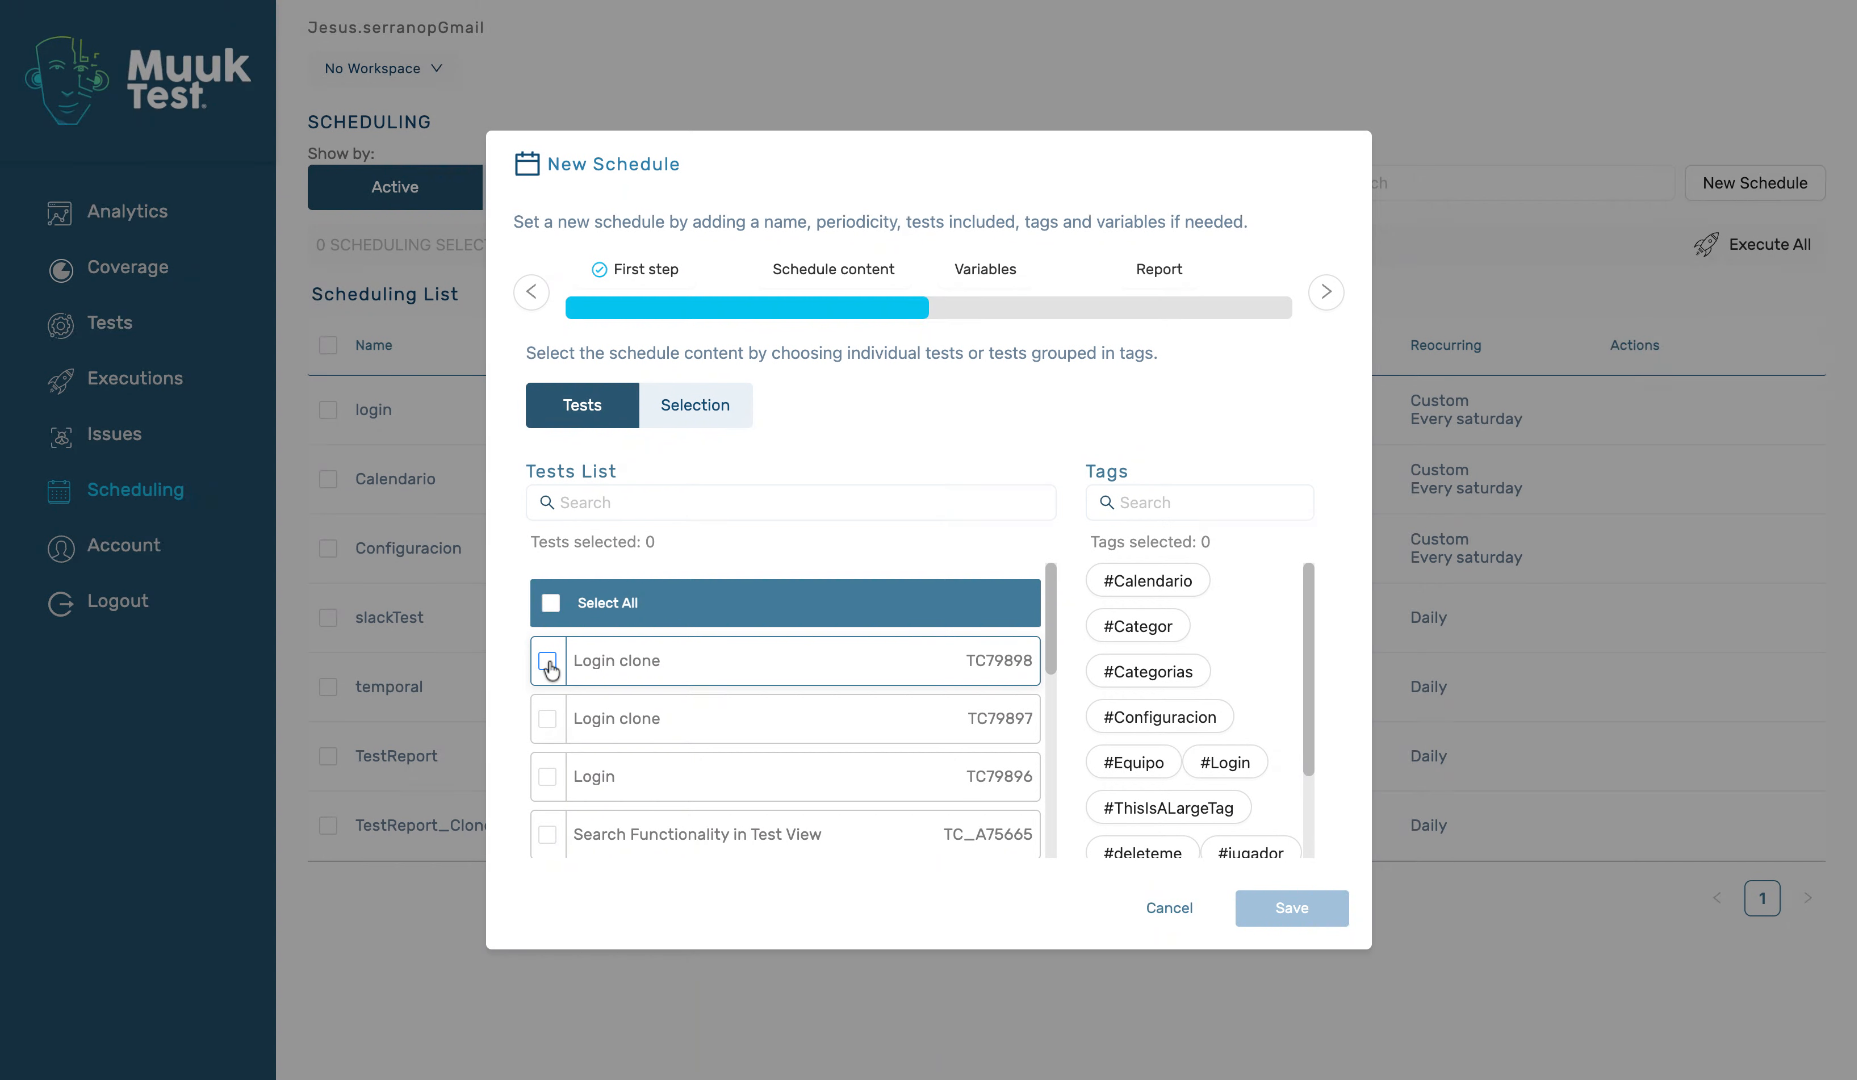
8. Fill Schedule Details
Fill in the required schedule details as needed.
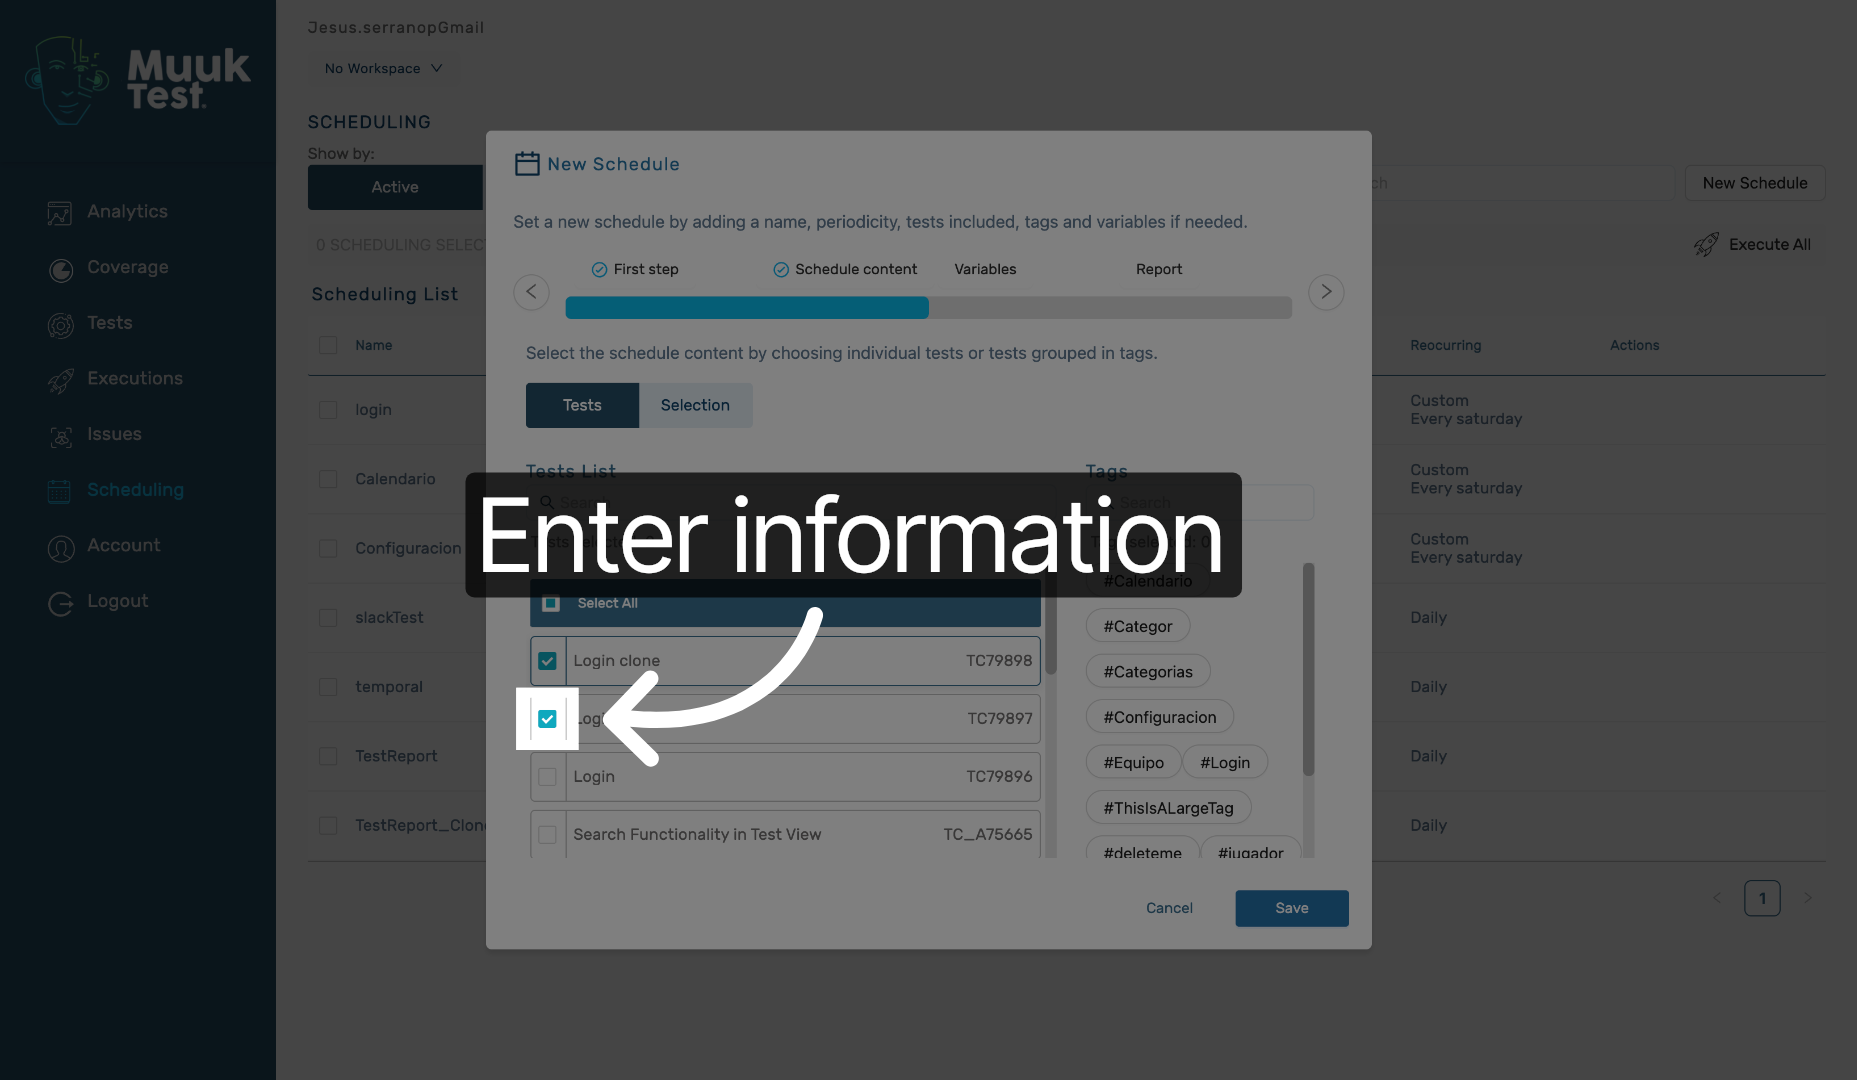
9. Complete Schedule Information
Fill in the remaining schedule information to finalize the setup.
10. Save New Schedule
Click the "Save" button to save your new schedule and apply the changes.

You have successfully created and configured a new schedule named "Guidde Test" in the MuukTest application. Your schedule is now saved and ready for use, enabling efficient time management.
Comments
0 comments
Please sign in to leave a comment.