
This tutorial will guide you through recording a new test using the Muuktest extension. Before starting, ensure you have the extension installed in your Chrome browser.
1. Introduction To Muuk Extension
Hello, today we're going to learn how to record a new test using our Muuktest extension.
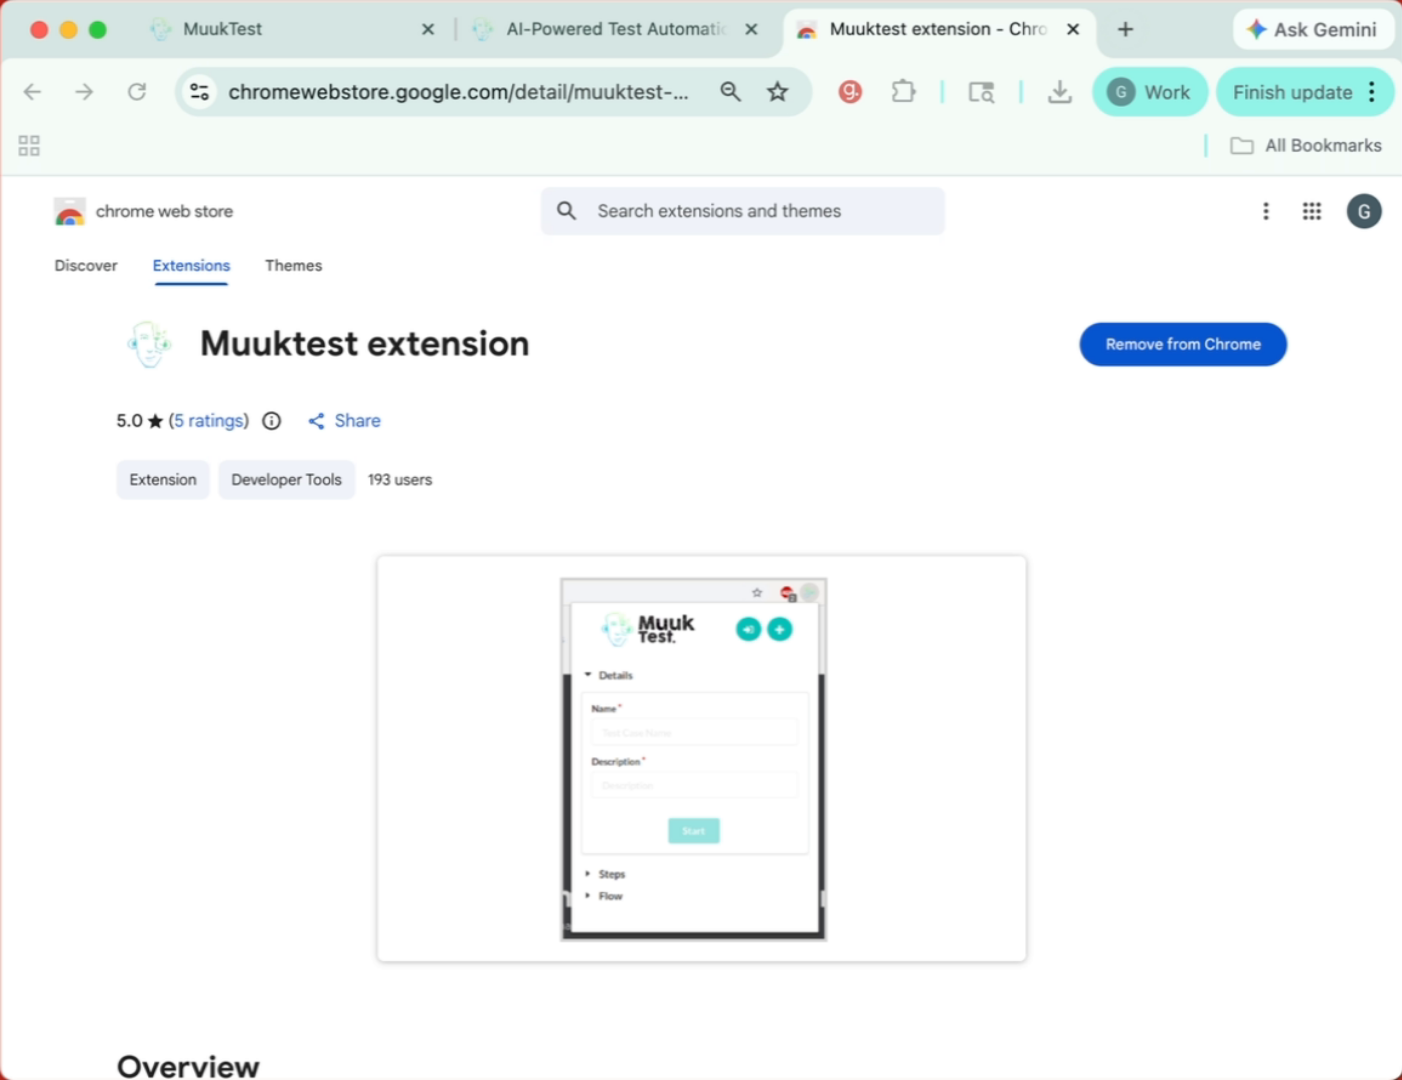
2. Verify Extension Installation
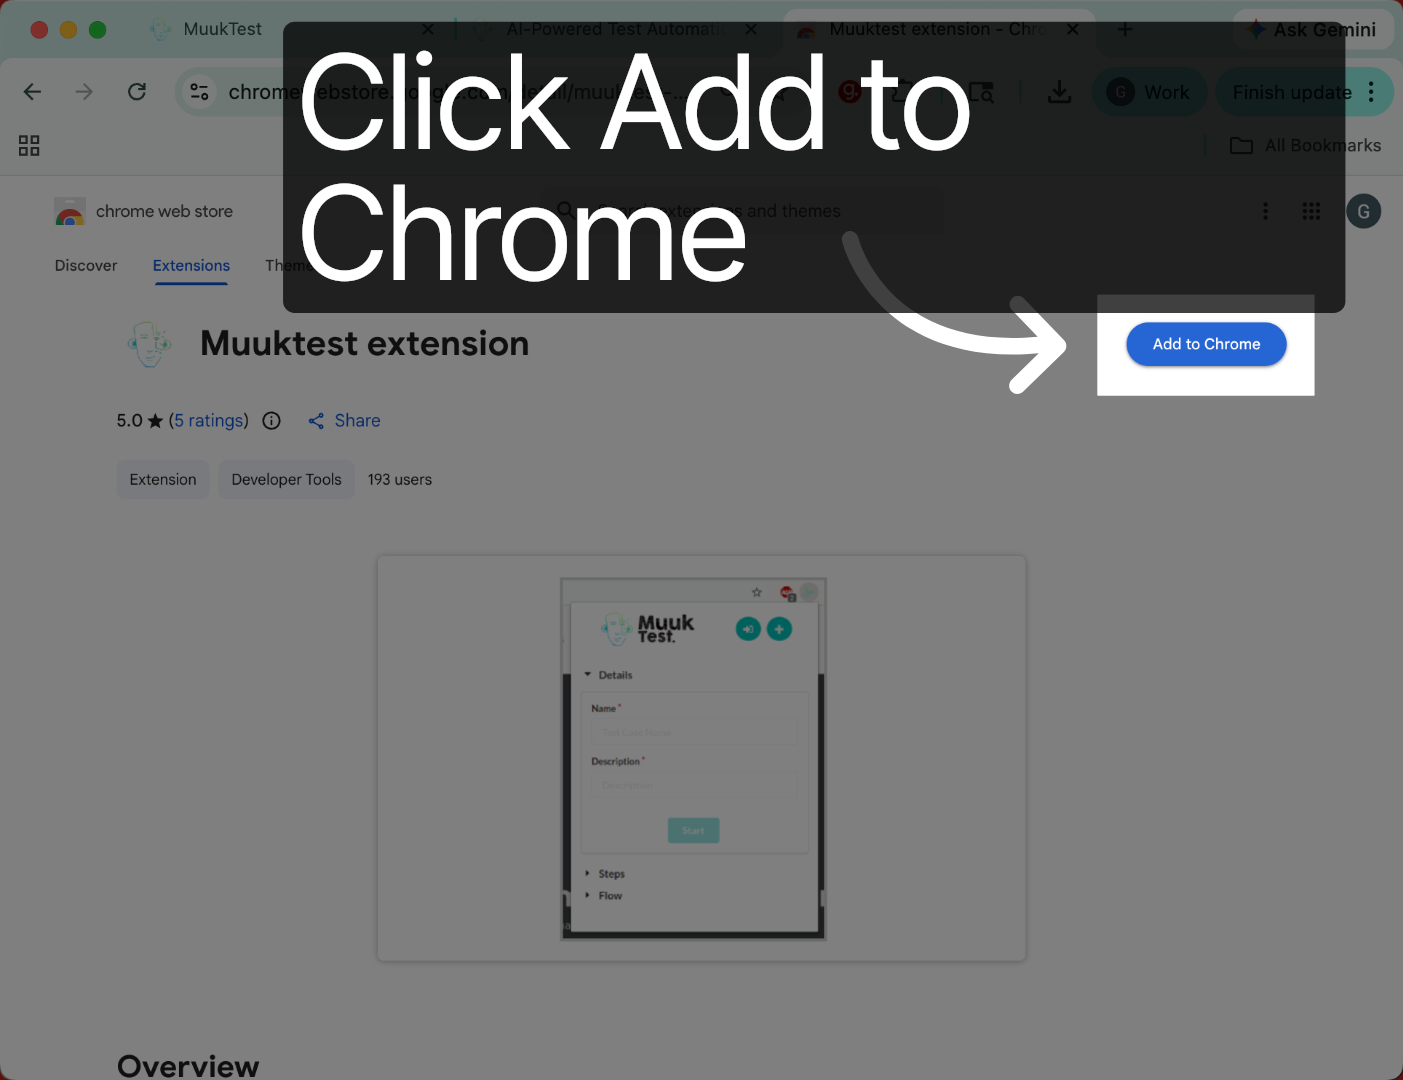
First we need to go to the extension store and make sure that we have it installed.
3. Add Extension To Chrome
Click the Add to Chrome button to begin installing the Muuktest extension.
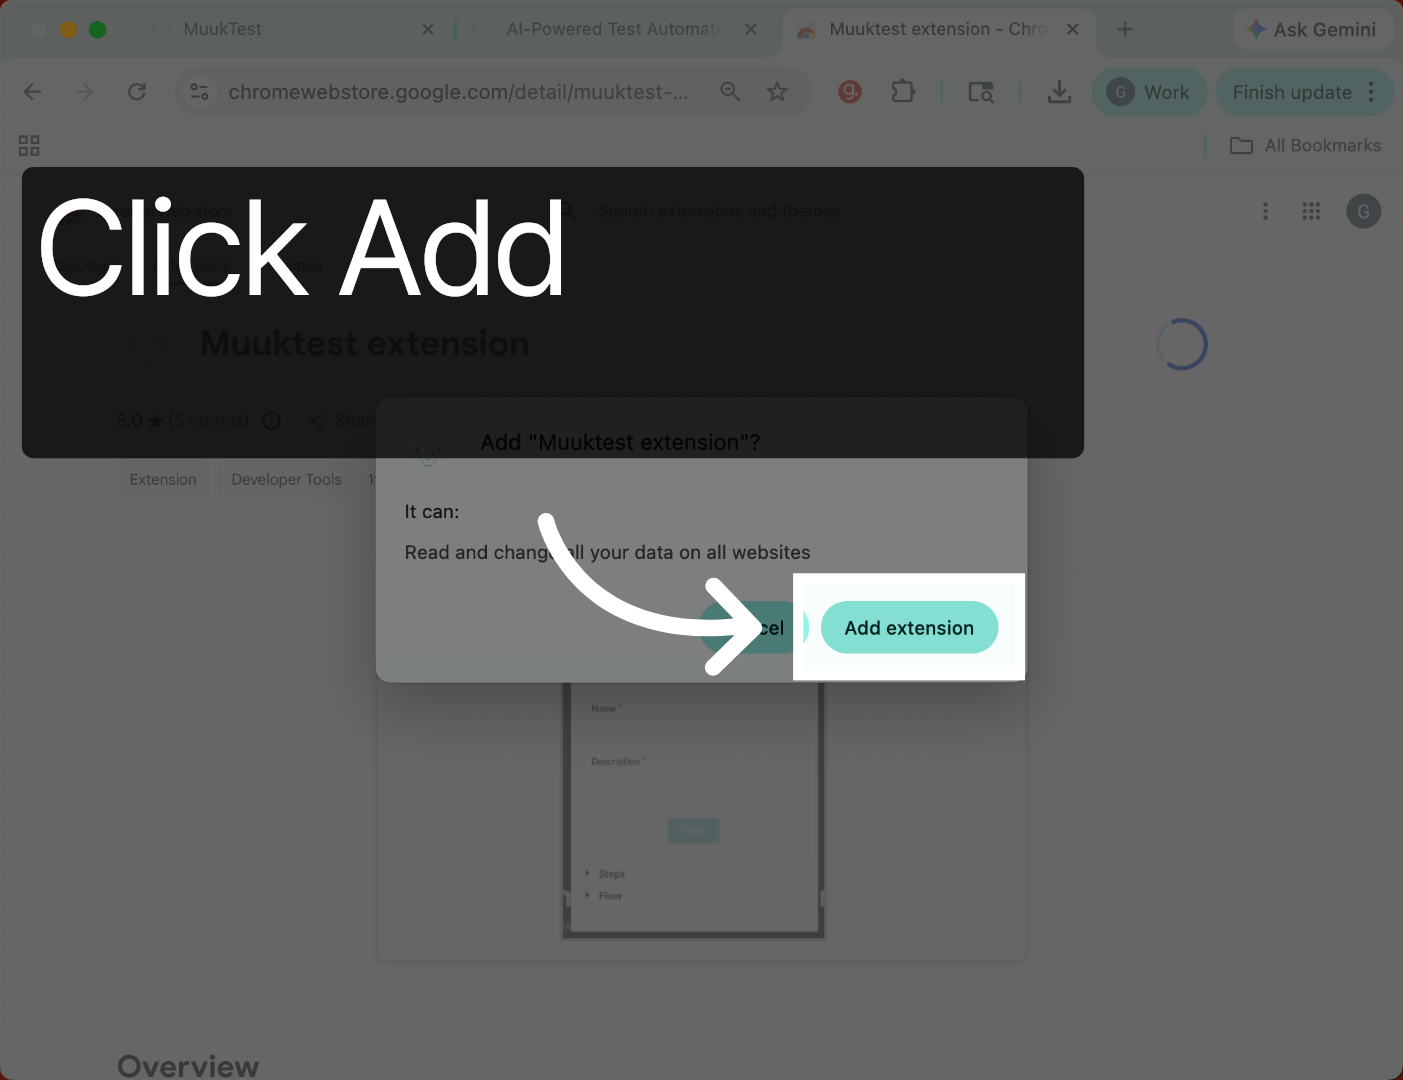
4. Confirm Extension Addition
Click the Add extension button to confirm and complete the installation process.
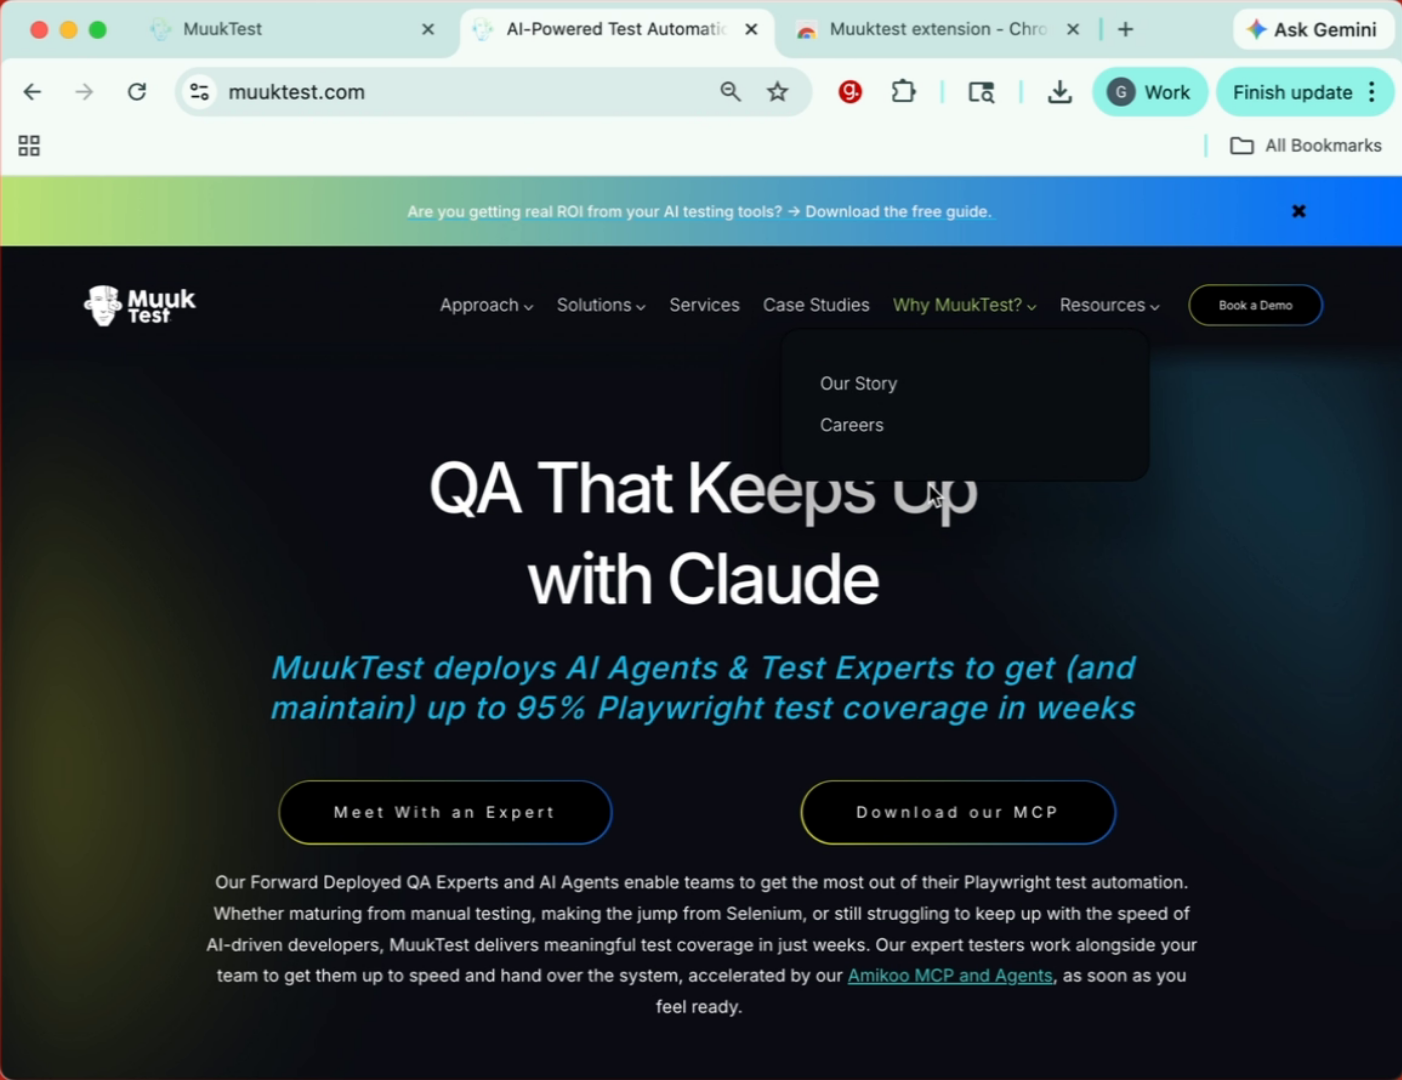
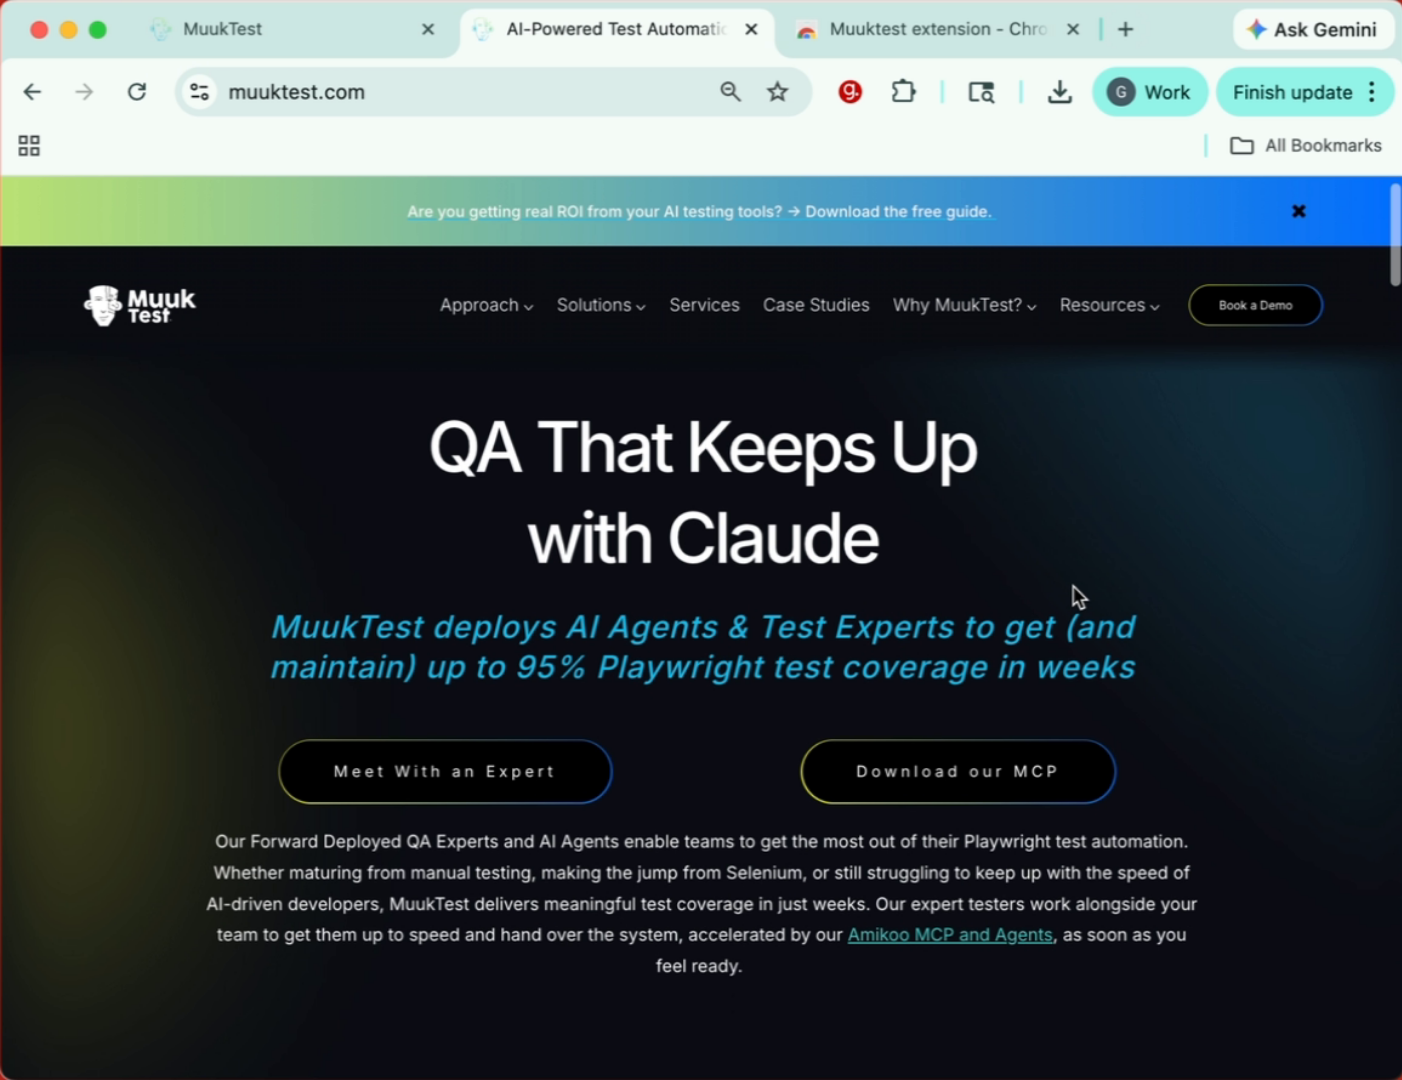
5. Navigate To Test Page
Once it's been installed, we have to go to the page where we want to record our test. We're going to click on our extensions. You will be prompted to sign in.
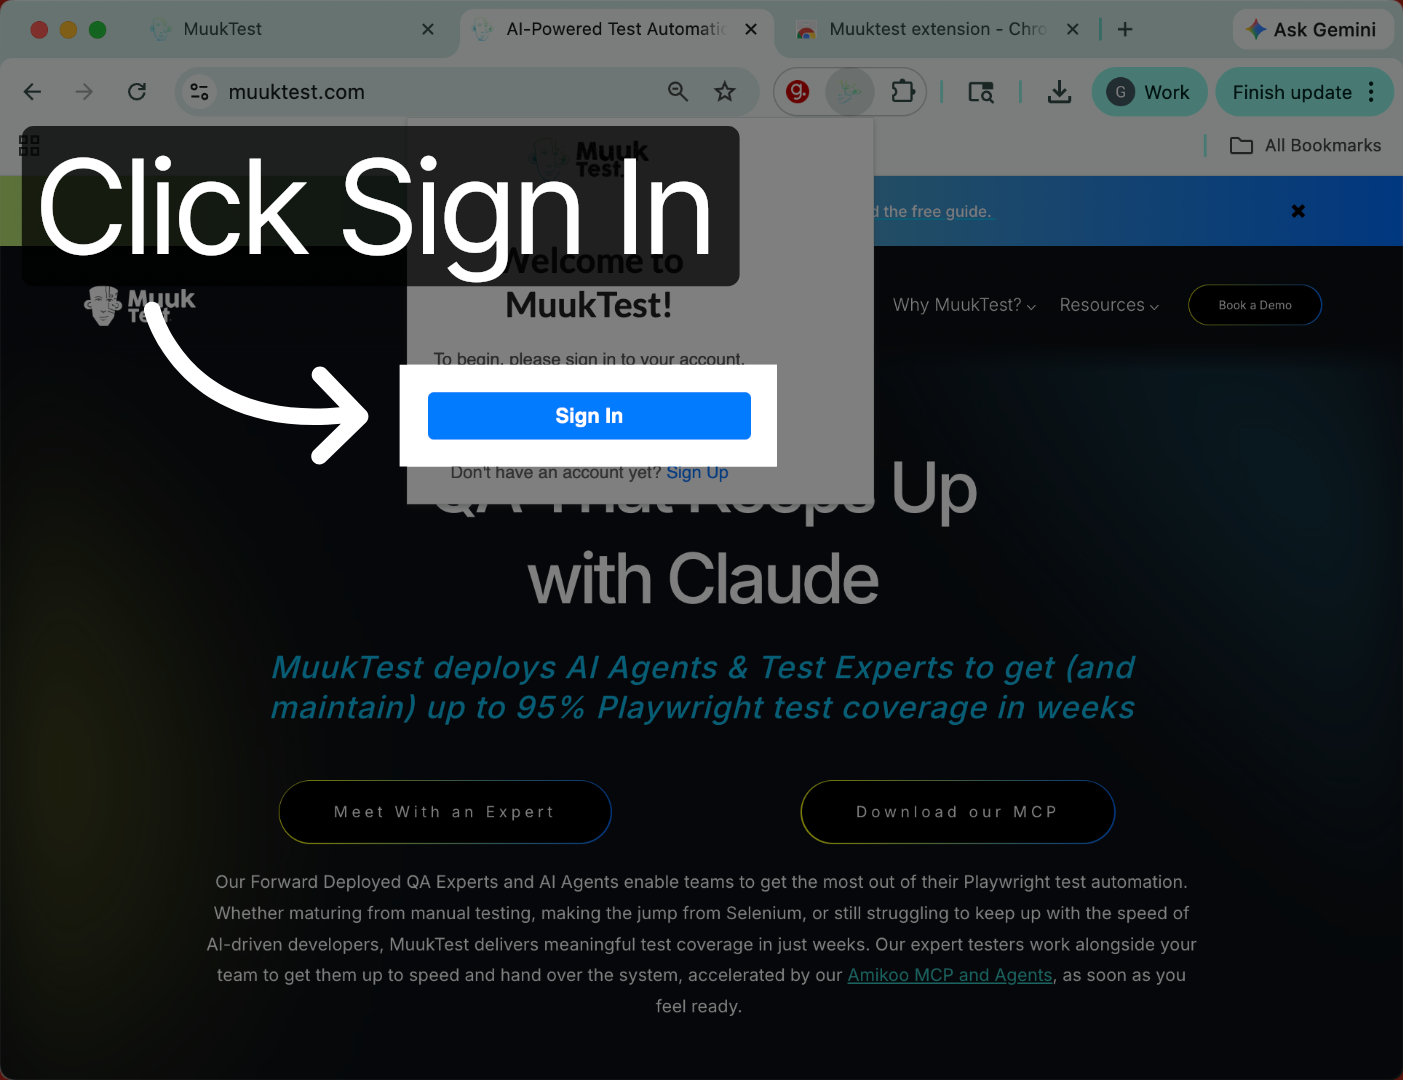
6. Sign In To Extension
Click the Sign In button to access your account and enable test recording features.
7. Check Sign-In Status
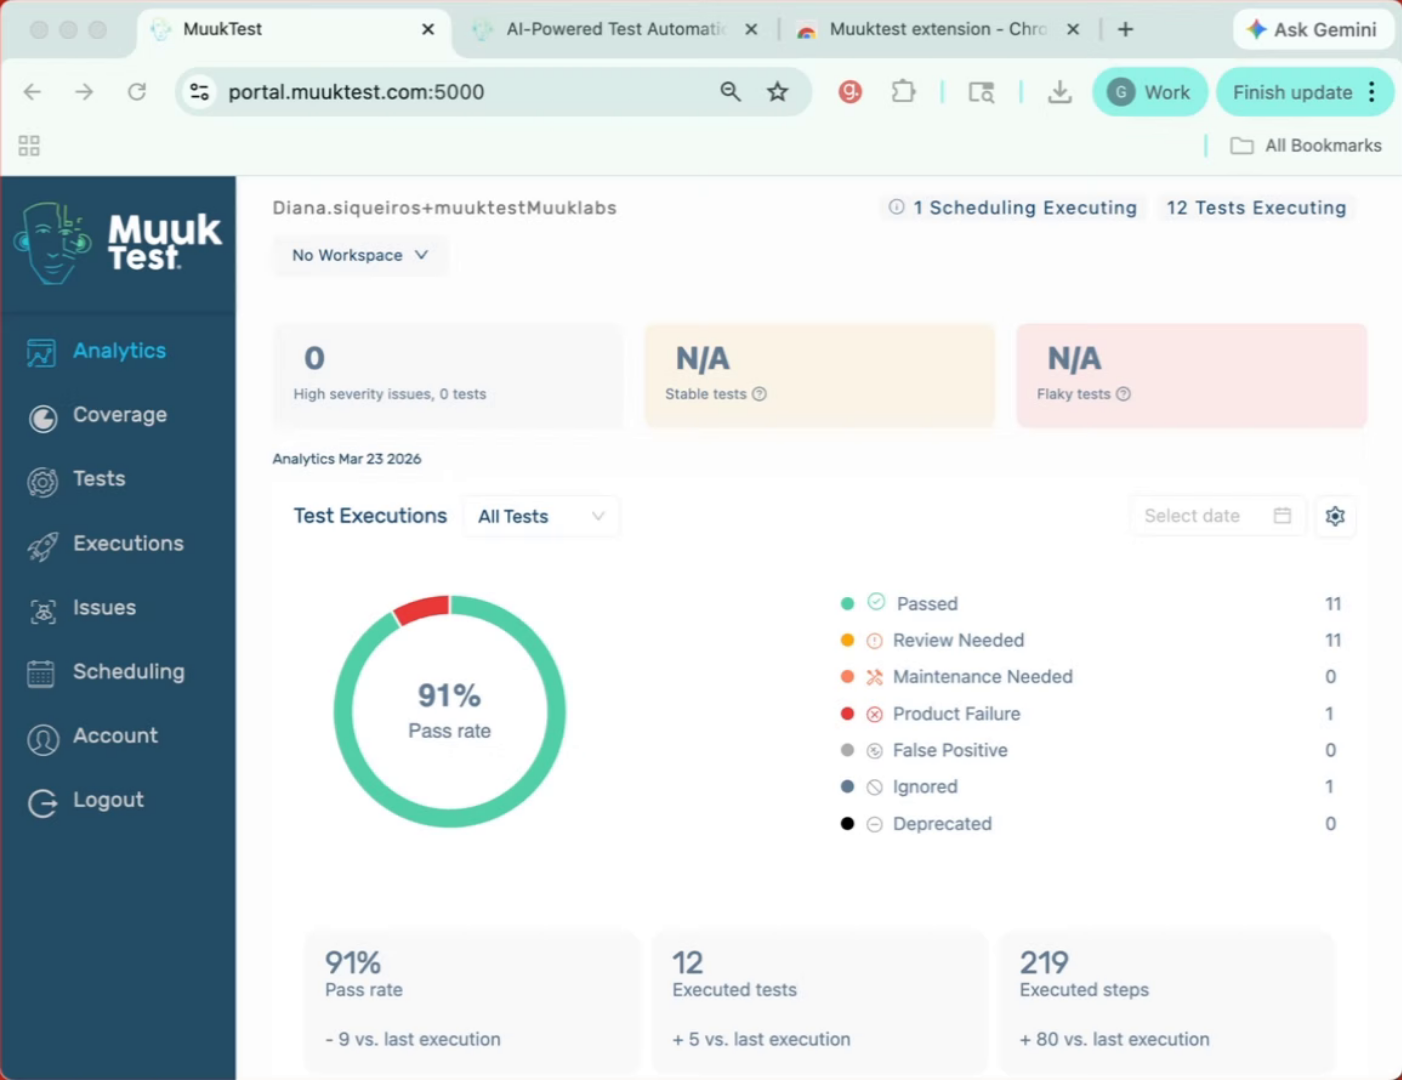
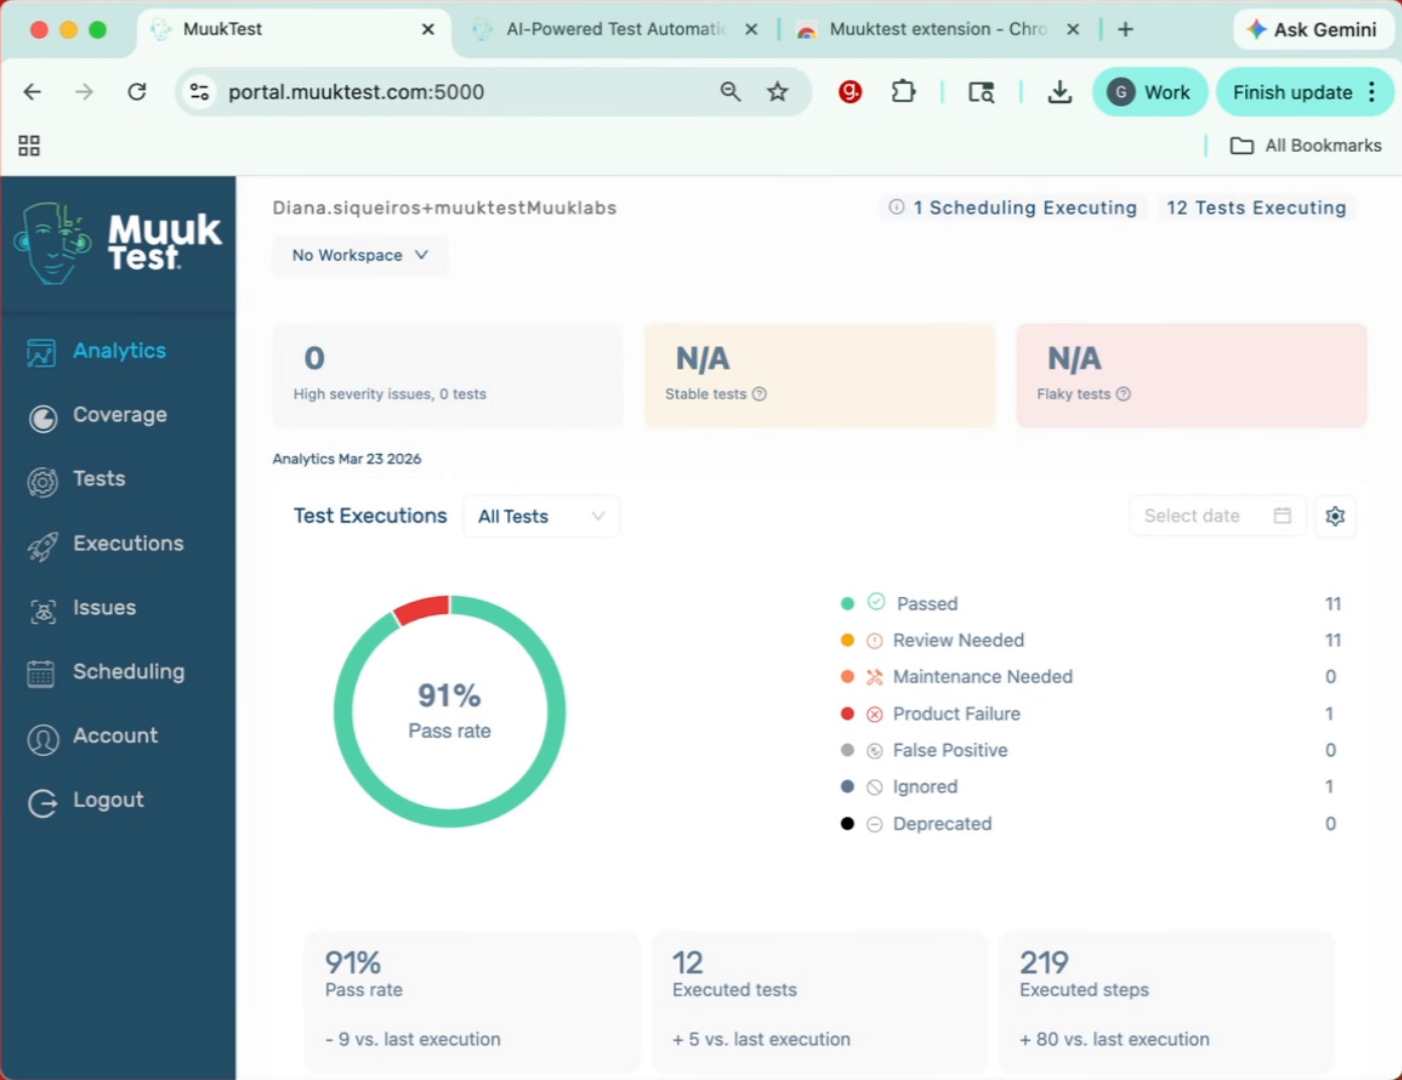
If we're already signed in with our portal, we don't need to sign in again.

8. Prepare To Start Test Recording
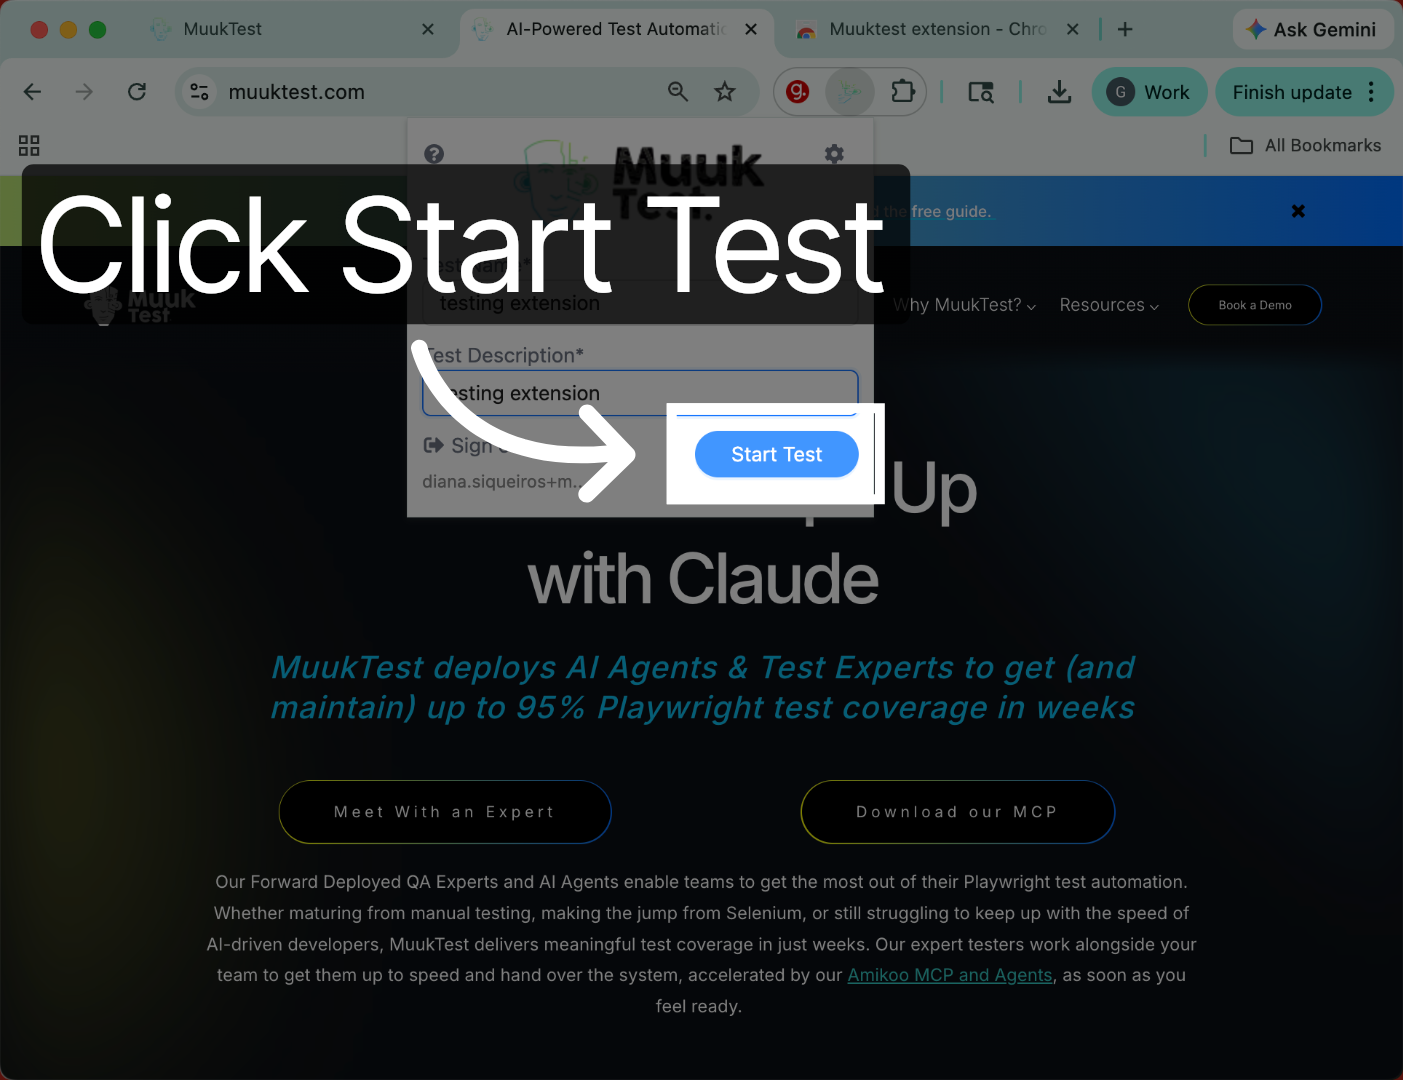
Now we have the page where we want to record our test. We're going to be prompted for our test name, and then we'll start our test.
9. Start Test Recording
Click the Start Test button to begin recording your test actions on the page.
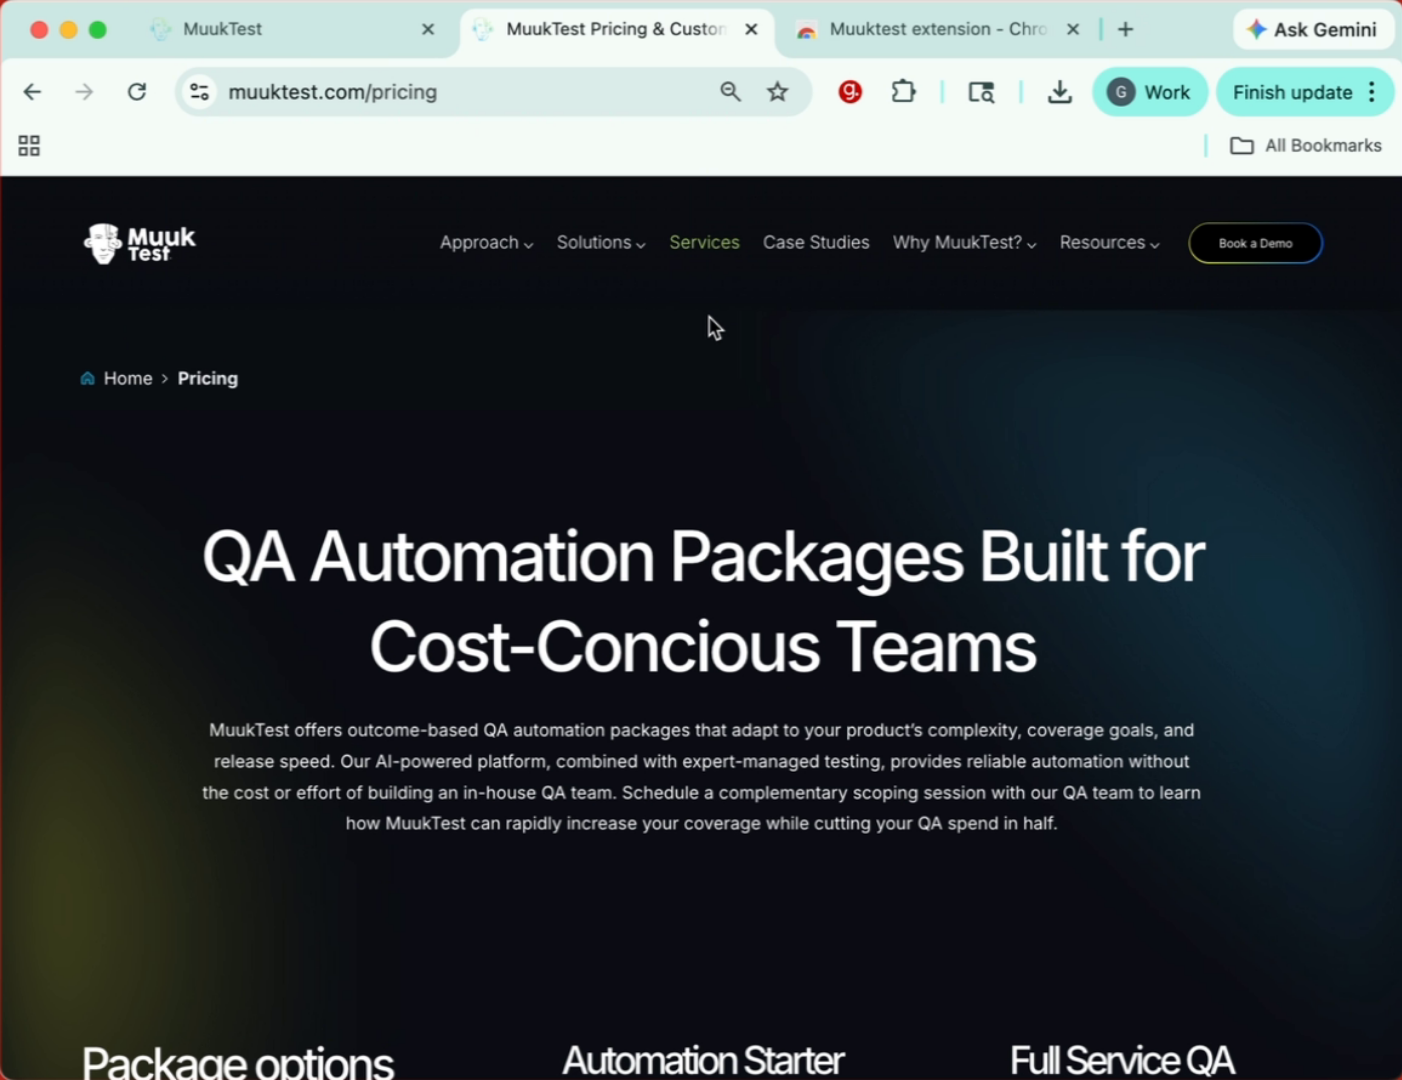
10. Navigate During Test
We can navigate the page. In this case, we're going to go to services.
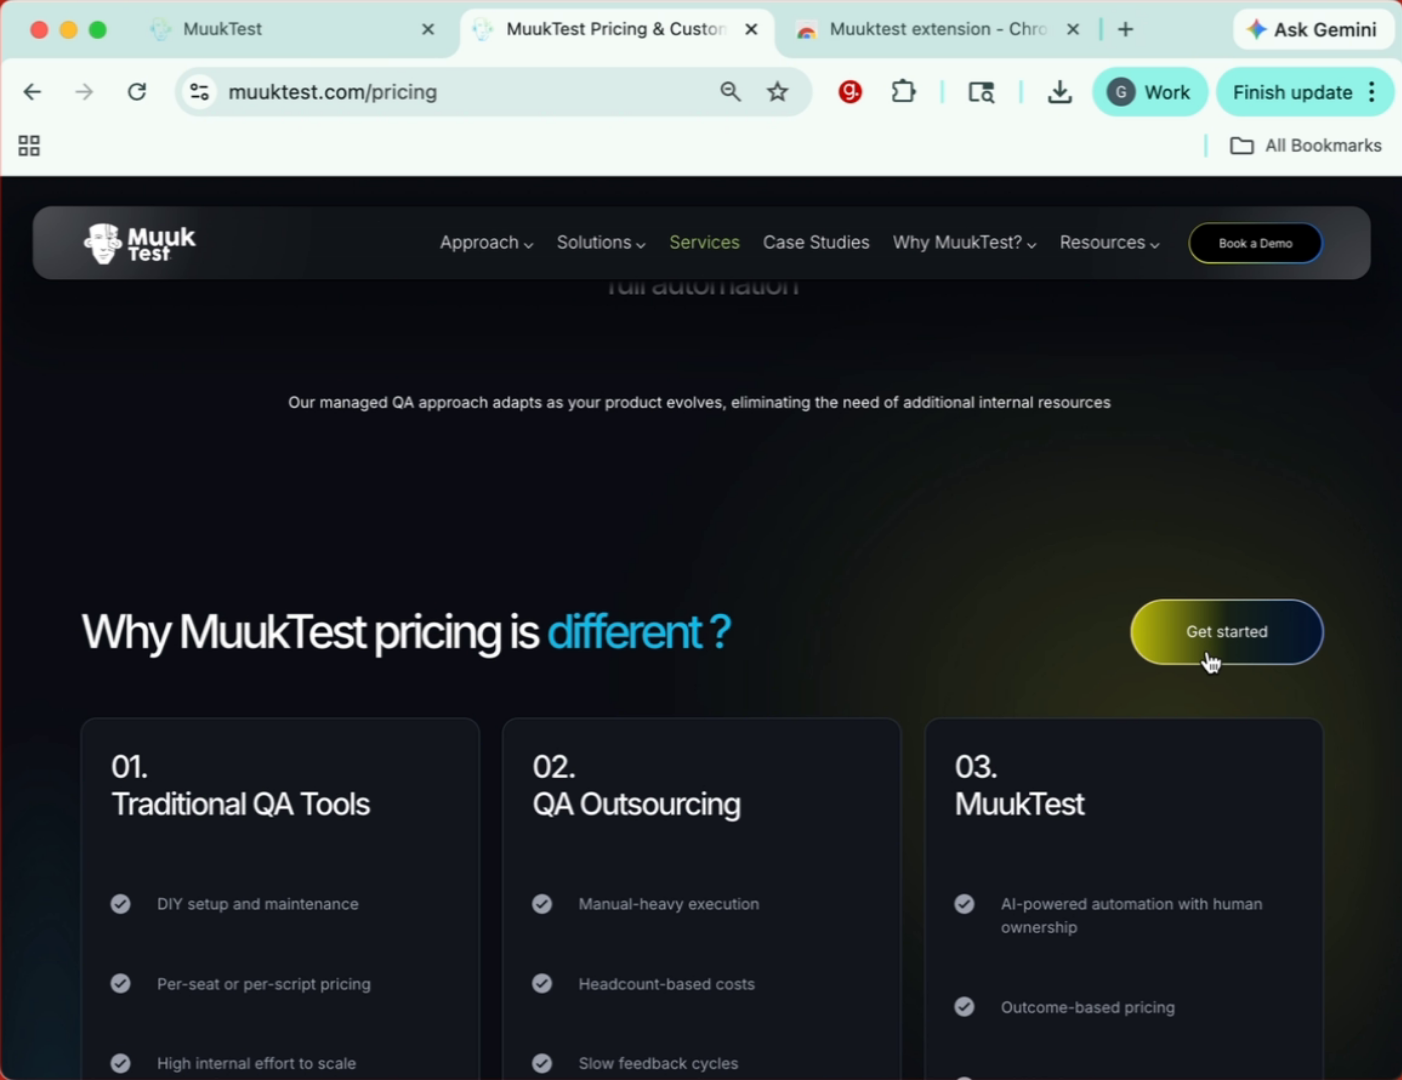
11. Observe Click Tracking
All of the clicks are going to be traced and we will have them in the port for our test. As you can see, it's highlighted where we're clicking.
12. Perform Click Actions
We're going to click here. We're going to click here.
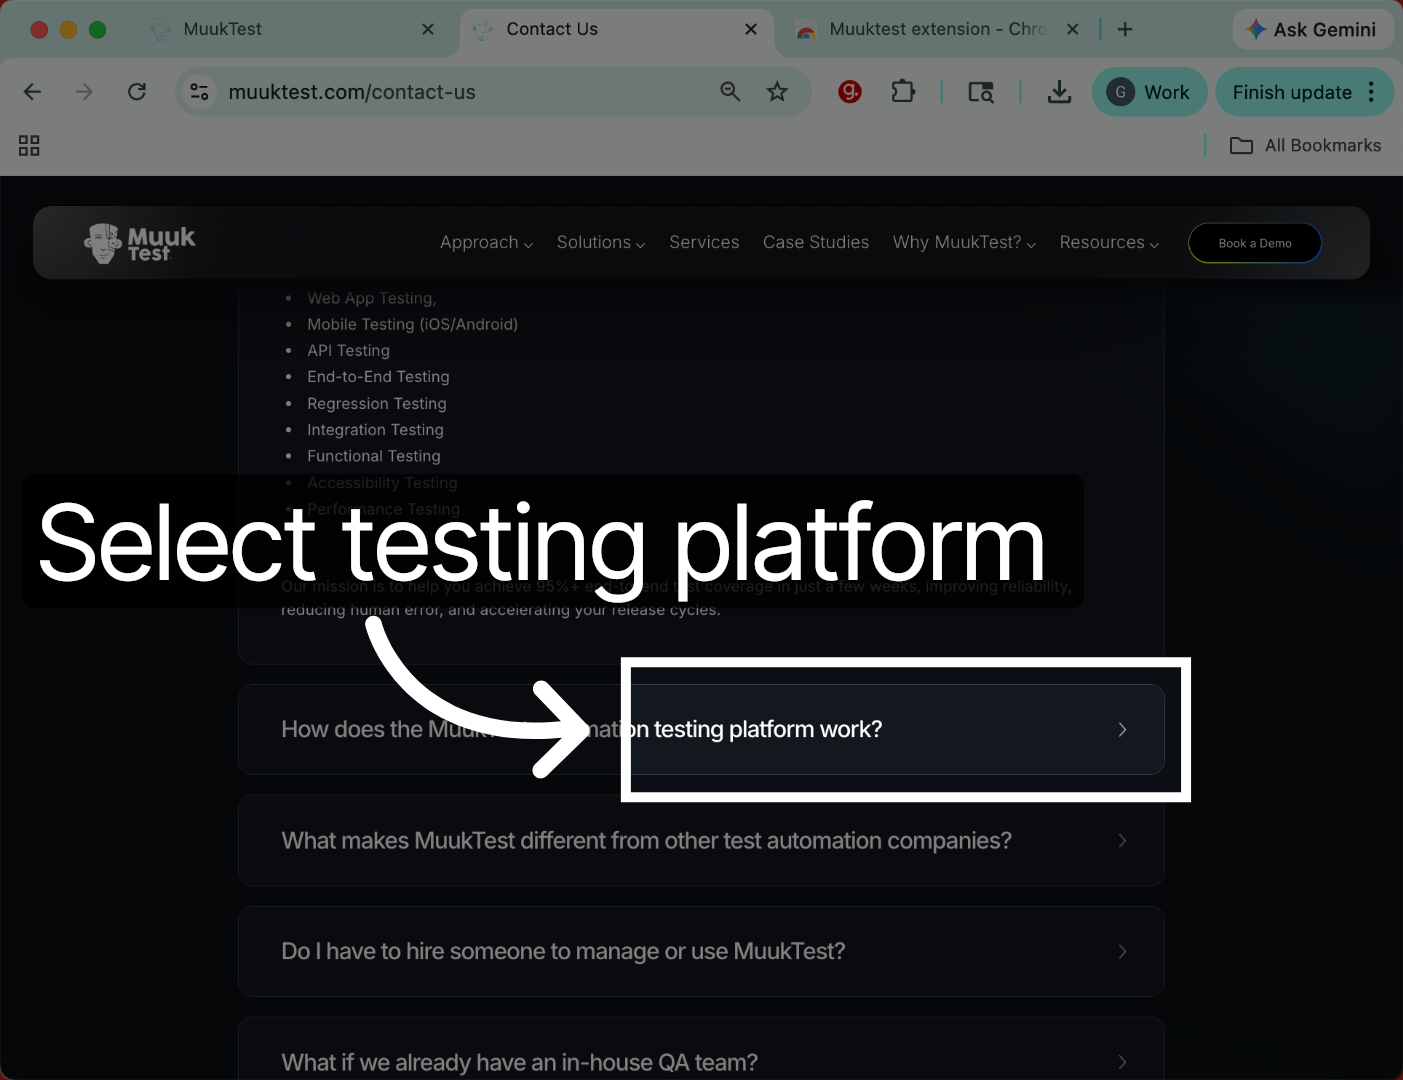
13. Select Testing Platform Work
Click the testing platform work link to include it in your test recording.
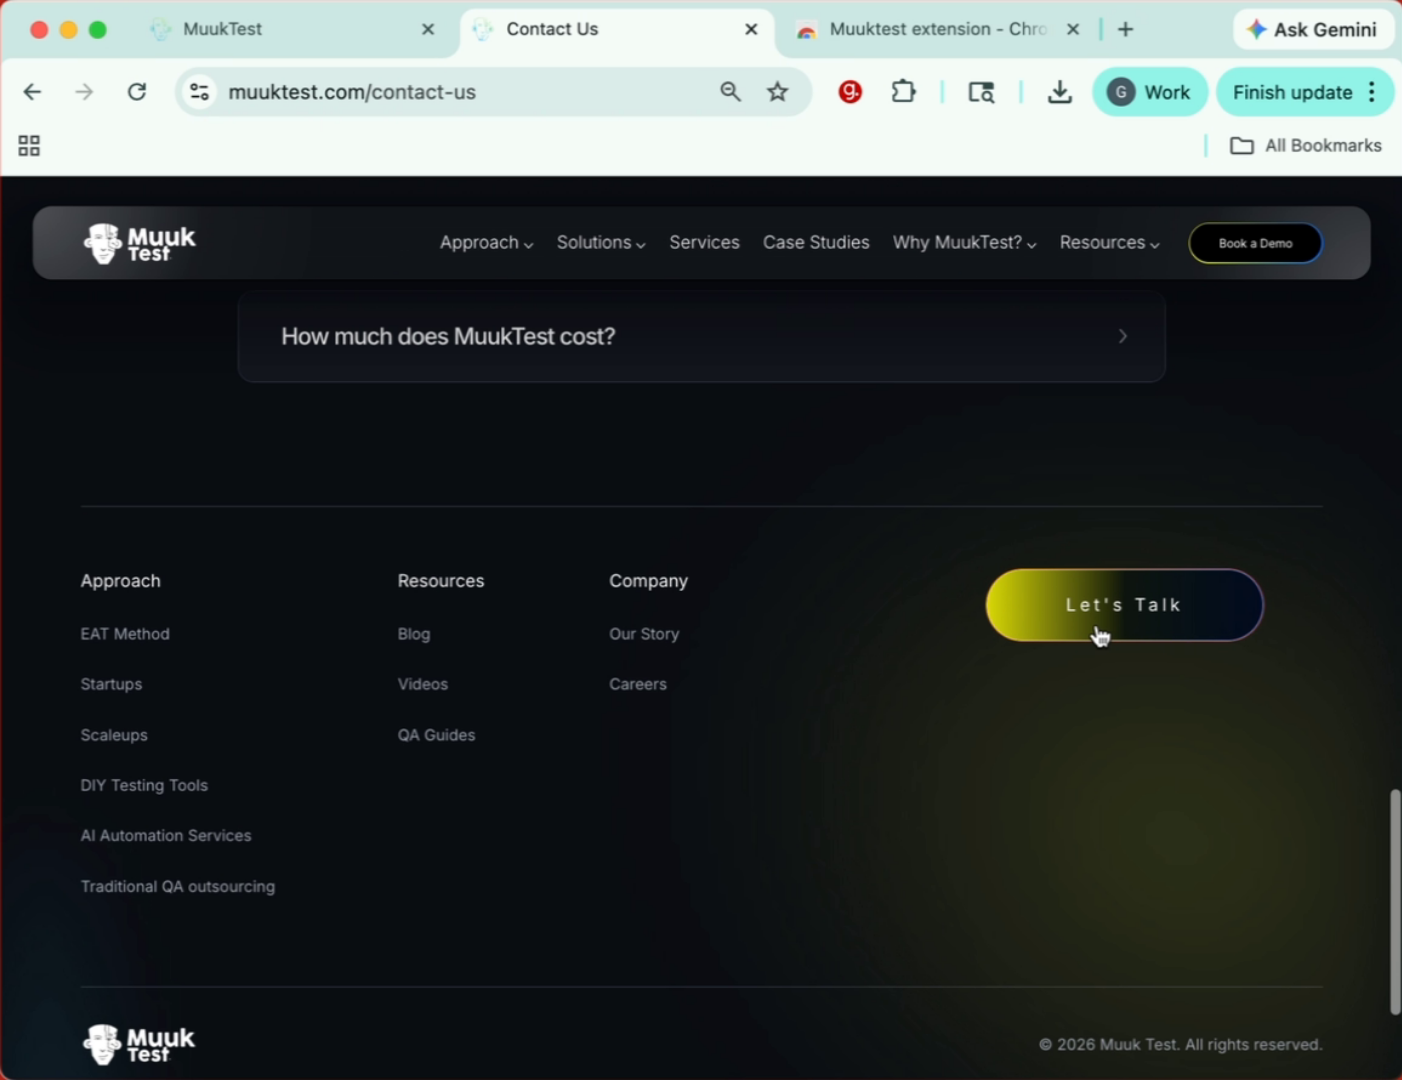
14. Continue Recording Test Actions
And all of this is being recorded. We're going to go back to the test.
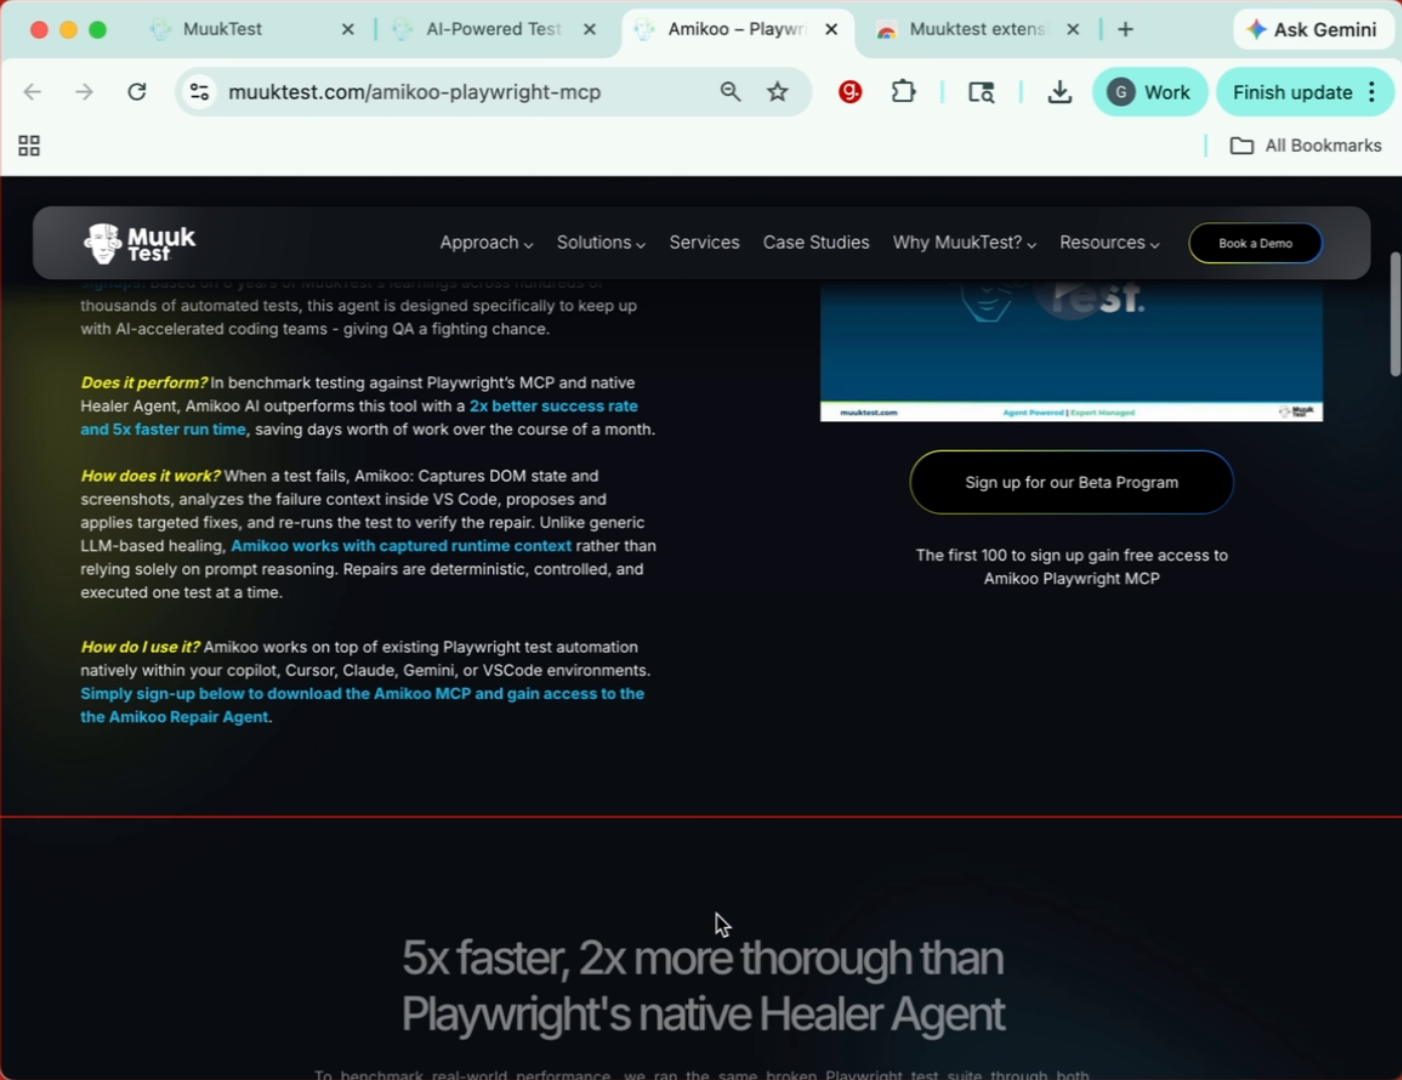
15. Complete And Save Test
Once we're done recording our test, we can go back and click on the extension.
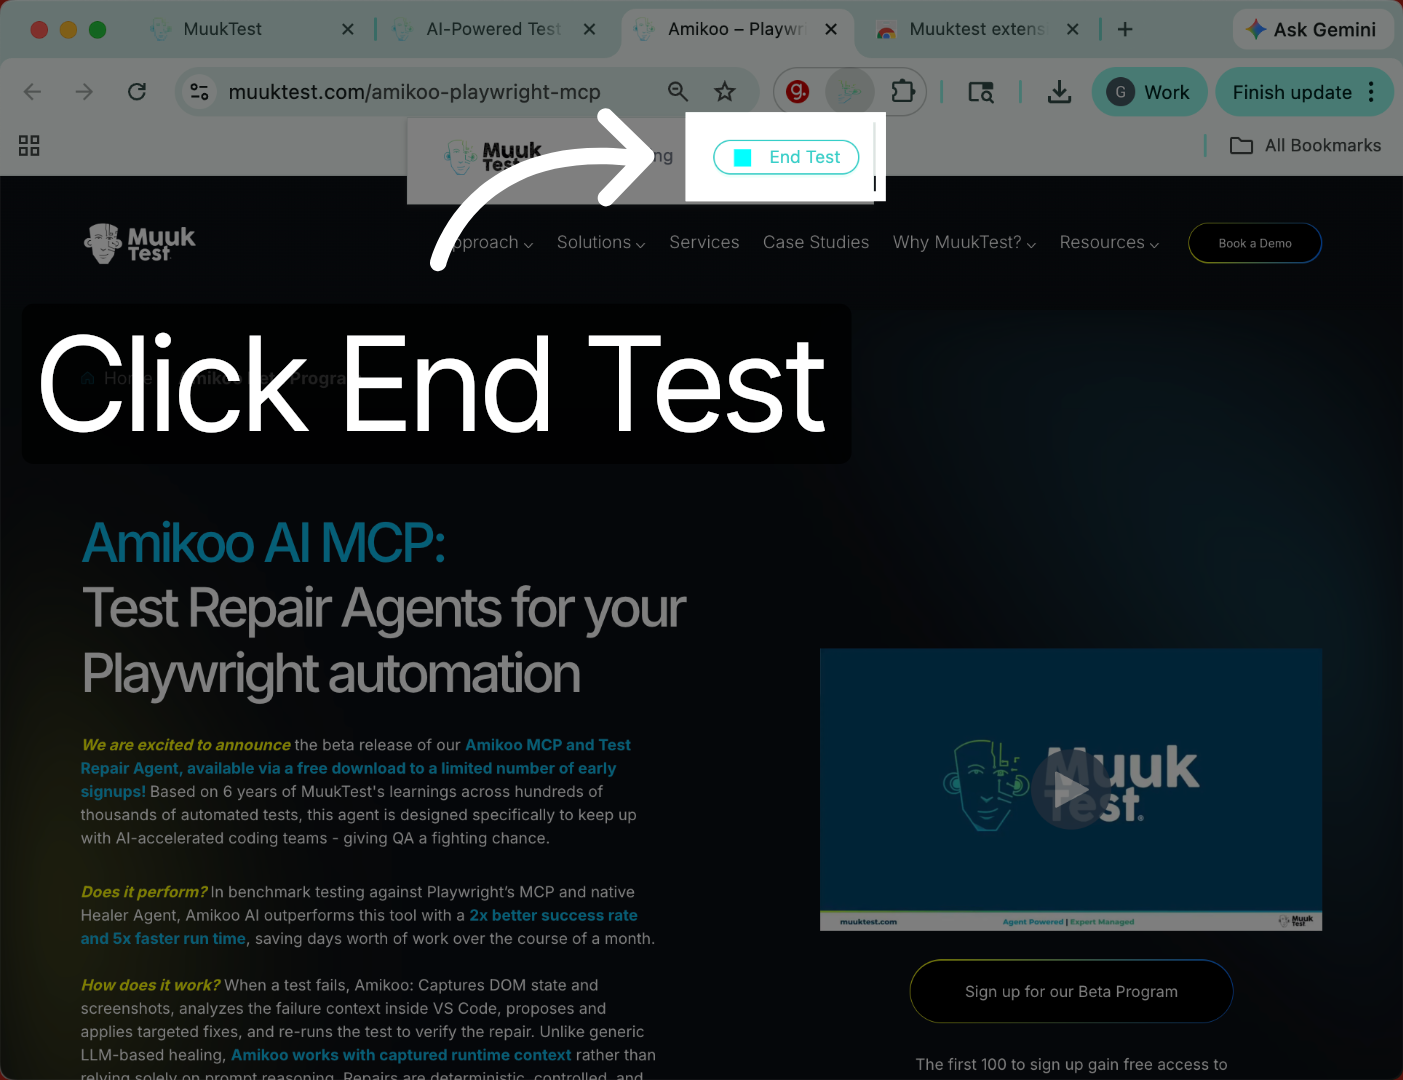
16. End Test Recording
Click the End Test button to finish and save your recorded test session.
17. Confirm Test Save
Your test has been saved. You can prompt to create a new test or you can go back and view your test in your portal.
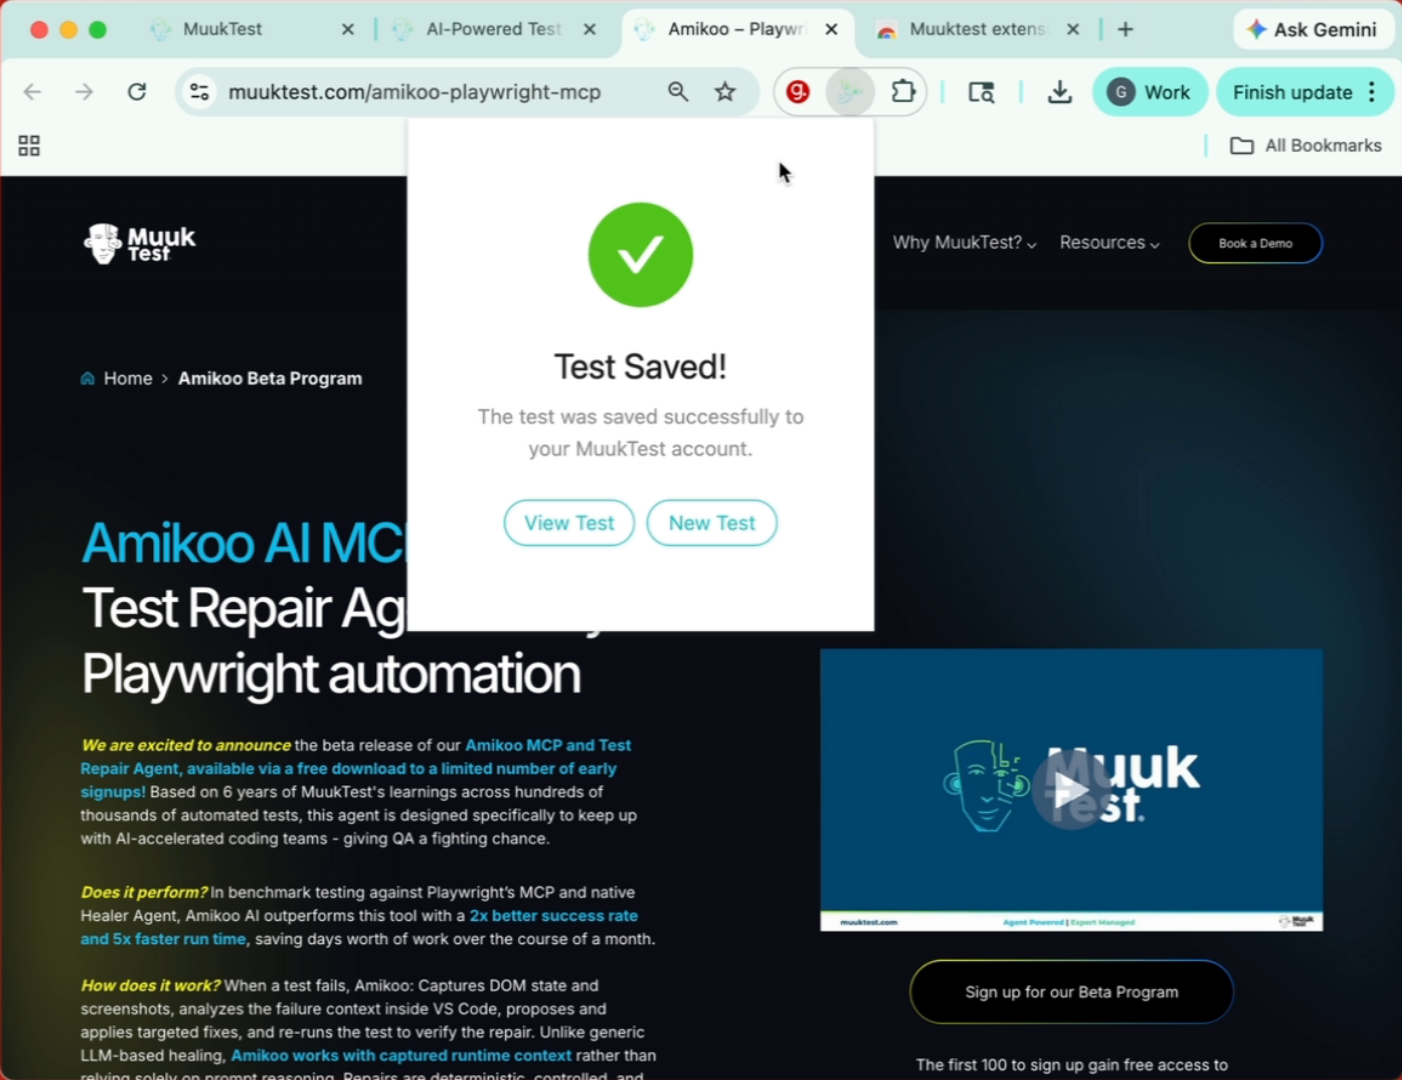
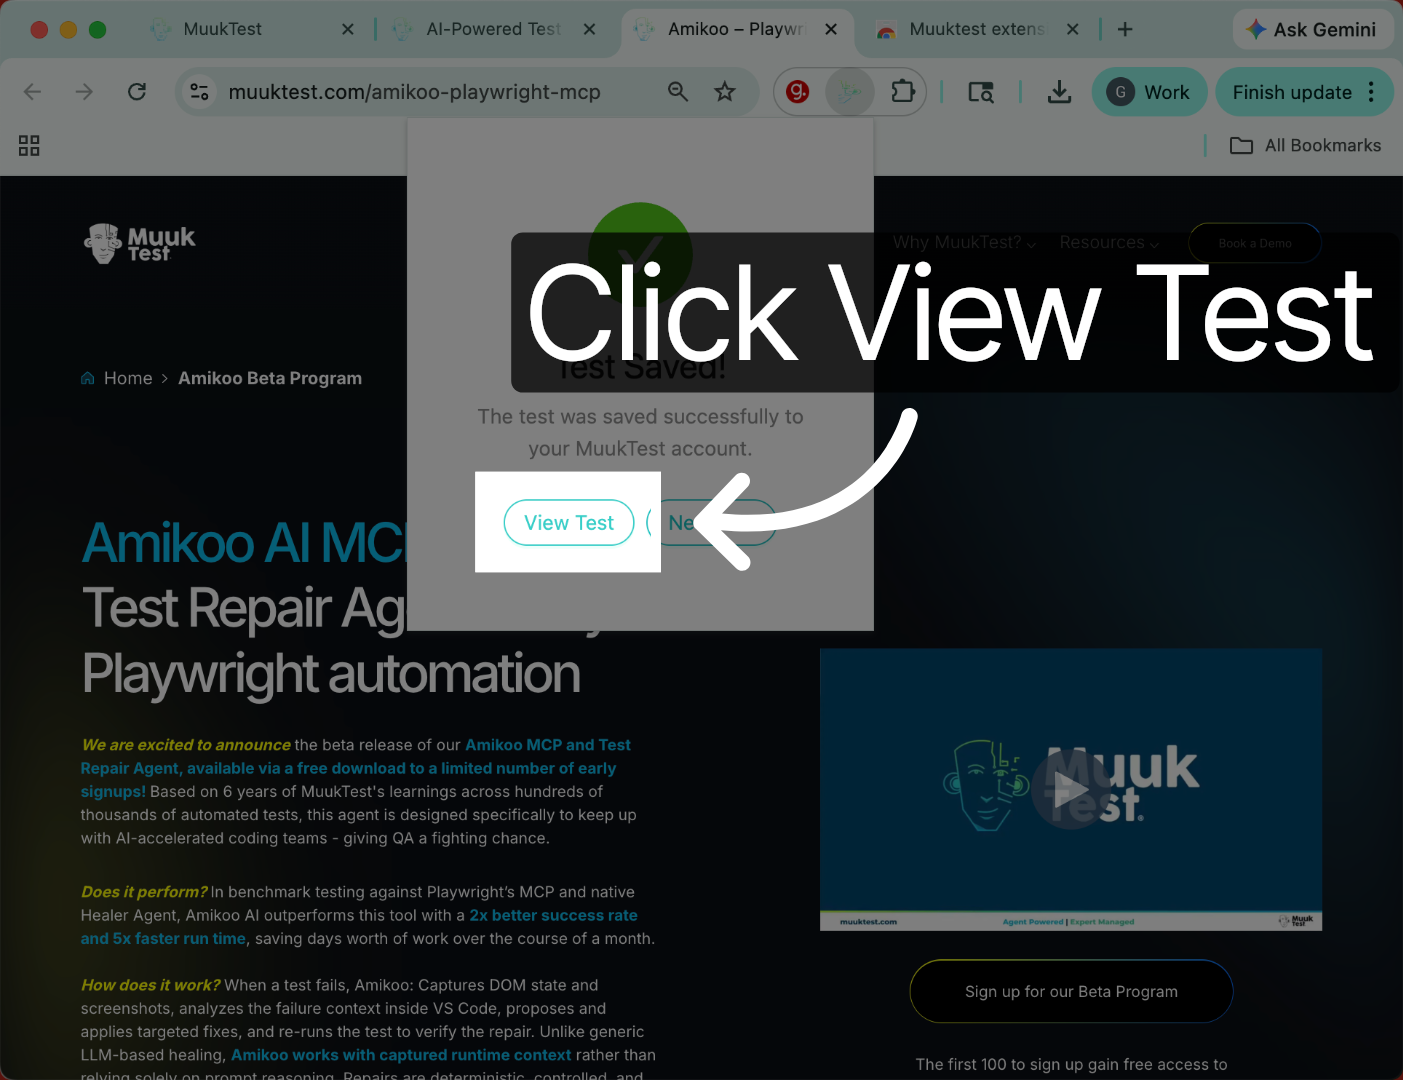
18. View Saved Test
Click the View Test button to open and review your saved test details.
19. Review Test URL And Steps
Here we can see our URL and all the steps we performed.

20. Execute Created Test
We can execute our test and this is now a created test using the extension.

21. Closing Thanks
Thank you.

You have successfully recorded, saved, and reviewed a test using the Muuktest extension. You can now execute your test or create new ones to continue your testing workflow.
Comments
0 comments
Please sign in to leave a comment.