
This tutorial guides you through creating and automating a test within the MuukTest application. You will learn how to design a manual test, automate it, and prepare it for execution.
Go to portal.muuktest.com:5000
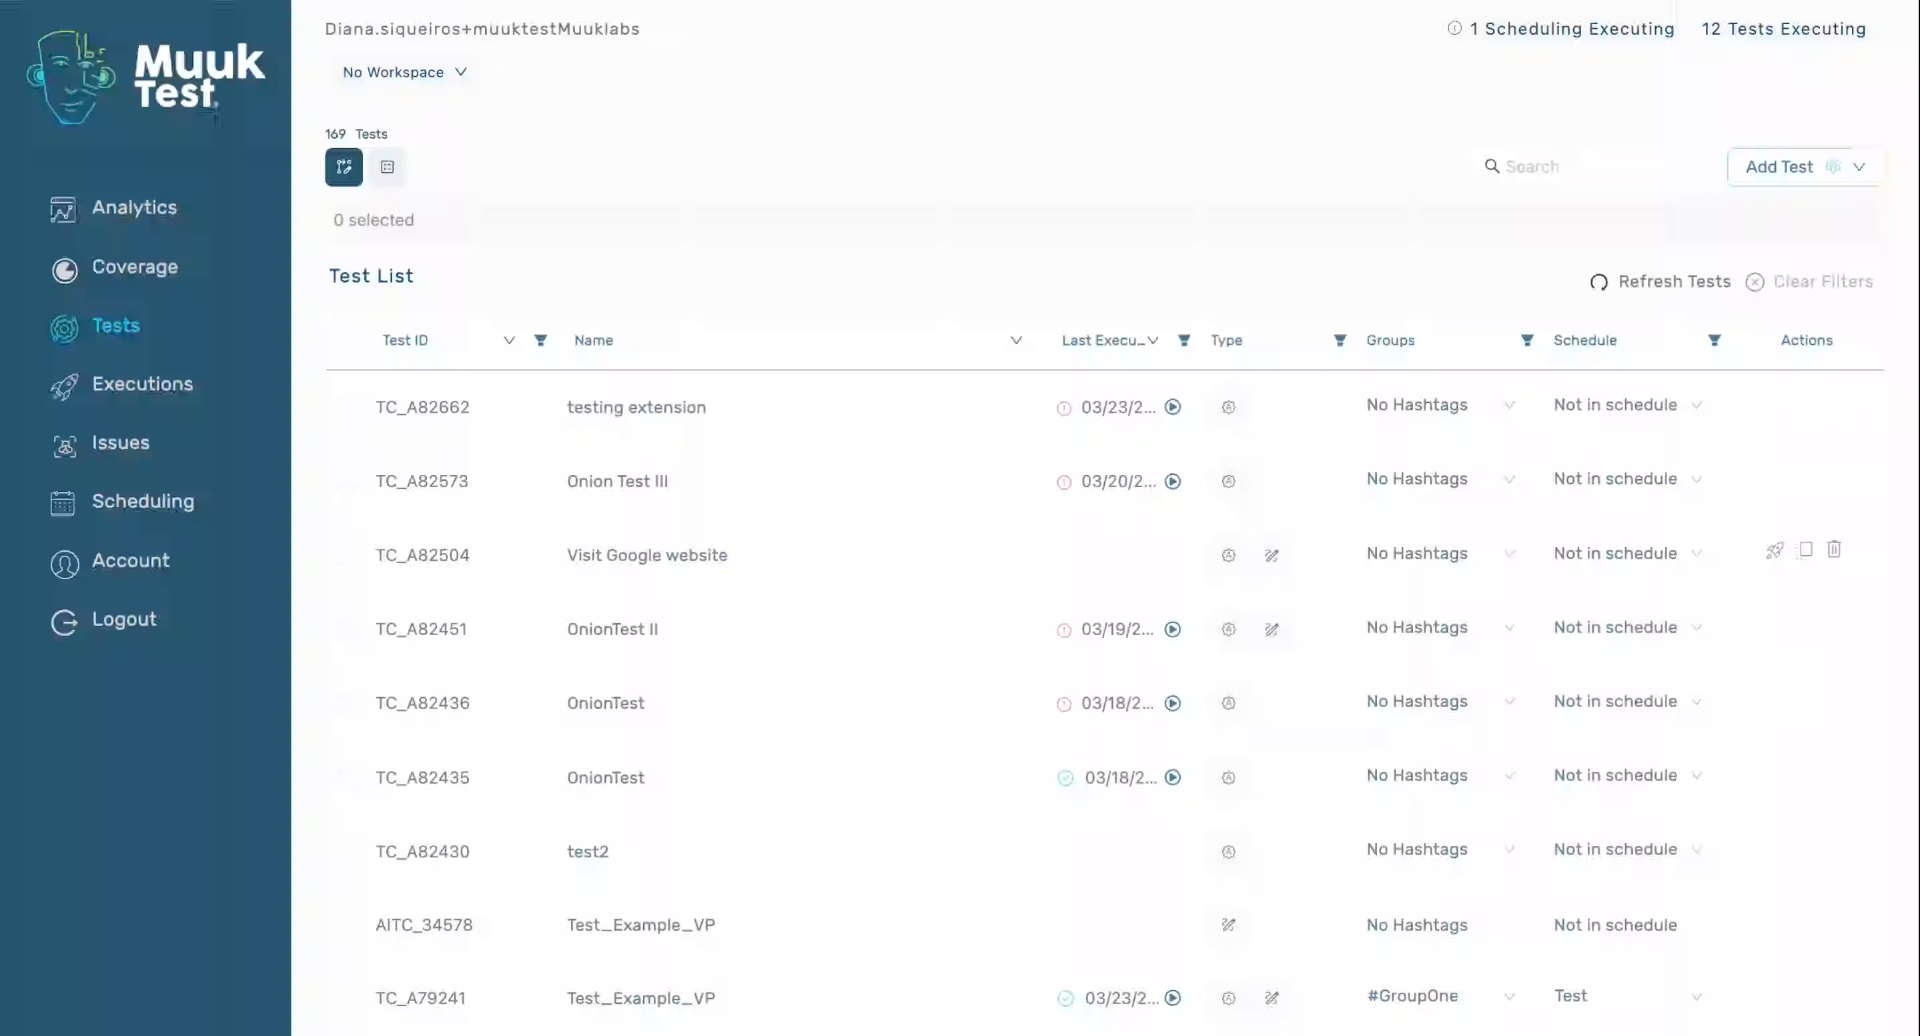
1. Locate Add Test Button
Hello, today we're going to learn how to create a new test menu. In our test view, we're going to see the button called Add Test at the top right corner.
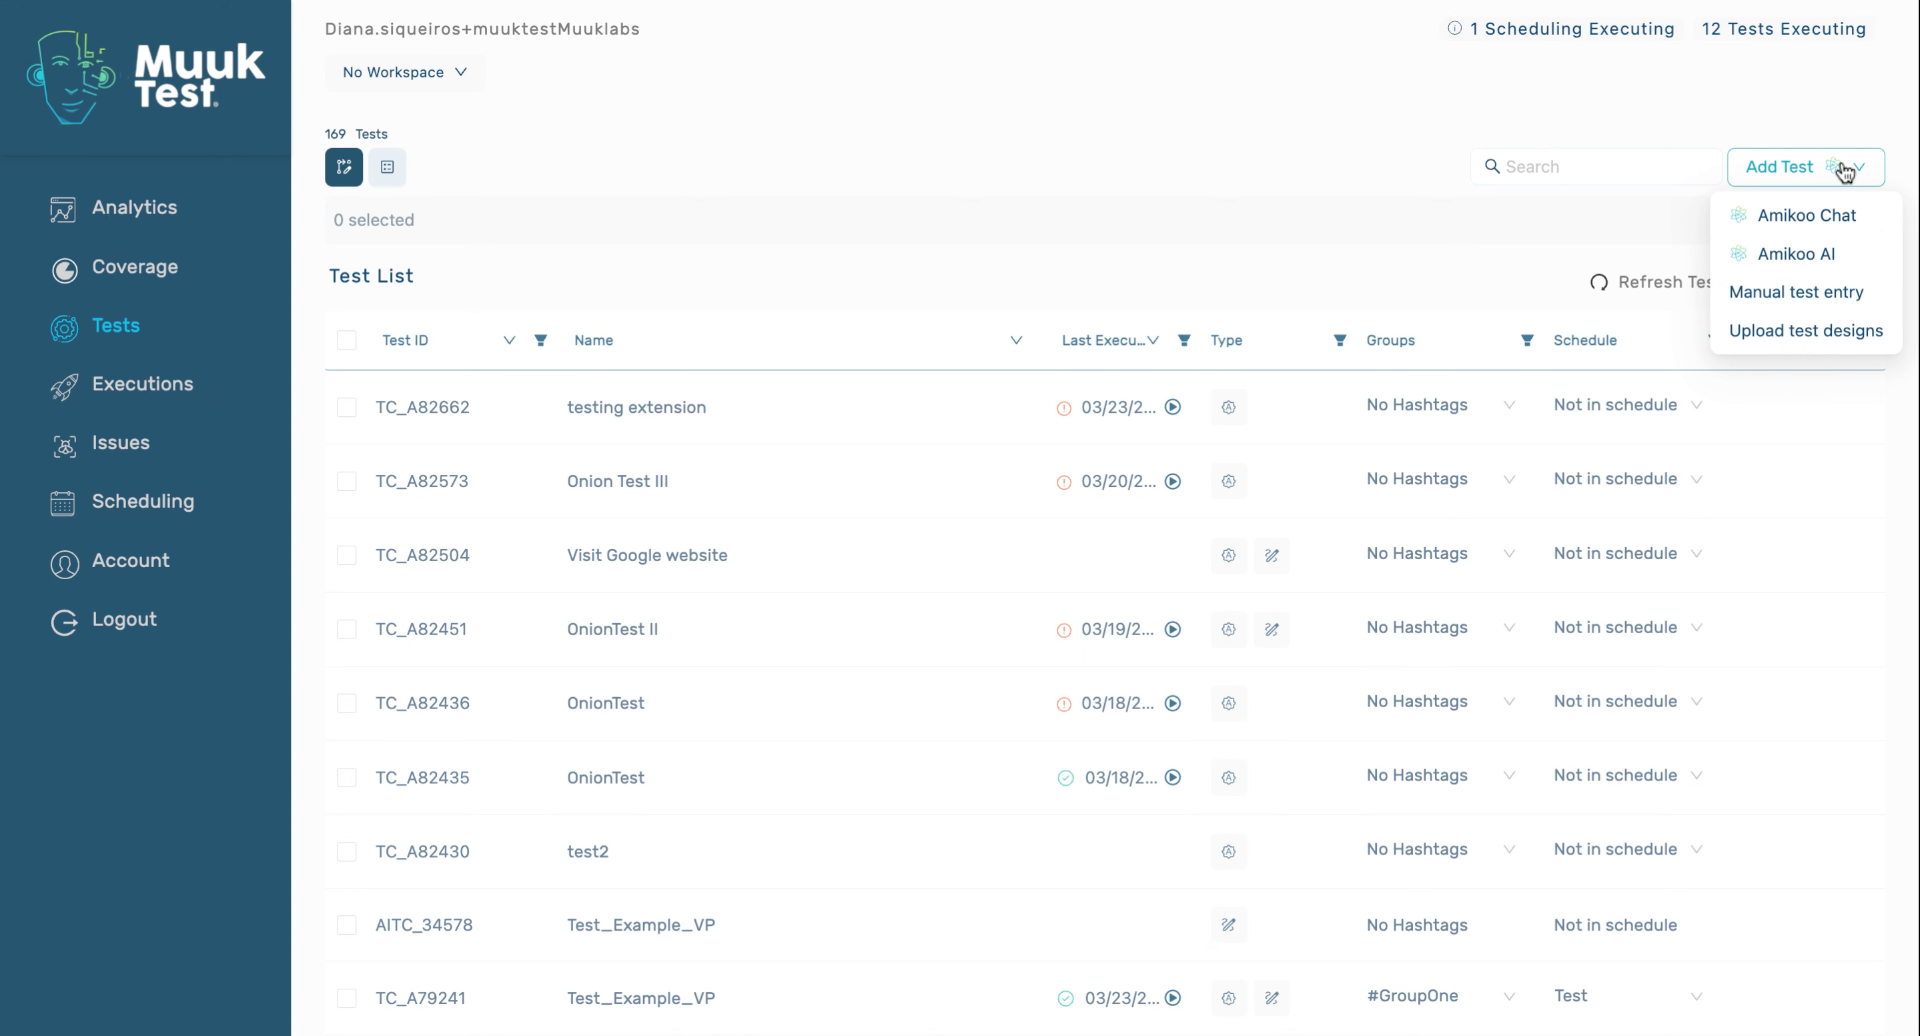
2. Access Manual Test Entry
Then we're going to click, we're going to go to Manual Test Entry.
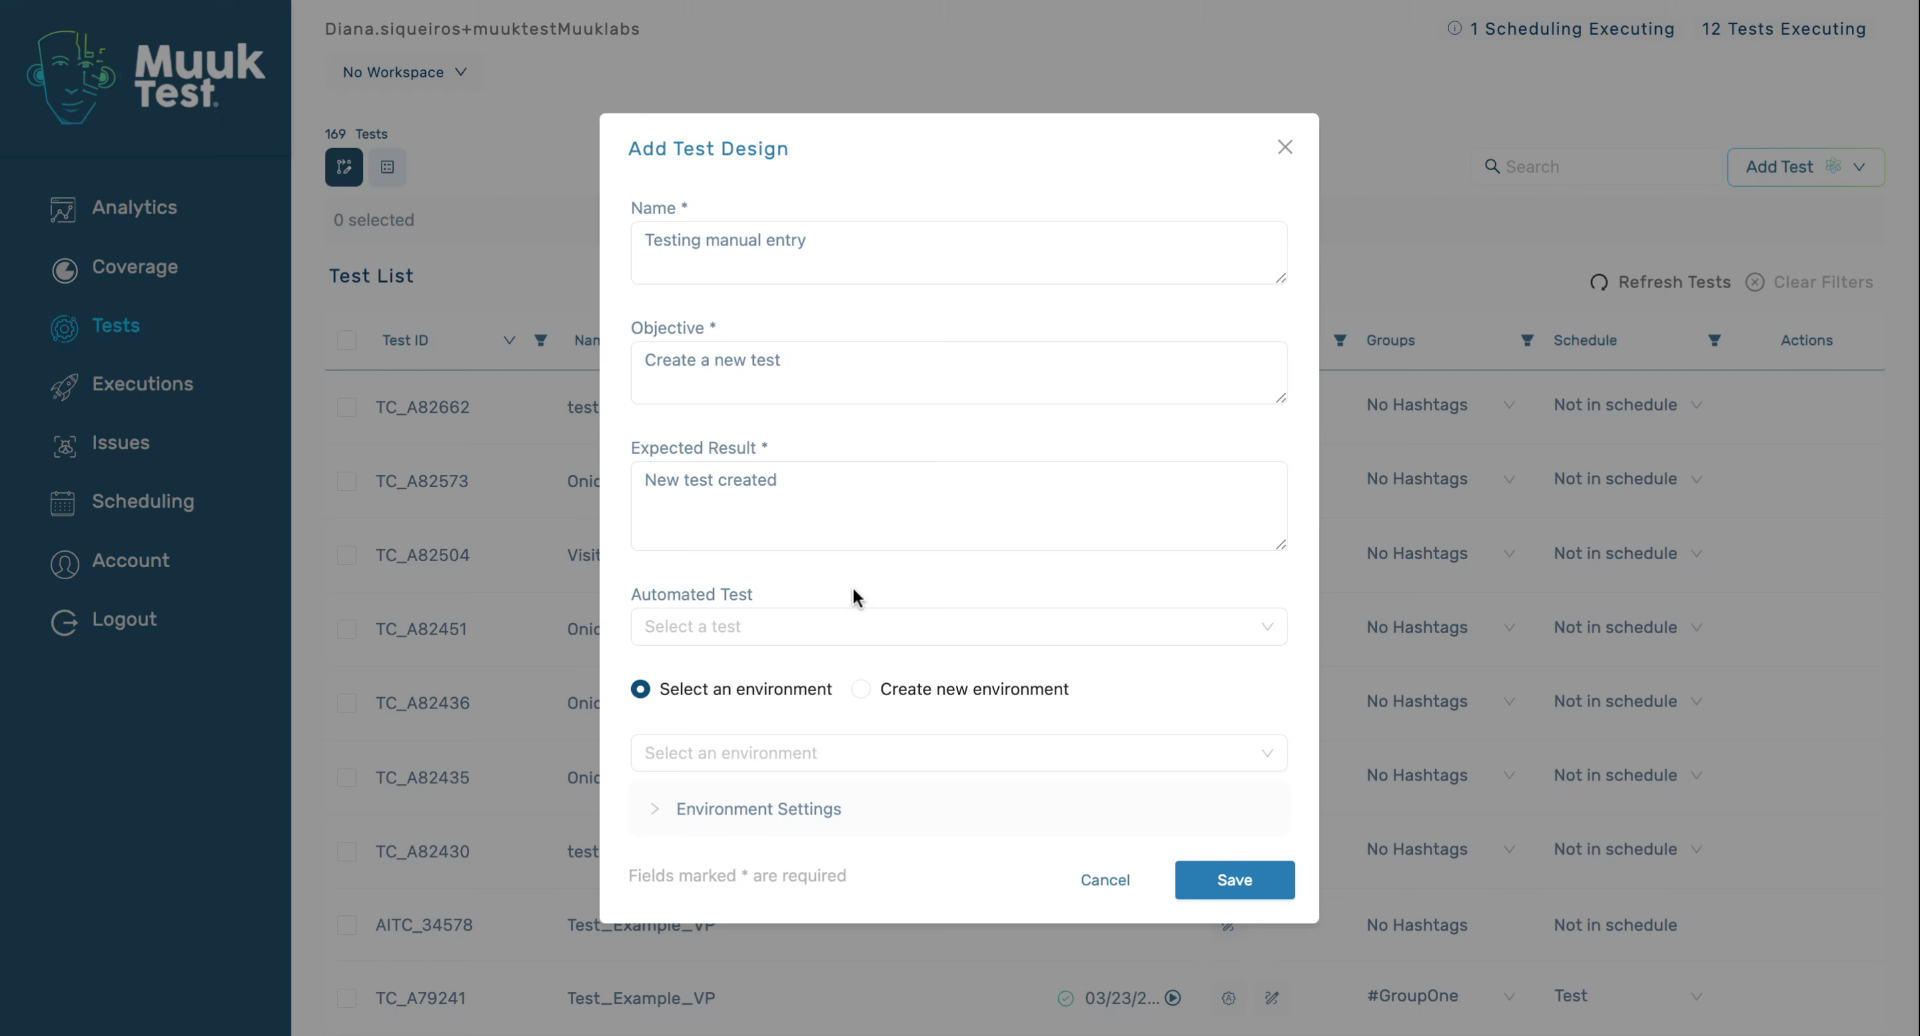
3. Enter Expected Result
Enter the expected result description to define what the test should achieve.
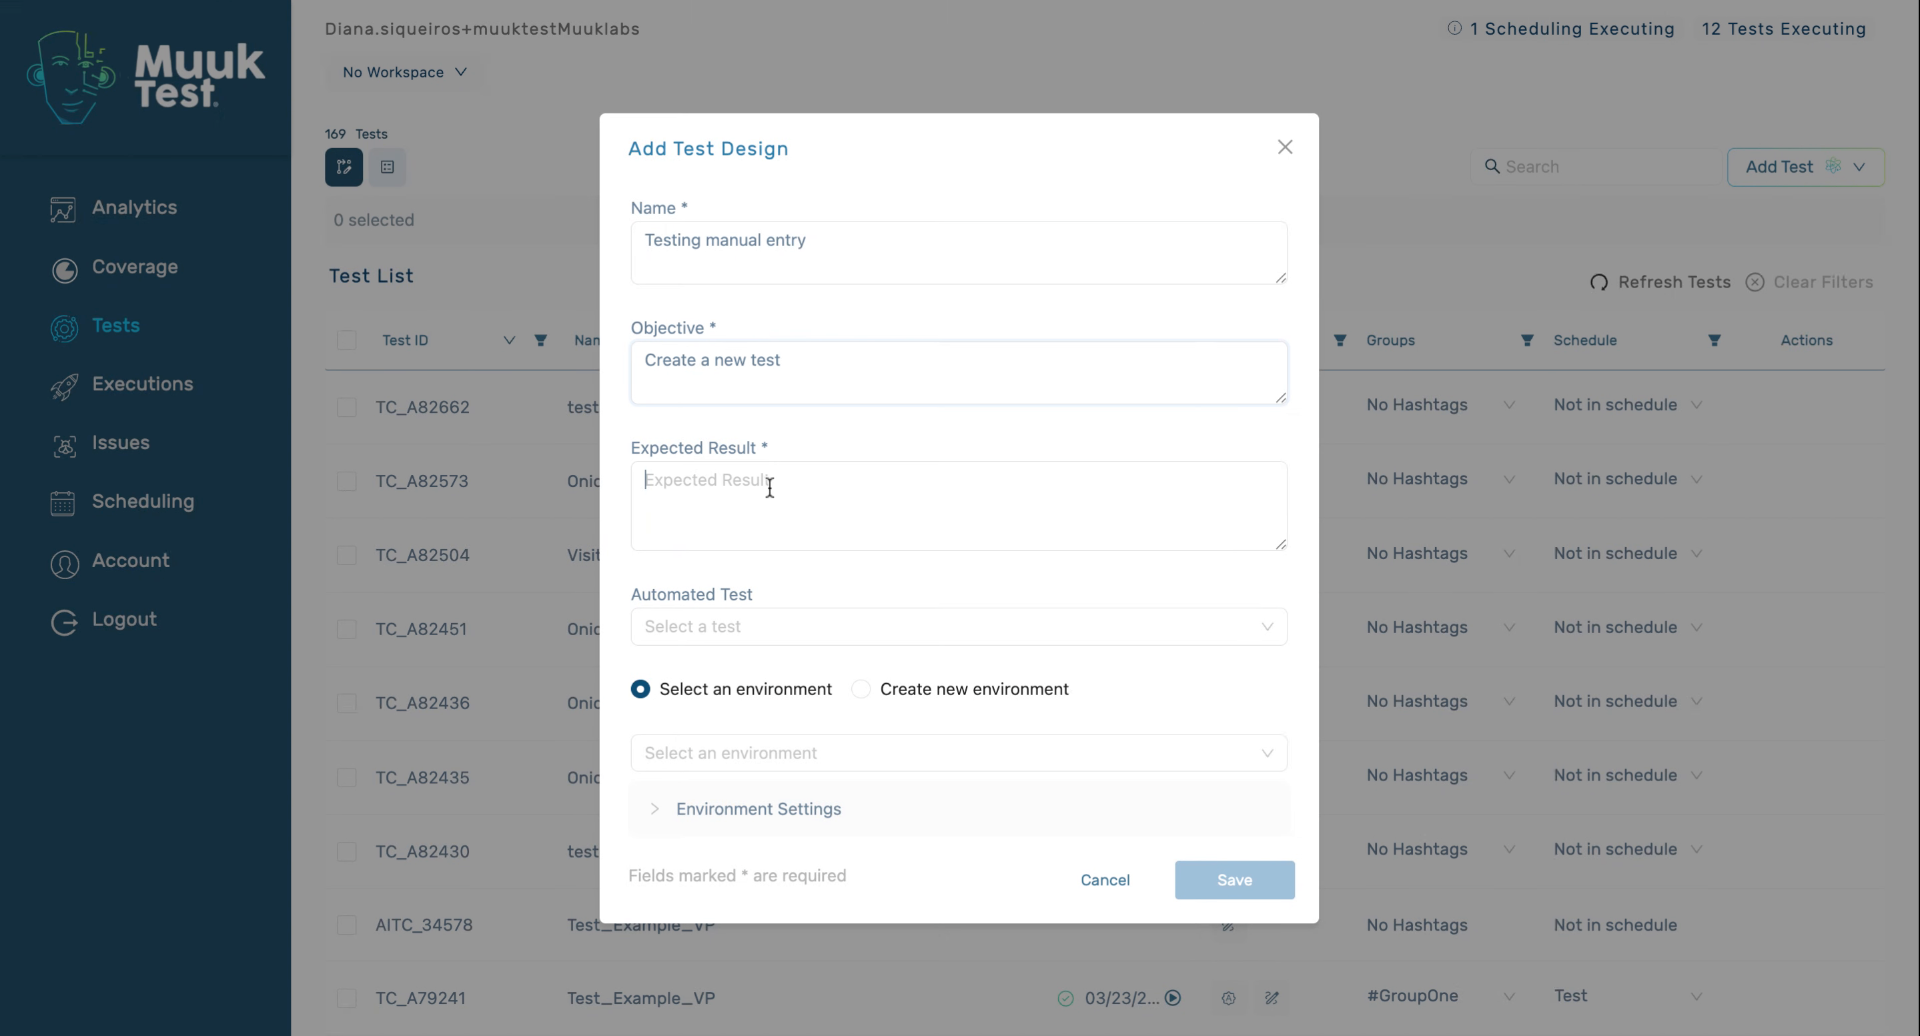
4. Choose Test Environment
We're going to select an environment in which this is going to run. Save.
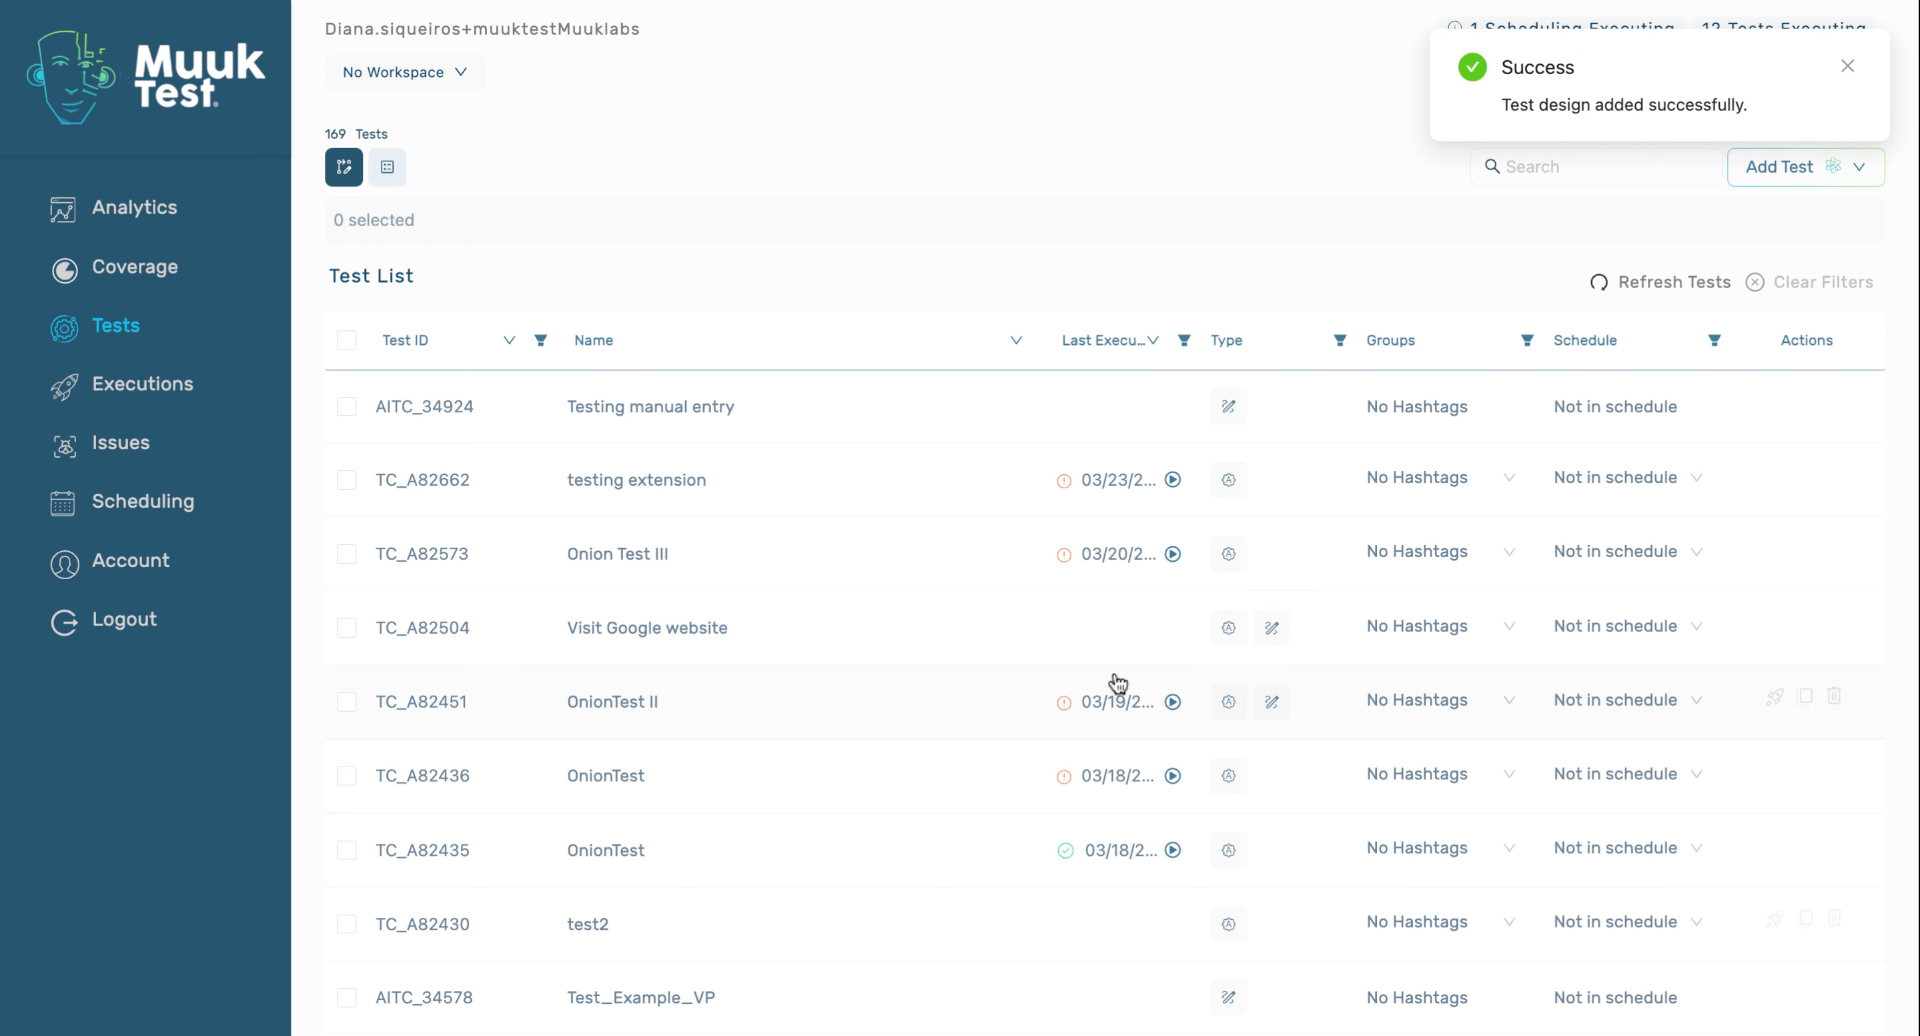
5. Confirm Test Creation
And our test has been created. It's of the design type.
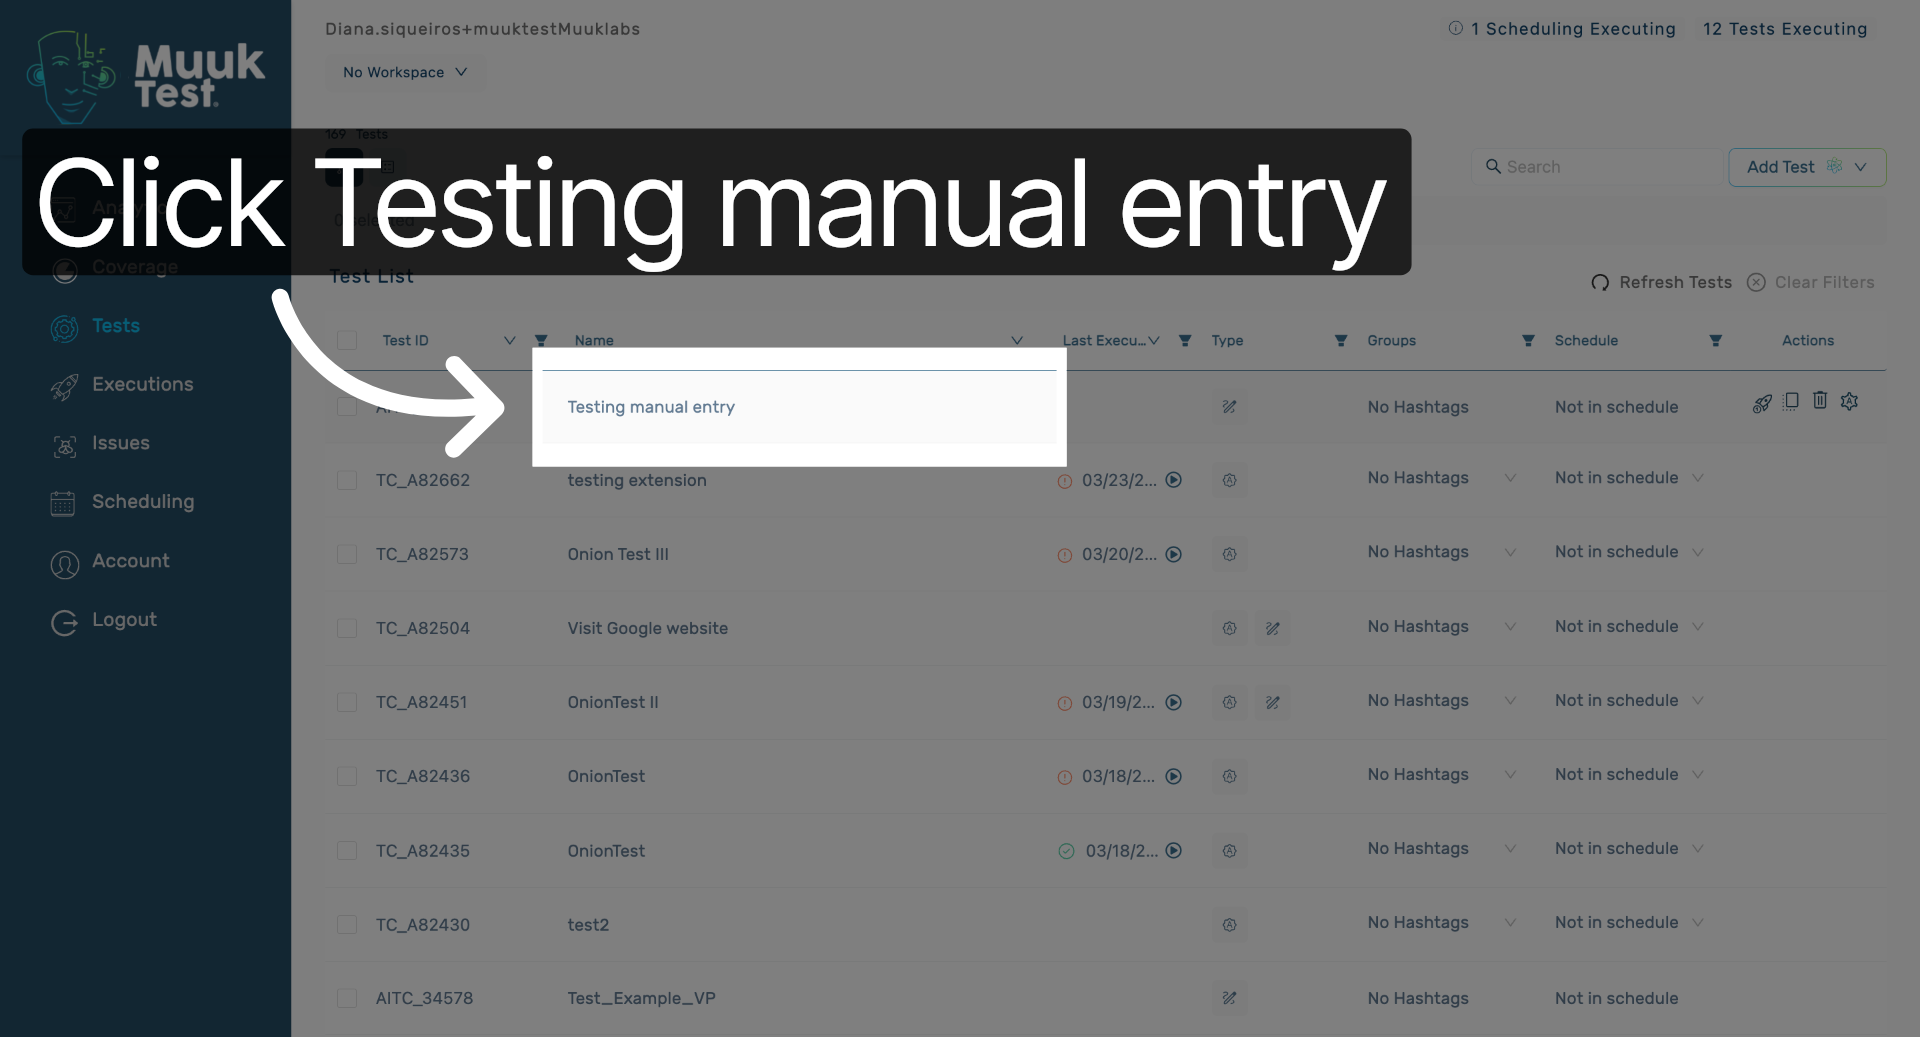
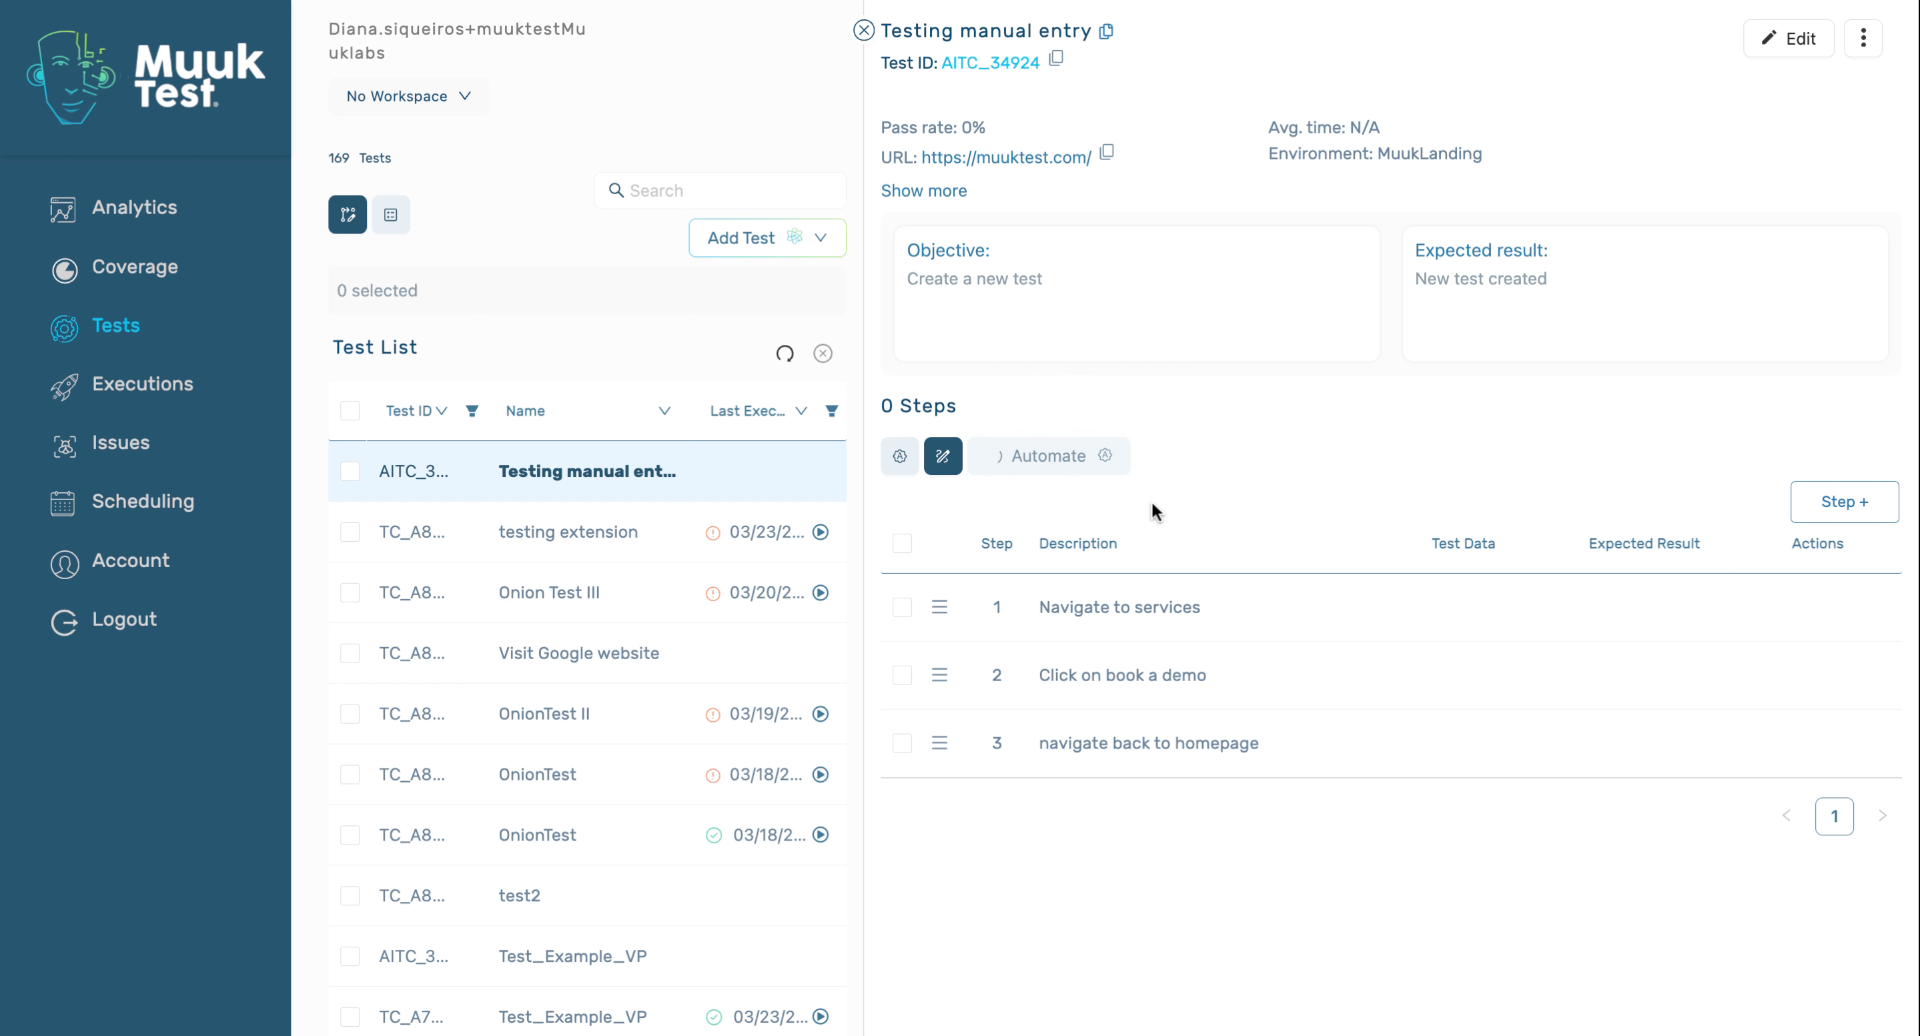
6. Access Testing Manual Entry
Click Testing manual entry to begin adding detailed steps to your test design.
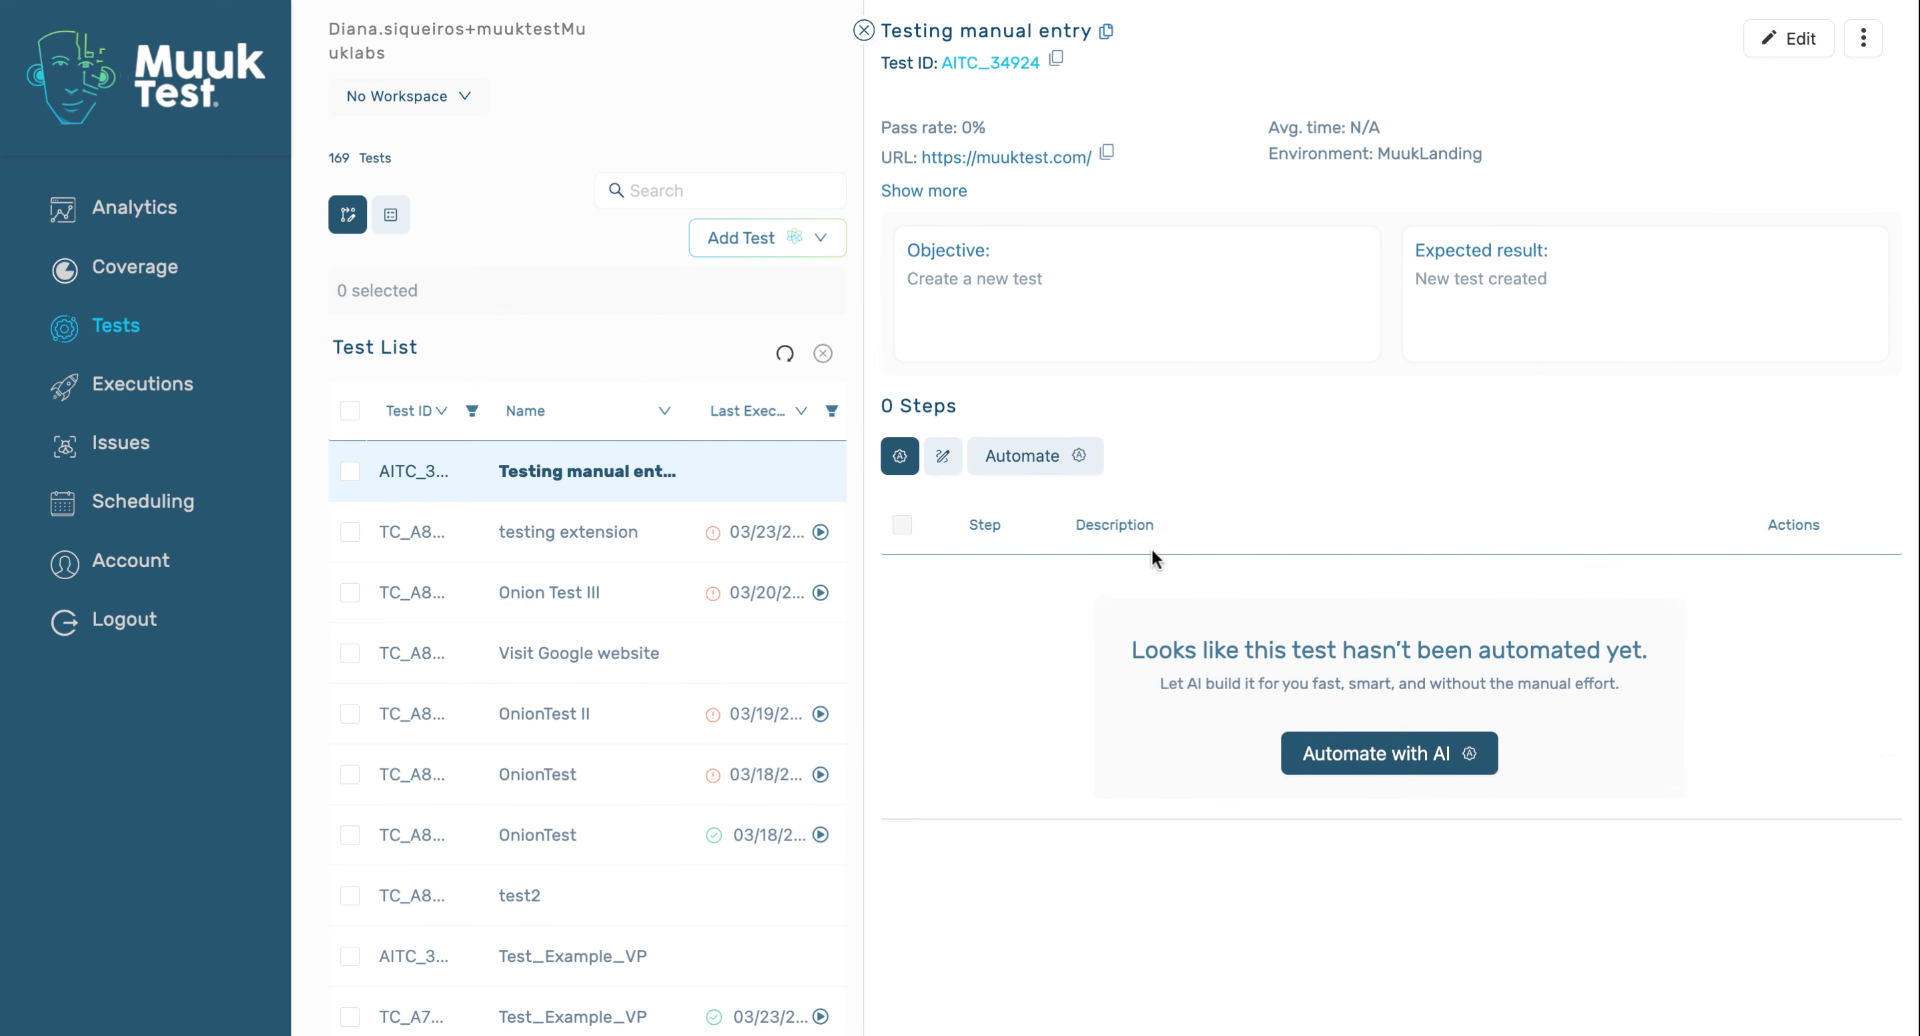
7. Design Test Without Automation
It will not be automated yet, but we can start adding steps to our design, and then we can automate it. So for example,
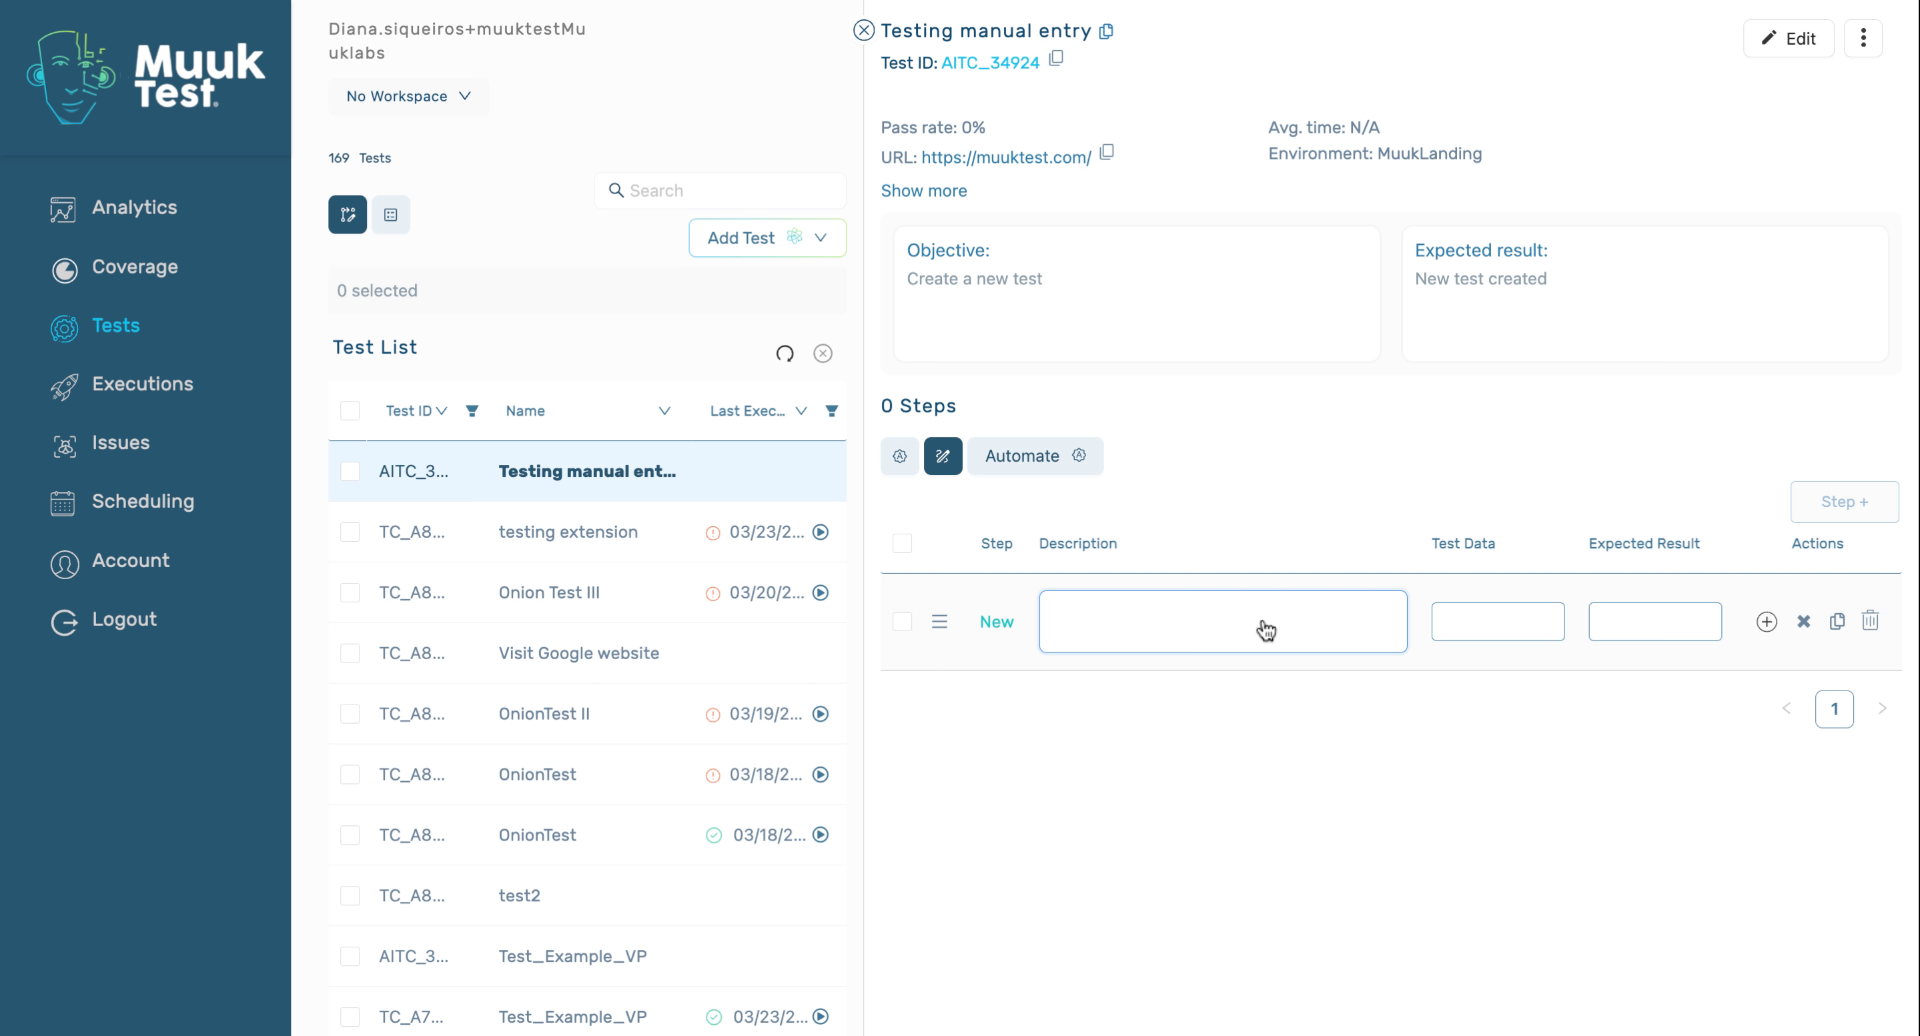
8. Input Example Test Step
We're going to tell it to navigate and click.
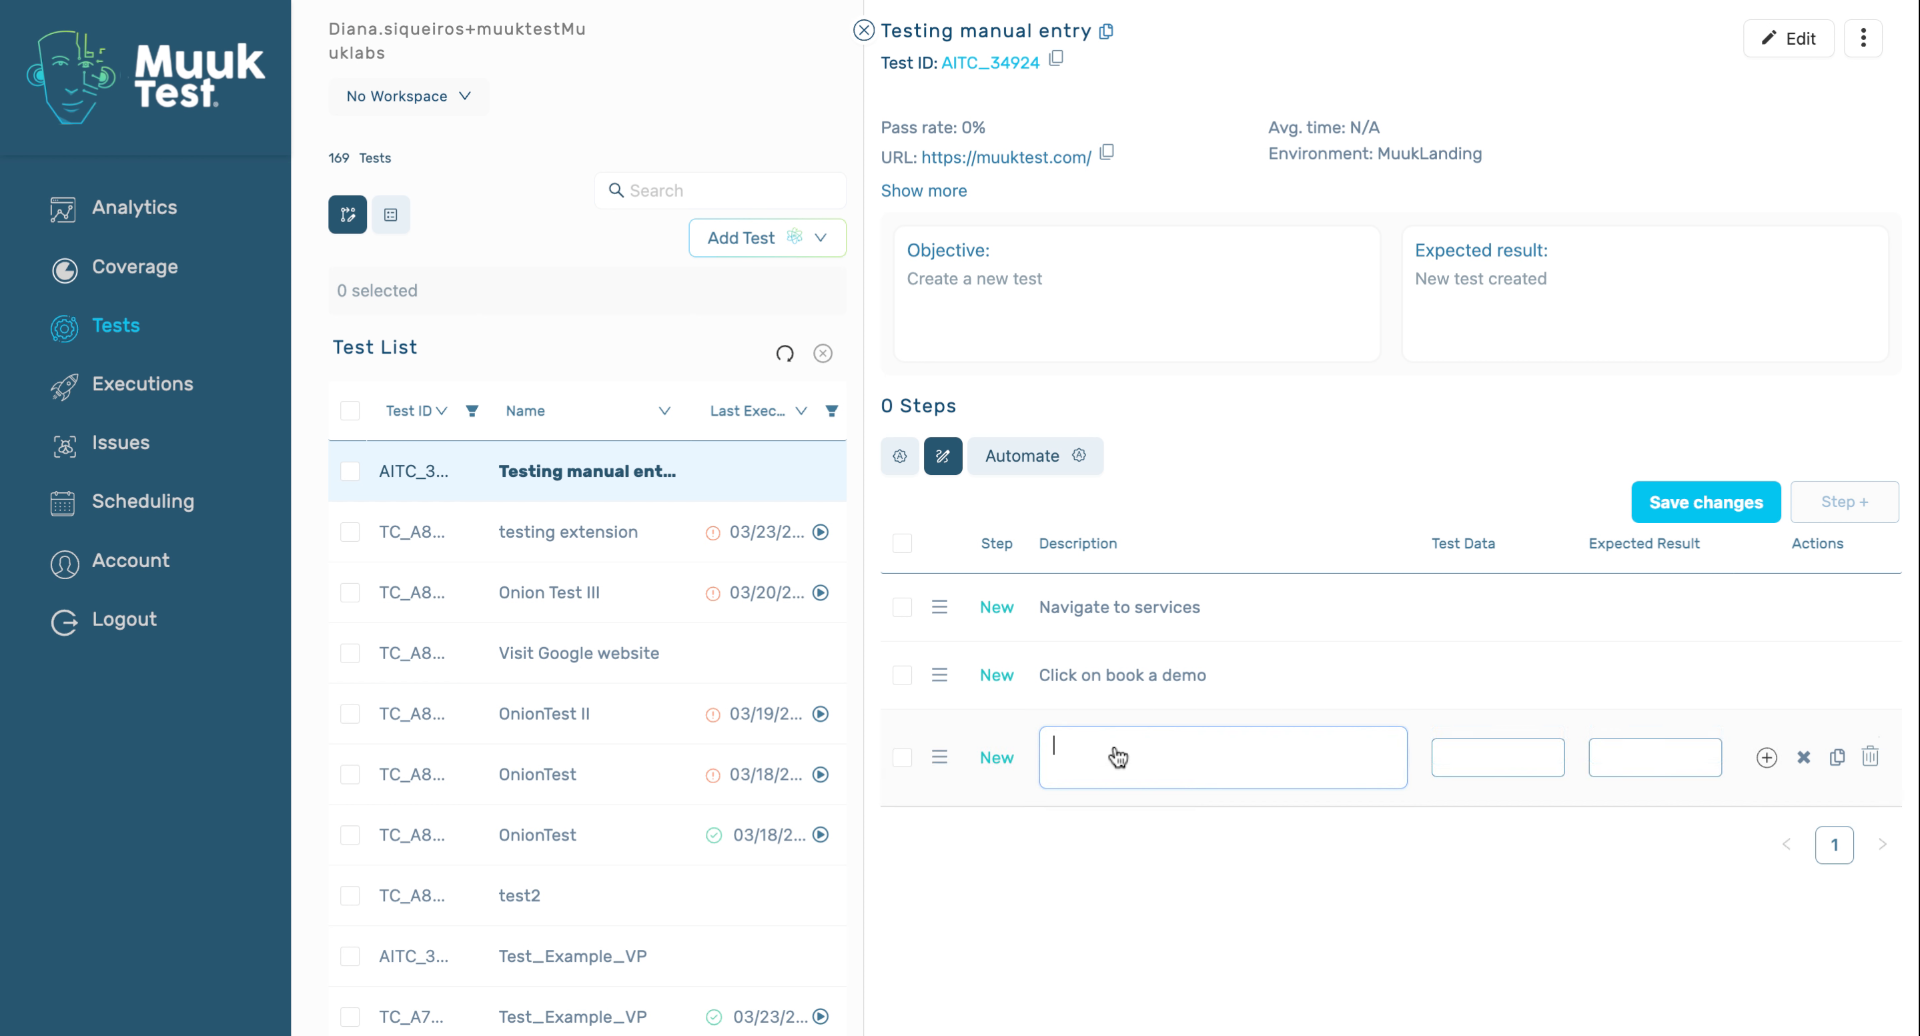
9. Enter Step Instruction
Enter the instruction to navigate back to the homepage as part of the test step.
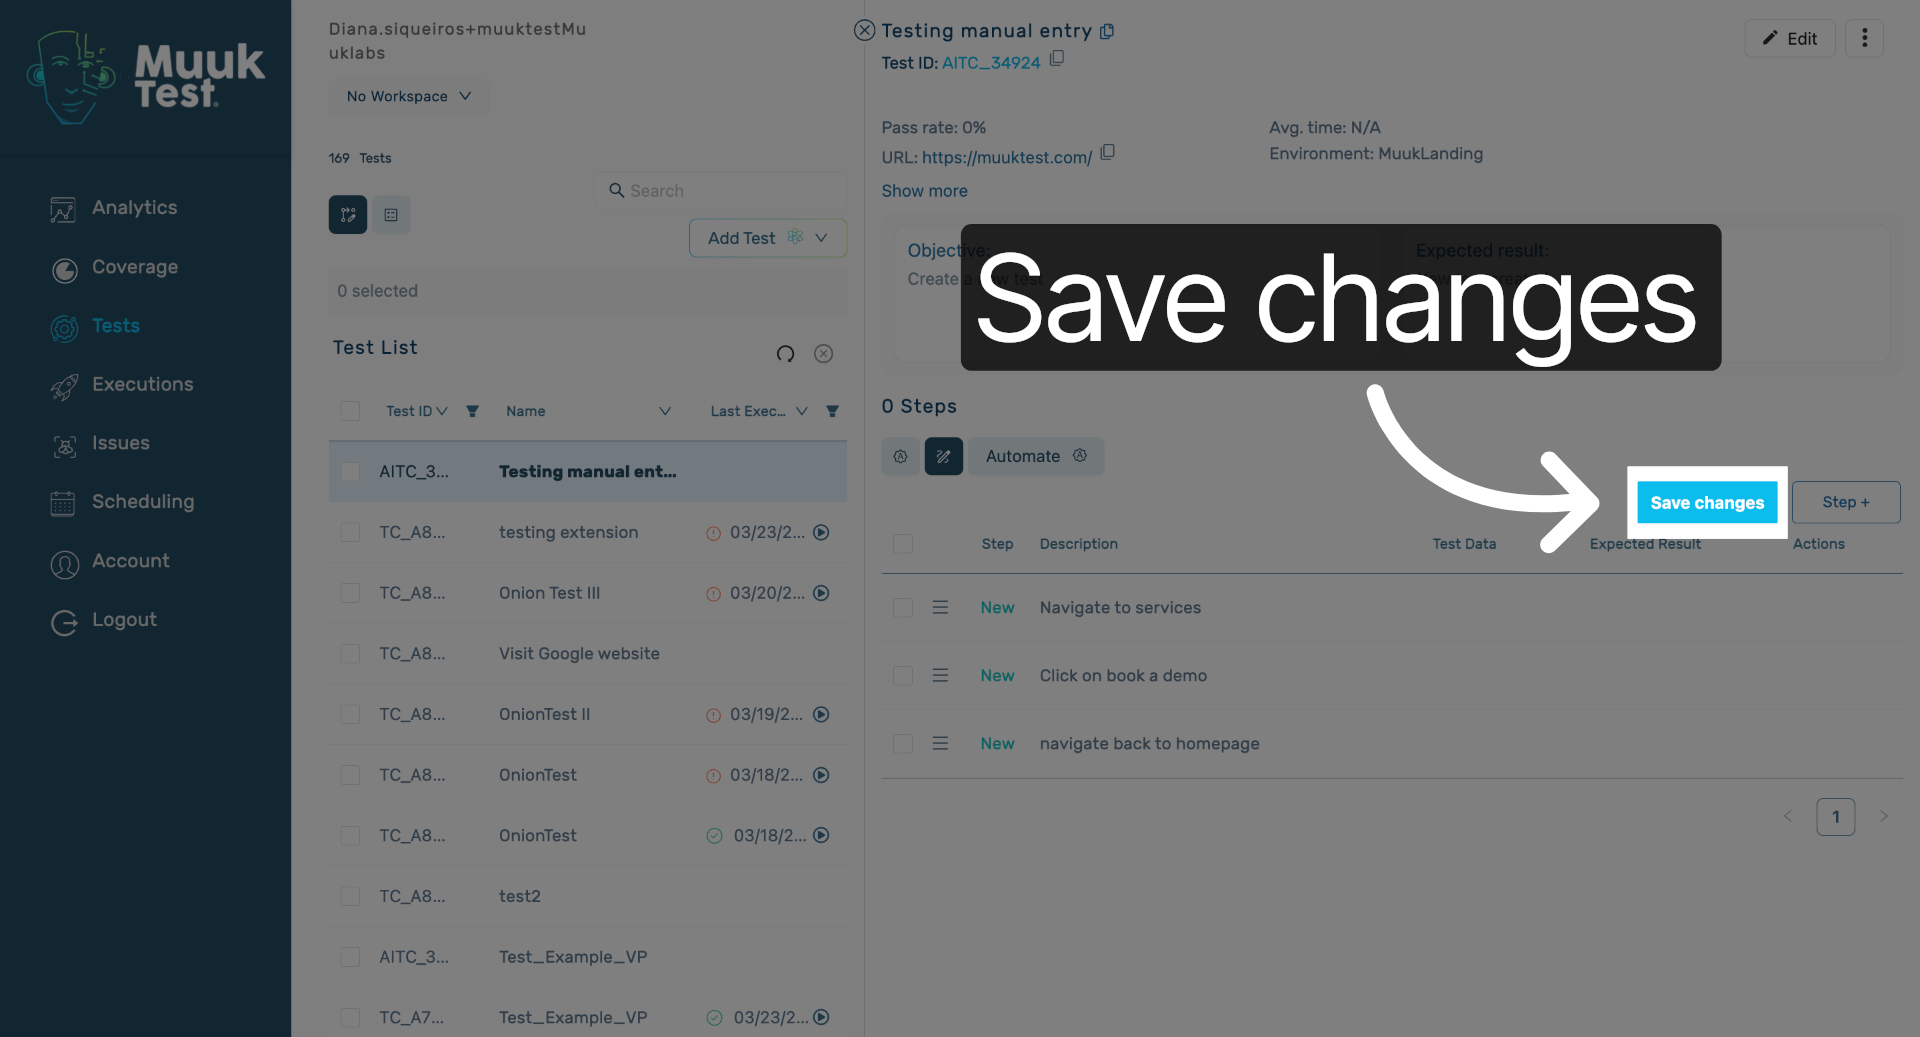
10. Save Test Changes
Click Save changes to store the updates made to your test design.
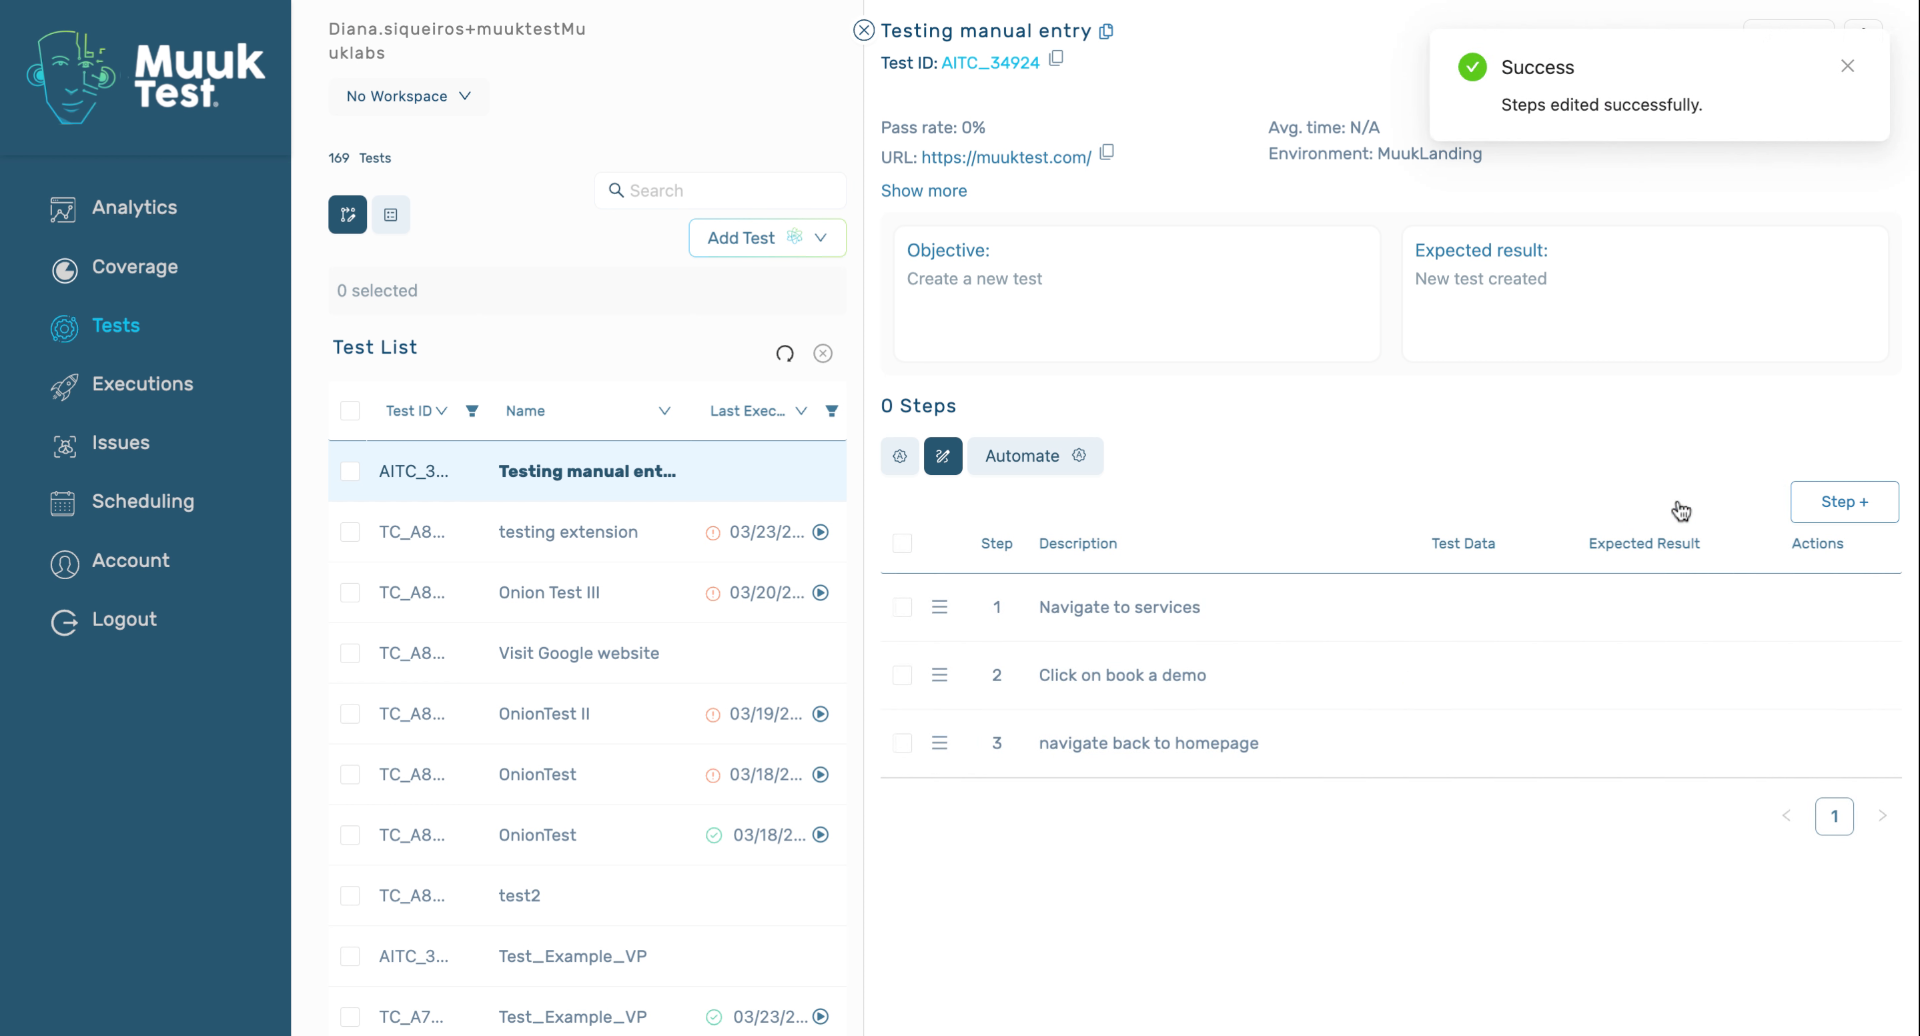
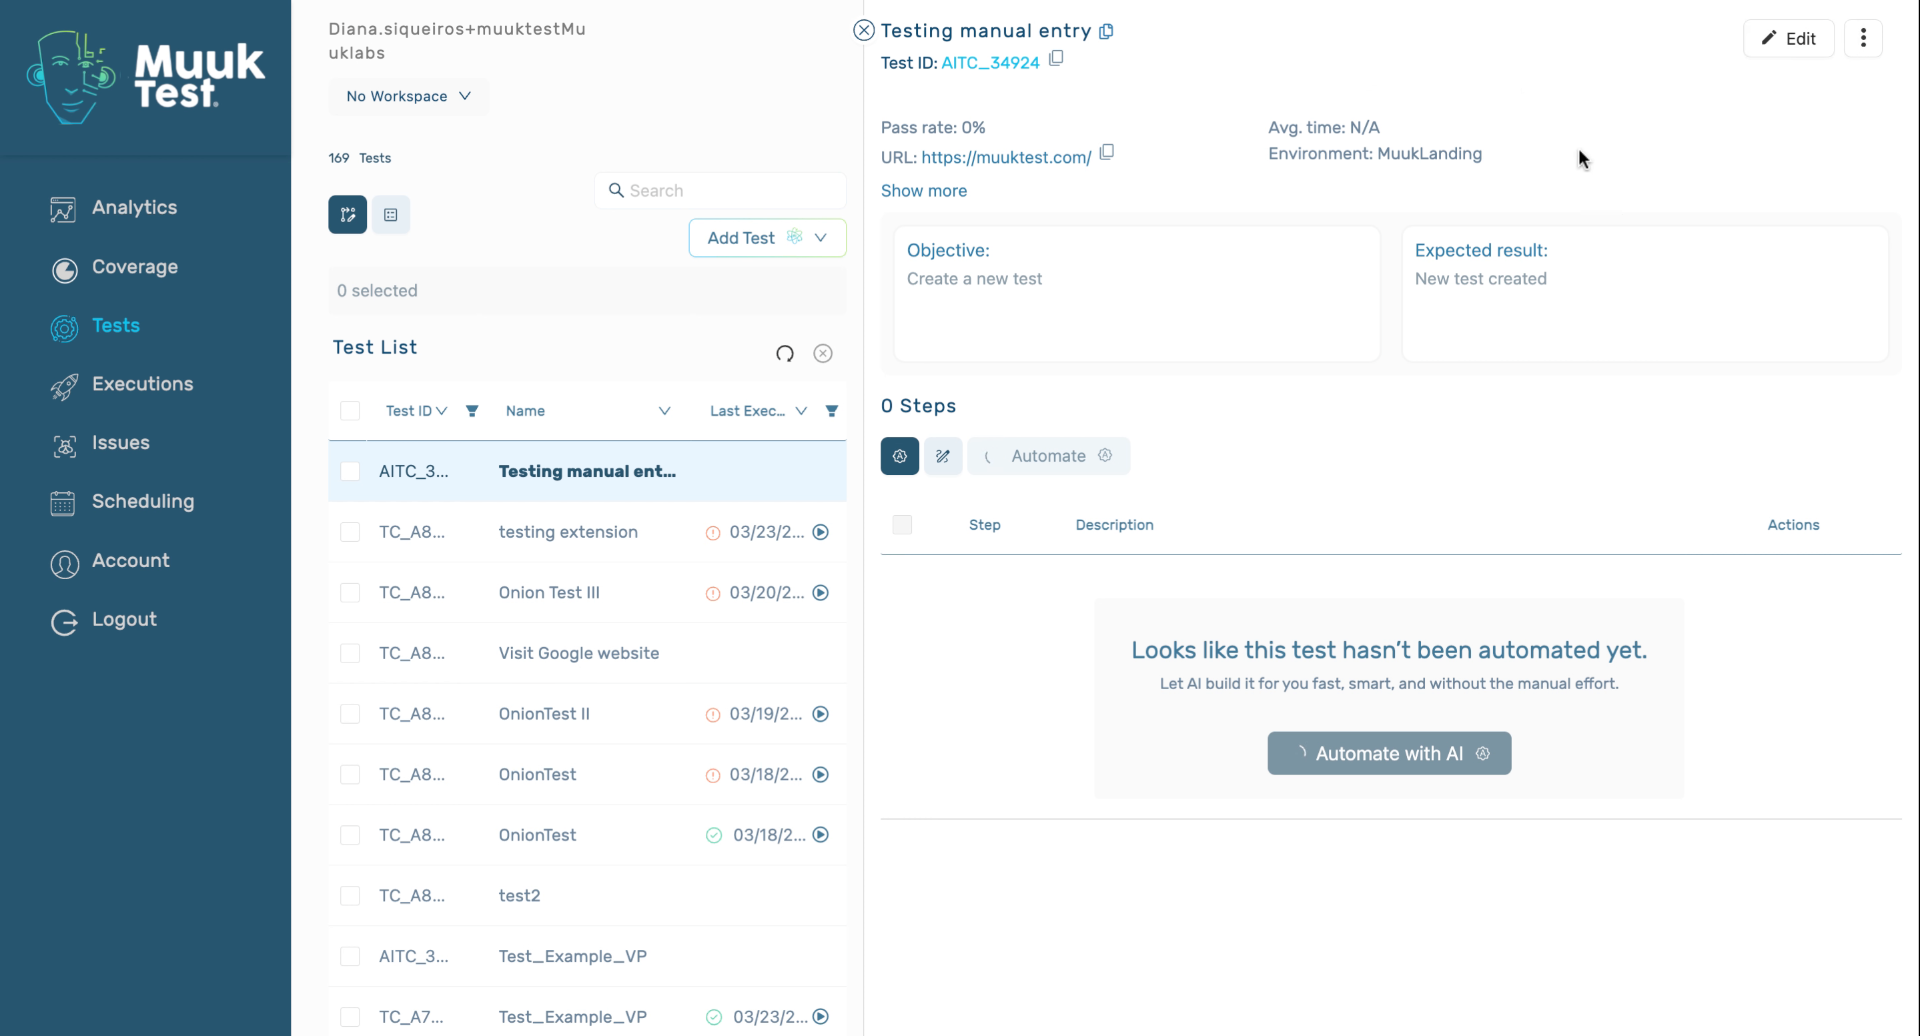
11. Transition to Automation Phase
Okay, now that our test has been created, we have our design and we can now automate it.
12. Generate Automated Test Steps
Once we click the automating, it's going to give us an automated test, which eventually will have the steps here. The steps will come directly from our design.
13. Execute Automated Test
Once our test is finished automating, we're going to be able to execute it just as a normal automated test.
You have successfully created and designed a test, transitioned it to automation, and prepared it for execution. Next, you can explore running automated tests and analyzing their results for quality assurance.
Comments
0 comments
Please sign in to leave a comment.