

This tutorial teaches you how to edit steps within a test effectively.
Go to portal.muuktest.com:5000
1. Open Test to Edit Steps
Hello, today we're going to learn how to edit steps. We have to go to the test where we want to edit our step.

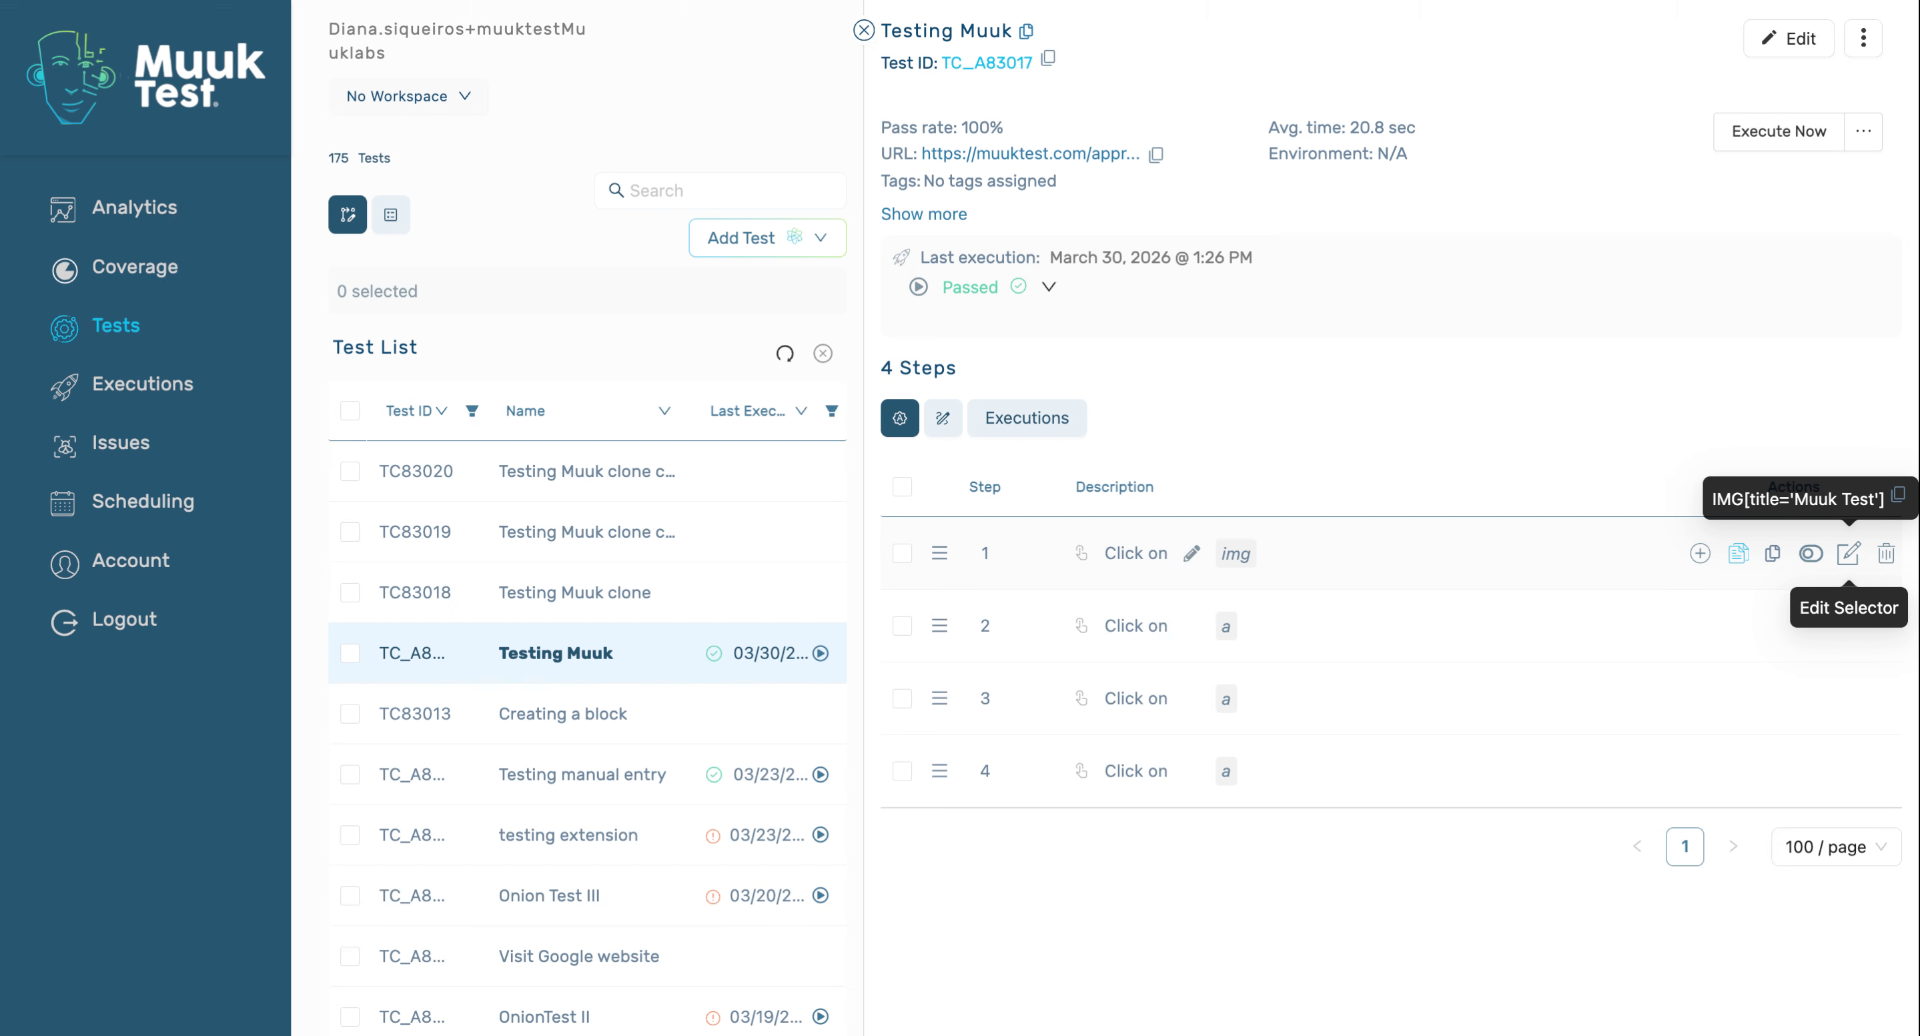
2. Access Step List Actions
Once we're there, we're going to go to our step list. We have a lot of different actions we can do. In this case, we can add a note, copy, enable, disable.

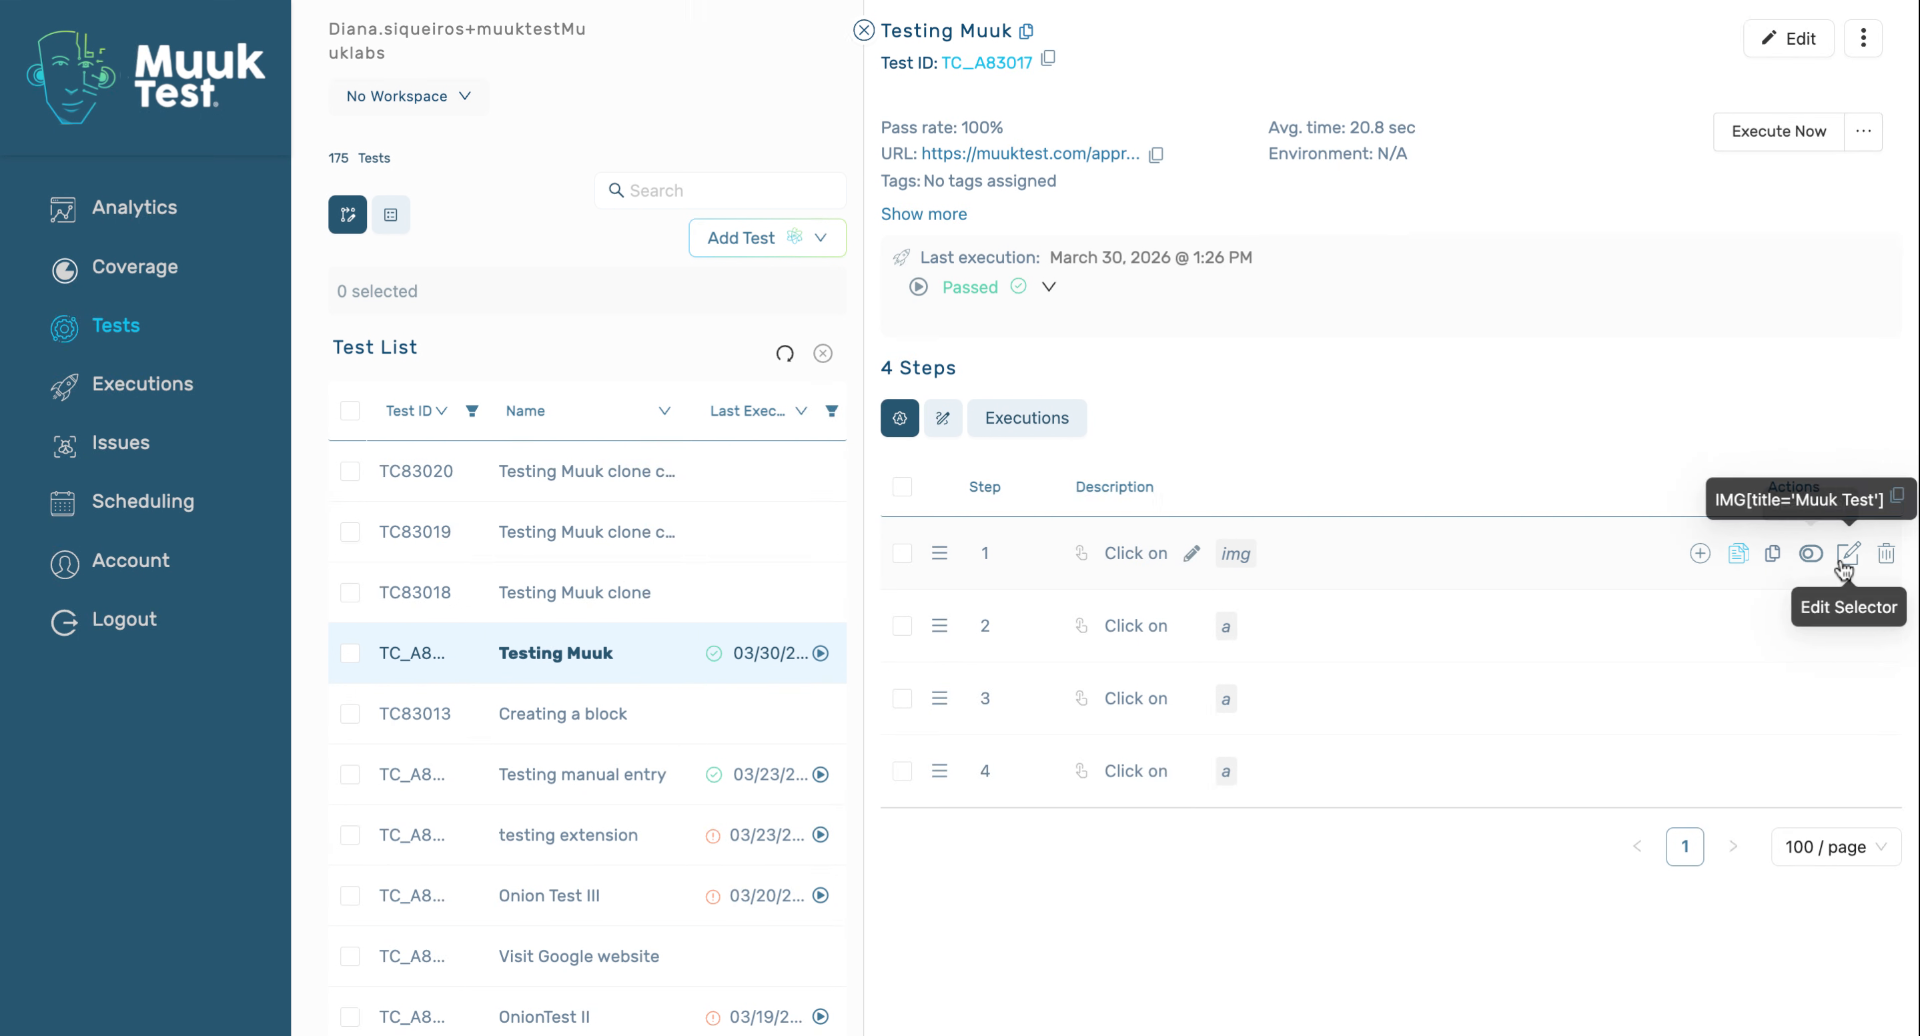
3. Understand Selector Editing Risks
We can edit the selector, which is a way to edit the step. We have to be wary when editing a selector, since selector affects other steps and other tests as well.
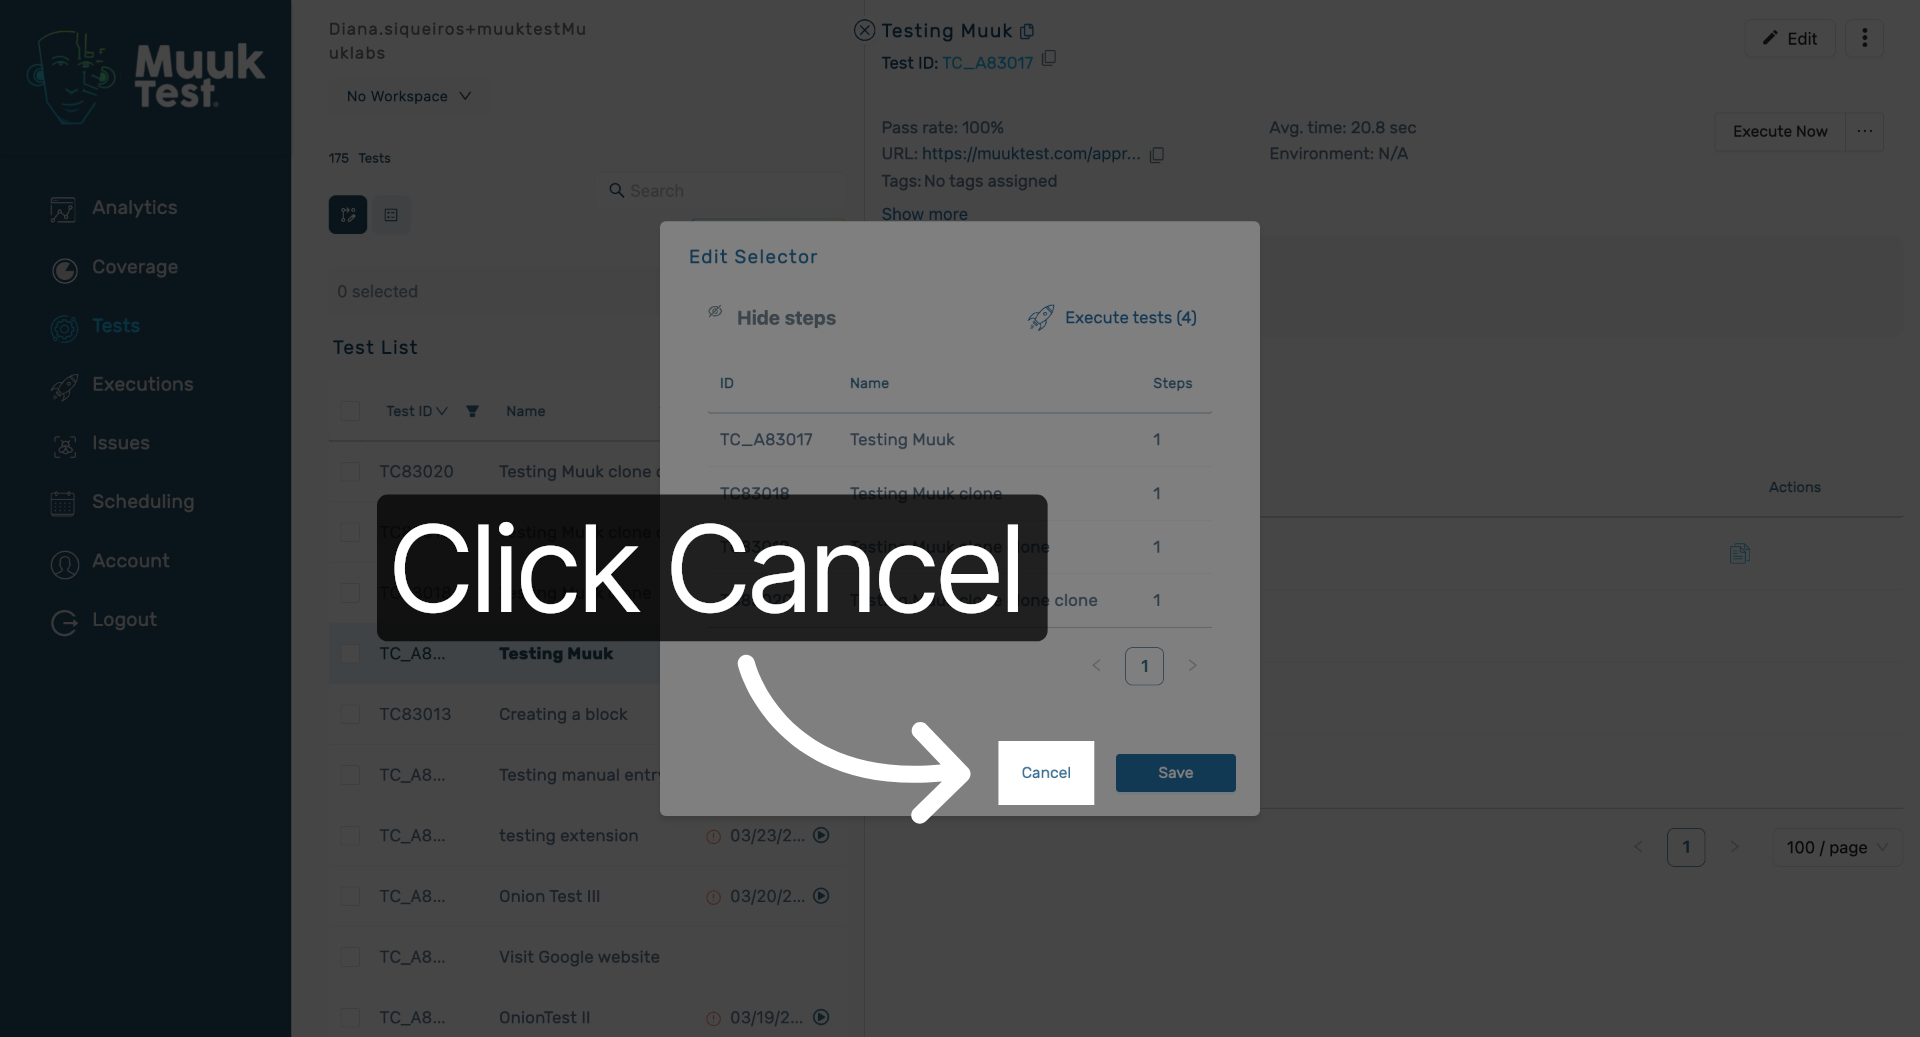
4. Review Selector Impact on Tests
If we open here, we can see the associated steps and tests. If we were to edit this selector, we would be affecting all of these tests and this step. It can be one step or more.
5. Cancel Step Editing
Click the Cancel button to exit the step editing without saving changes.
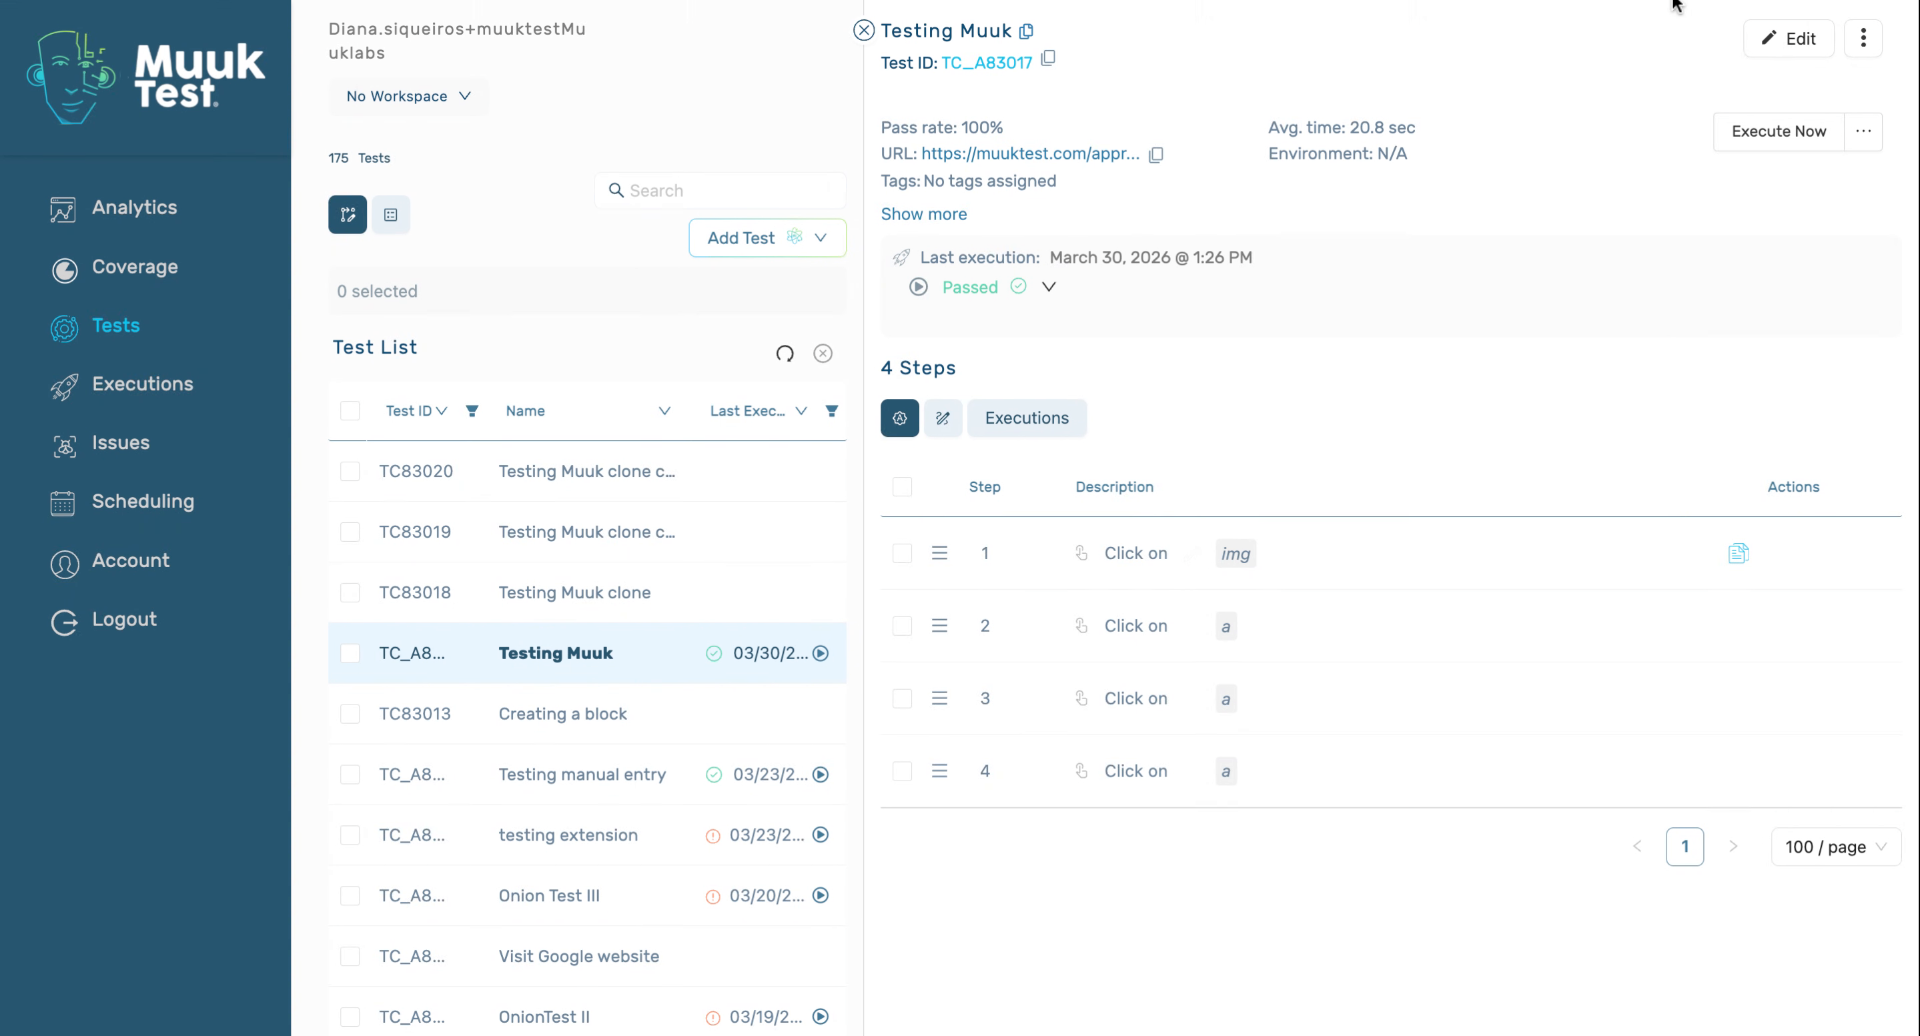
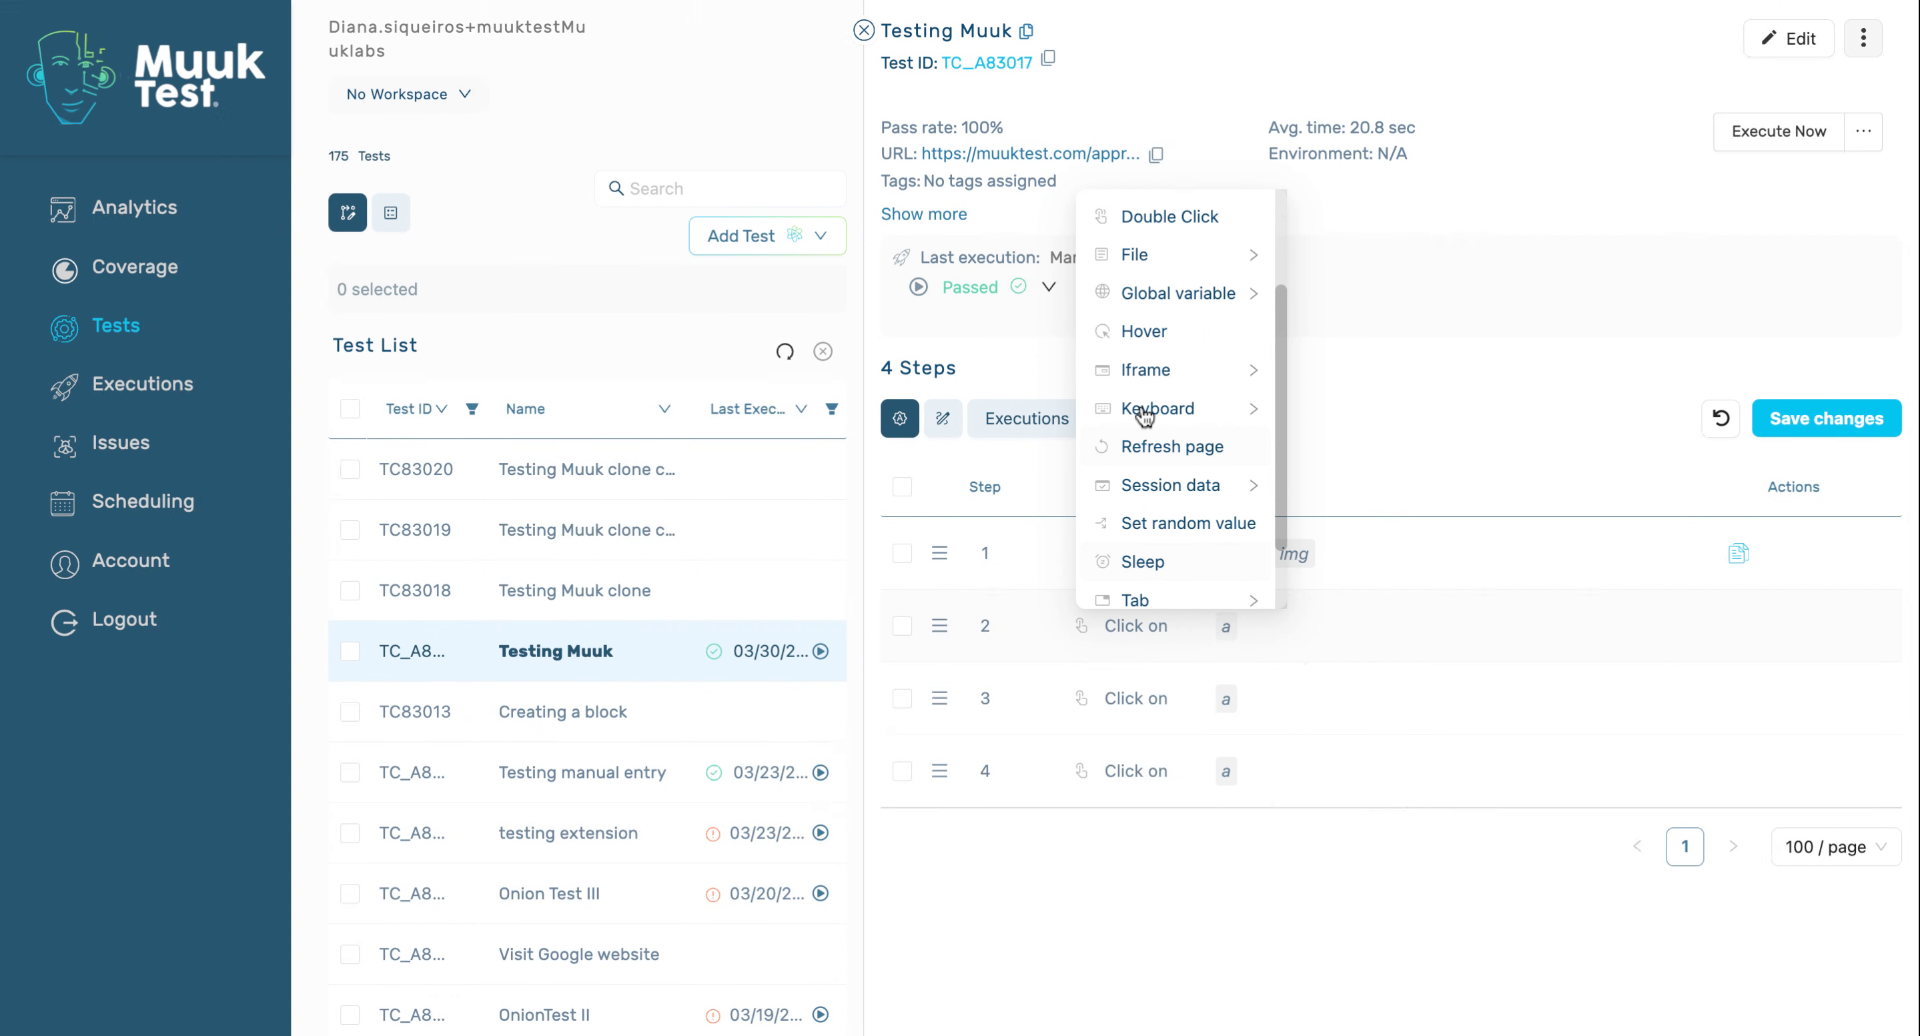
6. Change Step Type
There's a different way to edit a step. We can change the type of step that we have. In this case, we only have a singular click. If we hover over the type of step, we can see the different types of steps that we have. In this case, we're going for a double click.
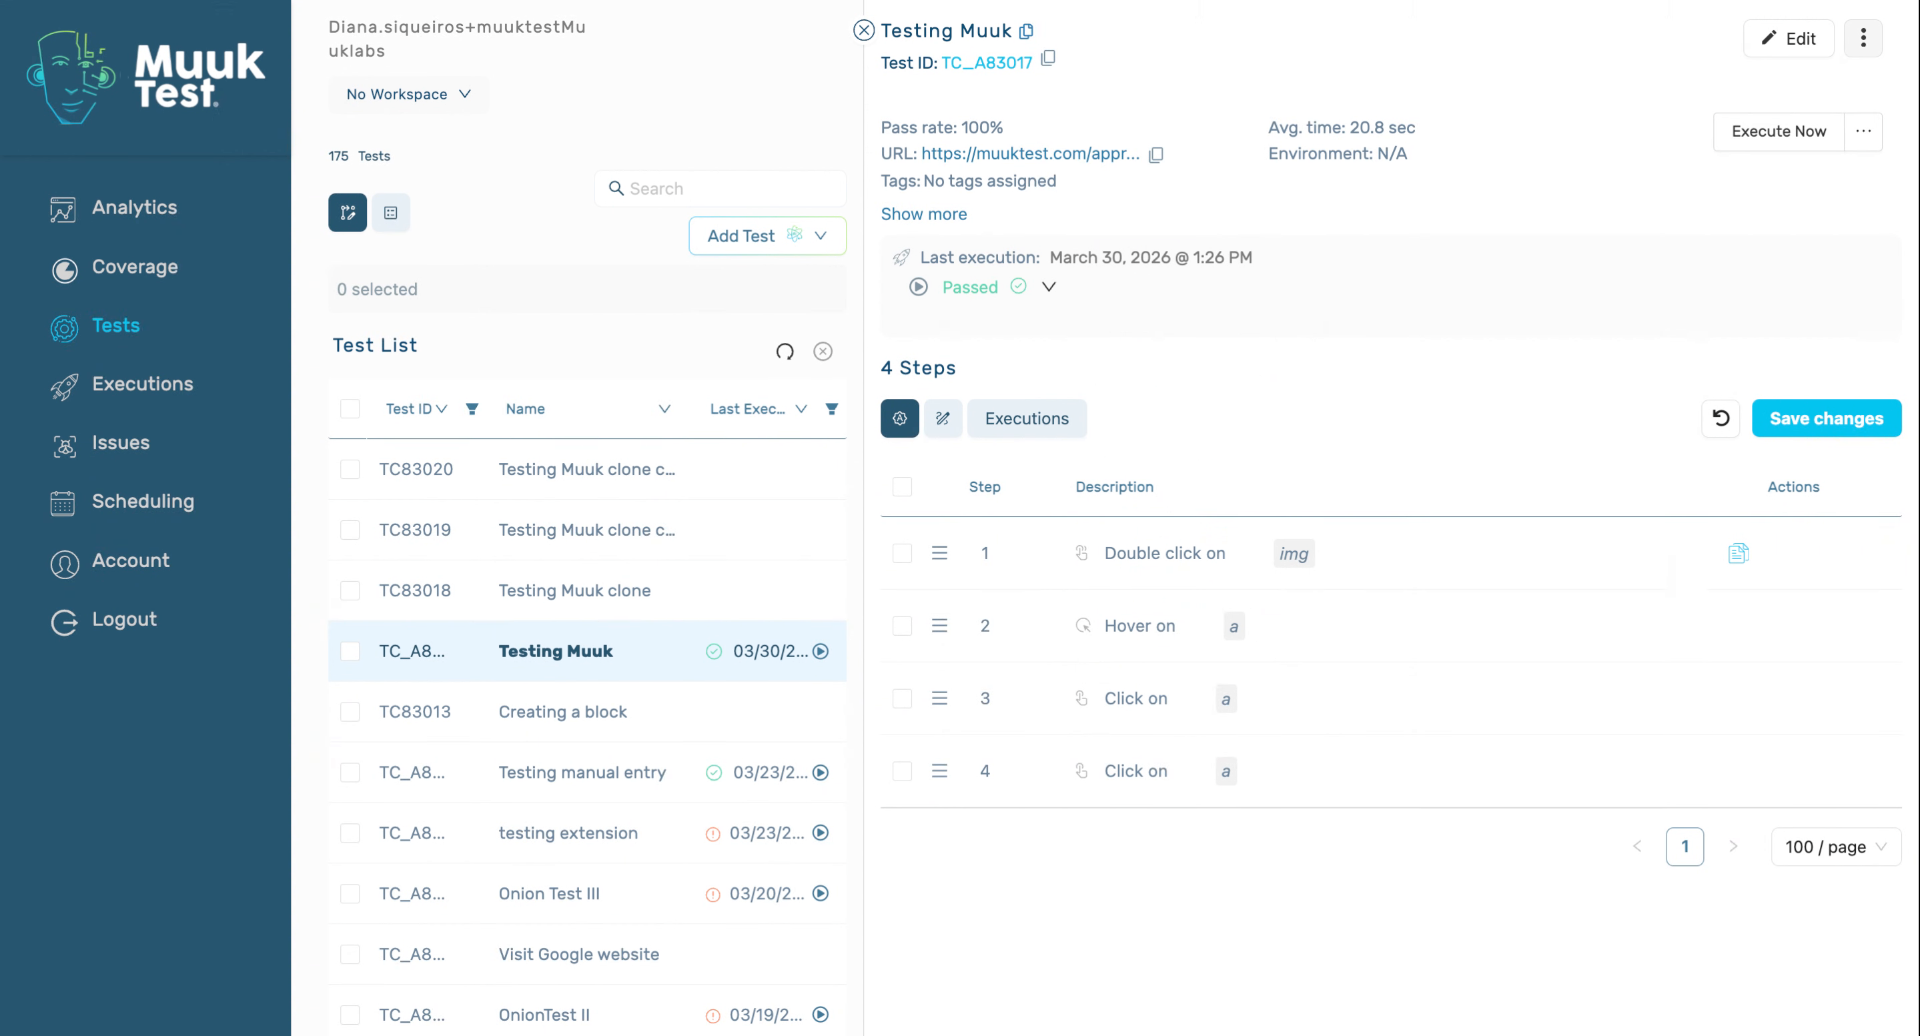
7. Select Step Type
We're going to keep the same selector, and then we're going to edit our next step.
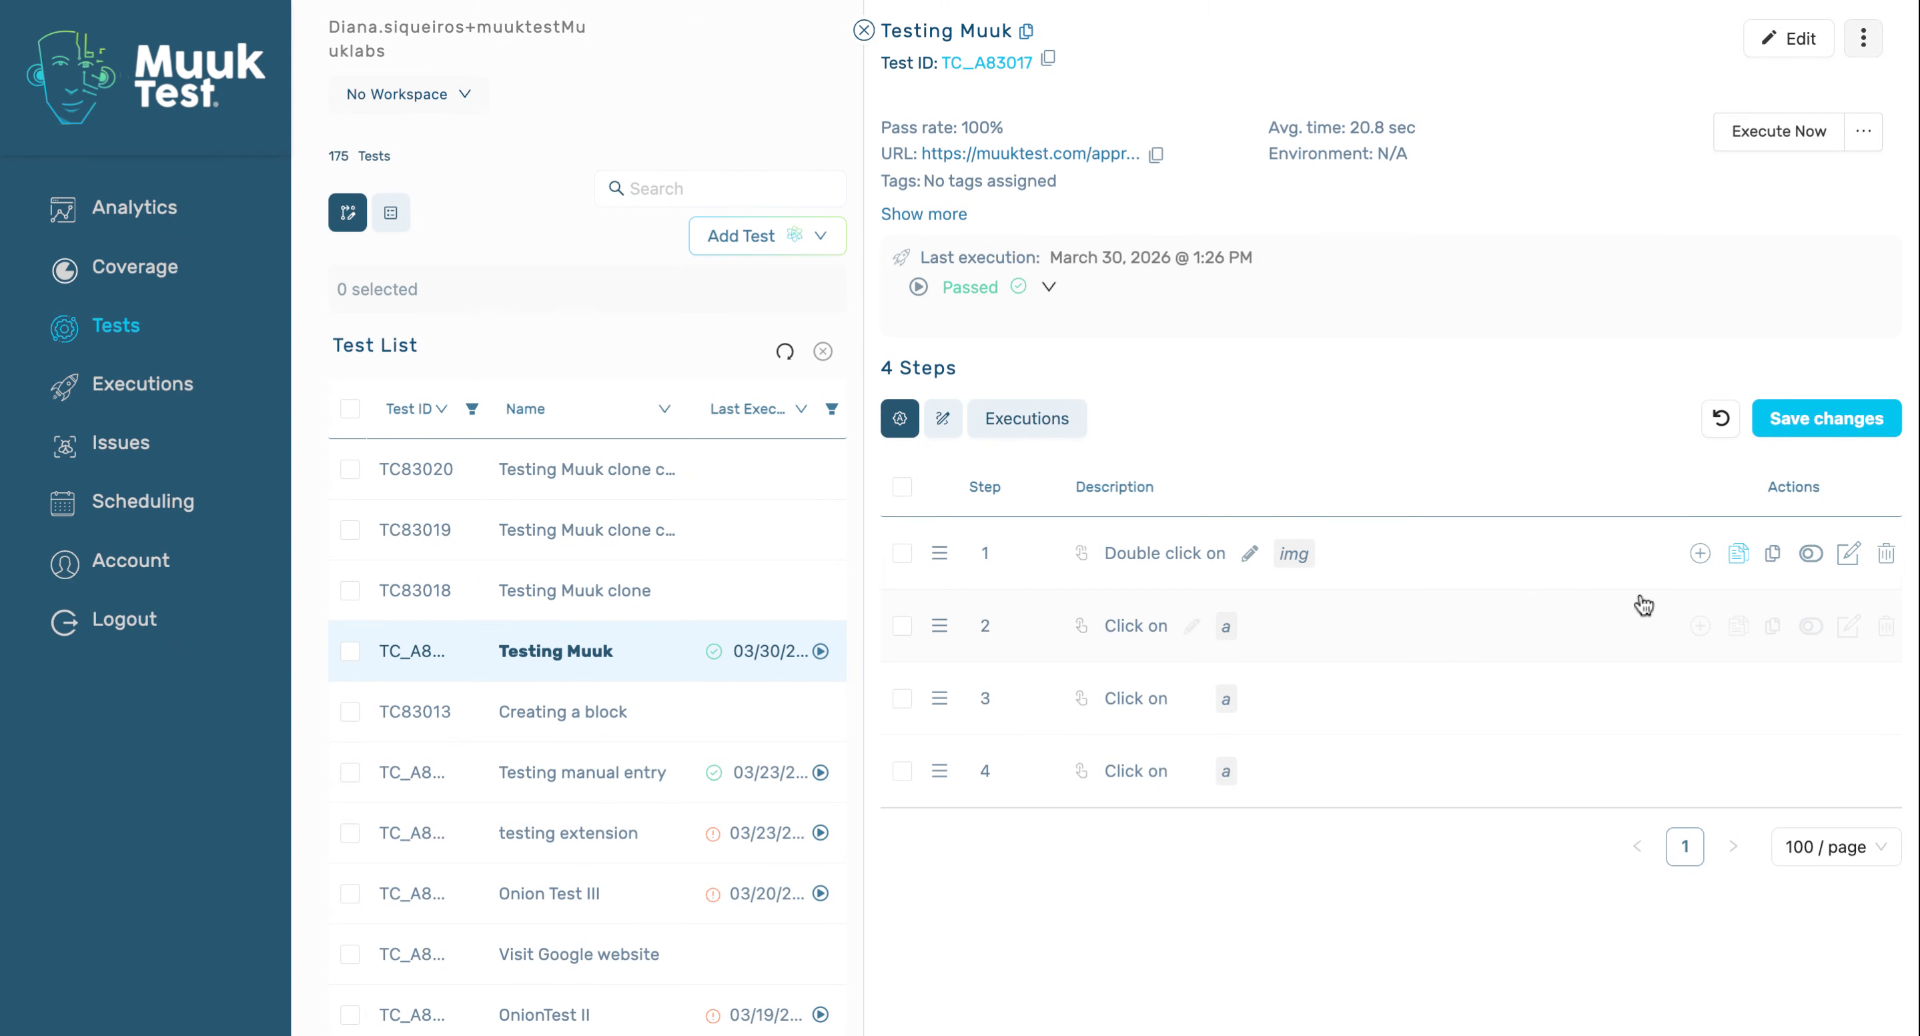
8. Hover Over Next Step
We're gonna hover over our next step. Then we have a lot of different actions that we can do as well.
9. Edit Existing Steps Only
This is only a way to edit the steps that we already have.

10. Preview Future Tutorial on Adding Steps
In the later tutorial, we will find out how to add steps and what types of steps we have. Thank you.
This tutorial guided you through editing existing steps within a test, including managing selectors and changing step types. For further learning, explore tutorials on adding new steps and step type options.
Comments
0 comments
Please sign in to leave a comment.